How to Keg Kombucha and Force-Carbonate with CO2

To keg kombucha, transfer the finished brew into a sanitized Cornelius keg, seal it, and force-carbonate with CO2 — either set-and-forget at serving pressure (around 12 psi cold for one to two weeks) or a faster burst at 30 psi for a day or two. Kegging skips bottle bombs and priming entirely and is the natural next step for anyone brewing volume.
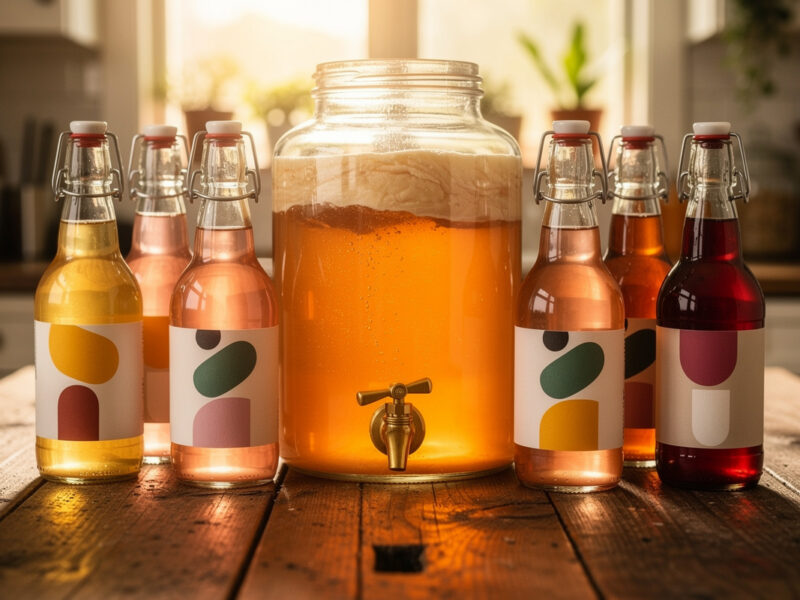
Once you are drawing a gallon or more of kombucha a week off a continuous brew, bottling every batch by hand starts to feel like a chore — washing, priming, capping, burping, and still risking the occasional over-pressurized bottle. A keg solves all of that at once. You move the finished kombucha into a stainless keg, push carbonation in with CO2 under controlled pressure, and pour cold, perfectly fizzy kombucha from a tap whenever you want it. It is the same gear homebrewers use, it works beautifully for kombucha, and it gives you carbonation consistency that bottle-conditioning can never quite match. Here is the full setup and both ways to carbonate.
Why Keg Kombucha Instead of Bottling
Kegging trades natural bottle carbonation for controlled CO2 carbonation. The payoff is consistency and safety: every pour is the same fizz, there is no priming sugar to measure and no chance of a bottle bomb, and you can serve large volumes on tap. The cost is upfront equipment — a keg, a CO2 tank, and a regulator.
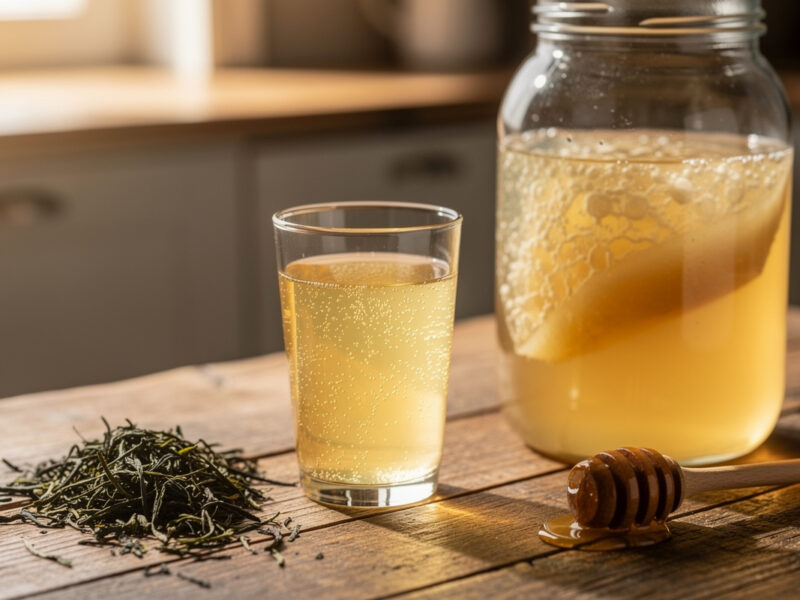
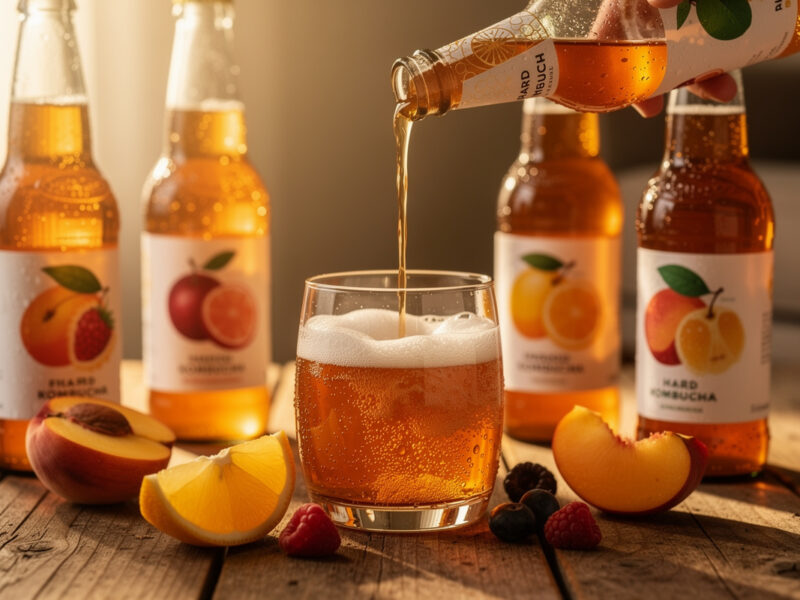
Bottle-conditioning relies on live yeast eating residual sugar to make CO2 inside each sealed bottle, which is exactly why it is variable and occasionally dangerous — too much sugar or too warm a spot and a bottle can over-pressurize. Force carbonation removes the biology from the equation: you chill the kombucha, apply a known CO2 pressure, and the gas dissolves into the liquid in a predictable way set by physics, not by how active the yeast happened to be. For a continuous brewer this is transformative. Instead of cleaning twenty swing-tops a week, you fill one keg, set a pressure, and pour on demand. It is also the cleanest way to carbonate a hard kombucha, where bottle-conditioning risk climbs with the alcohol and sugar.
The Kegging Setup You Need
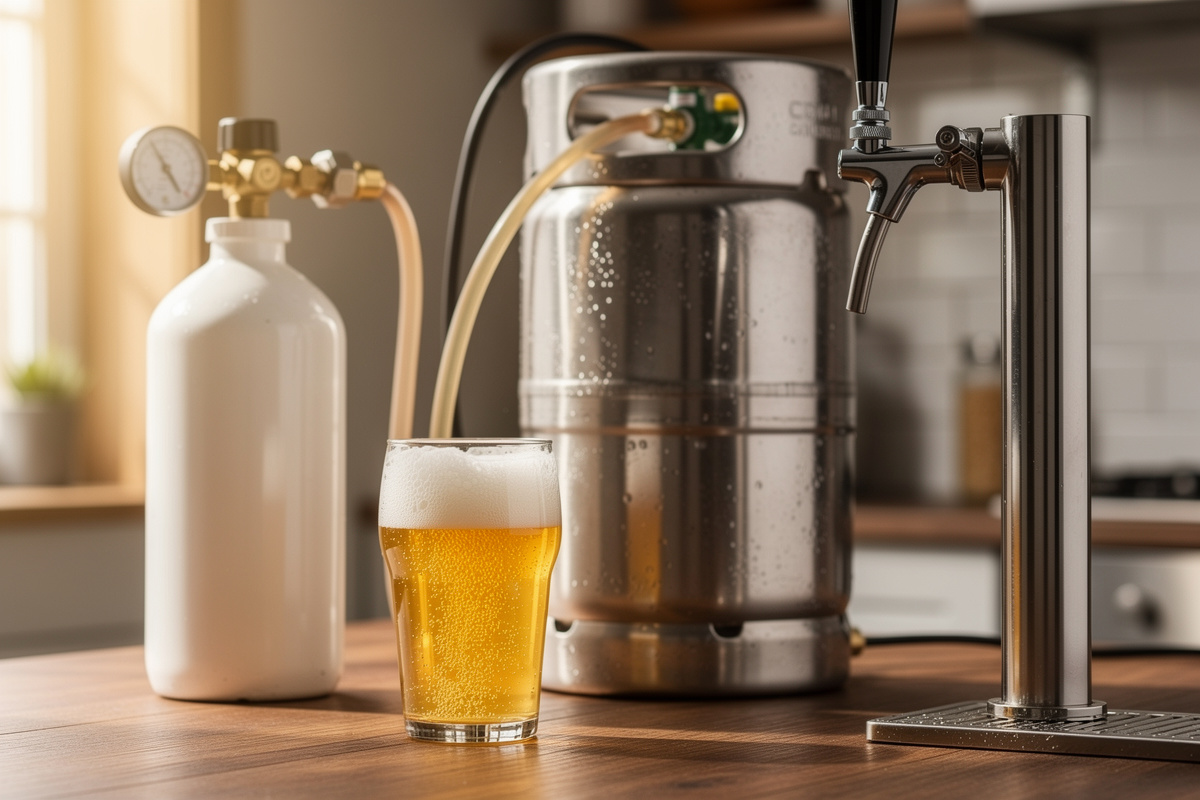
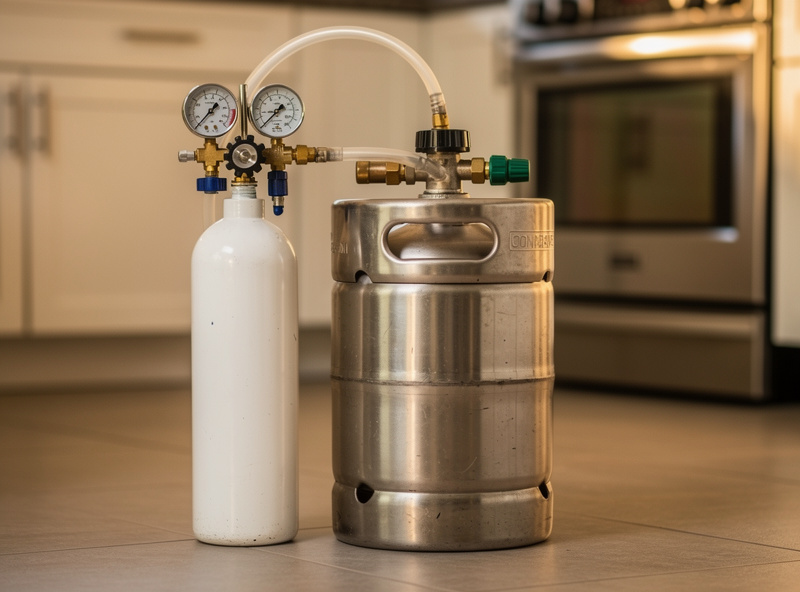
The core kit is a Cornelius (corny) keg, a CO2 tank, a regulator, gas and liquid disconnects with lines, and a tap. A standard five-gallon ball-lock corny keg is the home-scale default. Everything contacts acidic kombucha, so stainless and food-grade EPDM seals are what you want.
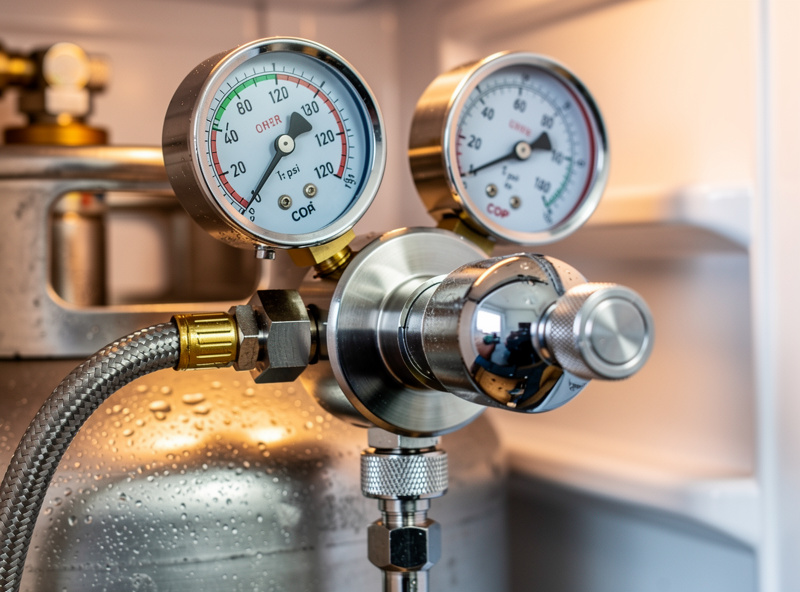
Corny kegs come in ball-lock and pin-lock styles; ball-lock is the more common and easier to find parts for, so it is what I would start with. A ball-lock corny keg is stainless steel, which handles kombucha’s acidity without trouble, though it is worth refreshing the rubber O-rings and post seals with food-grade EPDM if a used keg’s are tired. You will also need a CO2 tank and, critically, a good dual-gauge CO2 regulator — one gauge shows tank pressure, the other your set serving pressure, and accurate control of that second number is the whole game in carbonation. Round it out with ball-lock disconnects, beverage line, and either a picnic tap for simple serving or a full kegerator or fridge-mounted tap if you are doing this regularly. And before anything goes in, the keg needs sanitizing — a no-rinse brewing sanitizer is the standard.
Disclosure: FermentFoundry is reader-supported. As an Amazon Associate I earn from qualifying purchases made through links in this article, at no extra cost to you. I only point to gear I actually use or would buy for my own kitchen.
Transferring and Cold-Crashing First
Sanitize the keg, fill it with finished kombucha, seal the lid with a short burst of CO2, then chill the whole keg down before carbonating. Cold liquid absorbs CO2 far more readily than warm, so carbonating at fridge temperature — around 3–4°C — is both faster and more controllable.
Cold-crashing before you carbonate does two jobs. It drops the dissolving temperature so the gas goes in efficiently, and it slows any remaining yeast to a near stop, so the kombucha stops fermenting and the carbonation you add is the carbonation you keep. Fill the keg leaving a little headspace, seal it — a quick shot of CO2 seats the lid gasket — and let it sit in the fridge or kegerator until it is genuinely cold all the way through, which for five gallons means overnight, not an hour. Skipping the chill is the most common kegging mistake: carbonating a warm keg is slow, uneven, and makes the set-pressure charts meaningless, because every carbonation table assumes you know the liquid temperature.
The Two Force-Carbonation Methods
There are two ways to force-carbonate: set-and-forget, where you set the regulator to serving pressure and wait one to two weeks, and the quick burst, where you crank to about 30 psi for 24–48 hours then drop to serving pressure. Set-and-forget is foolproof; the burst is faster but easier to over-carbonate.
| Method | Pressure | Time | Risk | Best for |
|---|---|---|---|---|
| Set-and-forget | ~12 psi (cold) | 7–14 days | Very low | Consistent everyday carbonation |
| Quick burst | ~30 psi | 24–48 hours | Over-carbonation if forgotten | When you need it carbonated fast |
| Mid-pressure | ~20 psi | 3–4 days | Low–moderate | A balance of speed and control |
For everyday kombucha I use set-and-forget: chill the keg, set the regulator to around 12 psi at fridge temperature, connect the gas to the keg, and leave it. In a week to ten days it reaches roughly 2.4 to 2.5 volumes of CO2 — a clean, lively fizz — and because the regulator holds that pressure, it simply cannot over-carbonate. Kombucha is good a touch fizzier than beer, so if you want it sharper, set 14 psi for around 2.7 volumes. The burst method gets you there in a day or two but demands attention: crank to 30 psi, wait a day or so, then bleed the pressure back down to serving level and taste. Forget a burst-carbonating keg for a week and you get foam. Whichever you use, the relationship to remember is that CO2 volume is set by pressure and temperature together — the same 12 psi gives more carbonation cold than warm.
Serving and Troubleshooting
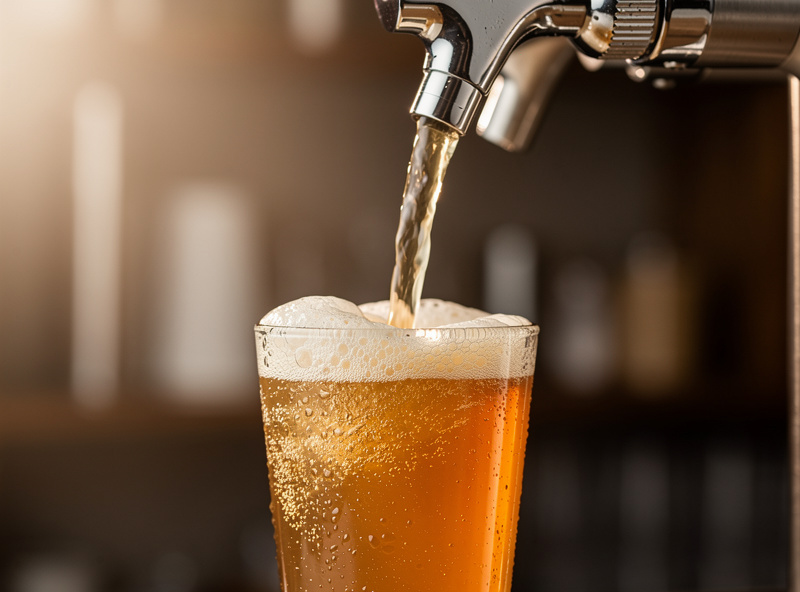
Once carbonated, serve at a slightly lower pressure than you carbonated at to avoid foaming, using a few metres of beverage line to create resistance. If pours come out all foam, the line is too short or the keg is over-carbonated; if it pours flat, it needs more time or pressure.
The most common serving complaint is foam, and it almost always comes down to line length and pressure balance rather than the carbonation itself. A longer beverage line — say three metres of narrow-bore line — adds the resistance that lets kombucha pour as liquid rather than froth. Pour temperature matters too: warm kombucha breaks out of solution and foams, so keep it cold right up to the glass. If a keg pours flat, either it has not finished carbonating or the seals are leaking gas — check by spraying the connections with sanitizer and watching for bubbles. One more kombucha-specific note: if you kegged a brew that still had active yeast and a little sugar and did not fully cold-crash it, it can keep generating its own CO2 on top of what you add, so the safe habit is to keg cold, finished kombucha and let the CO2 system, with its pressure-relief valve, manage the rest. If you came here because your kombucha will not carbonate in bottles, a keg sidesteps that problem entirely.
Frequently Asked Questions
How do you carbonate kombucha in a keg?
Sanitize and fill a Cornelius keg, seal it, and chill it cold. Then connect CO2 and either set the regulator to about 12 psi for one to two weeks, or burst at 30 psi for a day or two before dropping to serving pressure. Cold liquid carbonates best.
What pressure do you carbonate kombucha at?
About 12 psi at fridge temperature gives a clean 2.4 to 2.5 volumes of CO2. For a sharper fizz, set around 14 psi for roughly 2.7 volumes. Kombucha is usually served a touch fizzier than beer. Pressure and temperature together set the carbonation.
What size keg is best for kombucha?
A five-gallon ball-lock Cornelius keg is the home-scale standard. Ball-lock is easier to source parts for than pin-lock. Stainless steel handles kombucha’s acidity well; just refresh tired O-rings with food-grade EPDM seals on used kegs.
Do you need to cold-crash kombucha before kegging?
Yes, chill it first. Cold liquid absorbs CO2 far more readily, so carbonation is faster and more controllable, and the cold slows any remaining yeast so the brew stops fermenting. Carbonate at around 3 to 4 degrees Celsius.
Why does my kegged kombucha pour all foam?
Usually the beverage line is too short or the keg is over-carbonated or too warm. Use a few metres of narrow beverage line for resistance, serve cold, and if needed vent some pressure and let it settle. Balance serving pressure to the carbonation level.
Is kegging better than bottling kombucha?
For volume, yes. Kegging gives consistent carbonation, no priming sugar, no bottle bombs, and serving on tap. Bottling is cheaper to start and portable. Continuous brewers and anyone making hard kombucha benefit most from a keg setup.
Related Articles
- Kombucha Brewing: The Complete Home Guide from SCOBY to Bottle
- Continuous Brew vs Batch Kombucha: Which Method Wins?
- Why Is My Kombucha Not Fizzy? 6 Fixes for Flat Second Fermentation
- How to Make Hard Kombucha (3-7% ABV) at Home
- Fermentation Equipment: The Complete Home Brewer Toolkit

About Kenny Nyhus Fadil
A home fermenter documenting brines, bubbles, and the occasional moldy tragedy.