How to Make Homemade Yogurt: A Beginner’s Guide

This homemade yogurt guide for beginners gets you to a thick, tangy set with one rule: hold the milk steady at 43C after culturing. Yogurt is a thermophilic ferment, and on my probe thermometer that 40-45C window is the whole game. Below 38C it stalls runny; above 46C you kill the bacteria.
I’ve been culturing dairy in my kitchen in Sweden for years, and yogurt is the ferment I reach for most because it’s fast, forgiving once you understand the temperature, and needs almost no special gear. The bacteria doing the work are Lactobacillus delbrueckii subsp. bulgaricus and Streptococcus thermophilus — a thermophilic pair that thrives warm and sours milk by converting lactose to lactic acid. Get the heat right and everything else falls into place. This guide walks through every step the way I run it: by measurement, not folklore.
Why Temperature Is the Whole Game
Temperature is the single variable that decides whether you get yogurt or a sad cup of soured milk. The thermophilic bacteria in yogurt work fastest at 40-45C, with 43C as the sweet spot. Drift outside that band and the ferment either stalls or dies.
Here’s the physics of it. Streptococcus thermophilus and Lactobacillus bulgaricus are a symbiotic team: the Streptococcus moves first, dropping the pH and producing compounds that the Lactobacillus feeds on, which in turn frees up nutrients the Streptococcus needs. Both peak in that 40-45C range, and this symbiotic souring of milk is what defines yogurt. Drop the milk below 38C and the cultures barely move — you get a thin, slow, often runny set that never properly gels. Push above roughly 46C and you start denaturing the bacteria themselves; over 50C and they’re dead, leaving you with warm milk that will spoil rather than sour.
This is why a thermometer is the only piece of gear I consider non-negotiable. I keep a probe thermometer for the scald and an ambient one in the incubator. If you buy one thing before starting, make it a decent instant-read. You can find a reliable digital instant-read thermometer for very little, and it removes all the guesswork. As an Amazon Associate I earn from qualifying purchases.
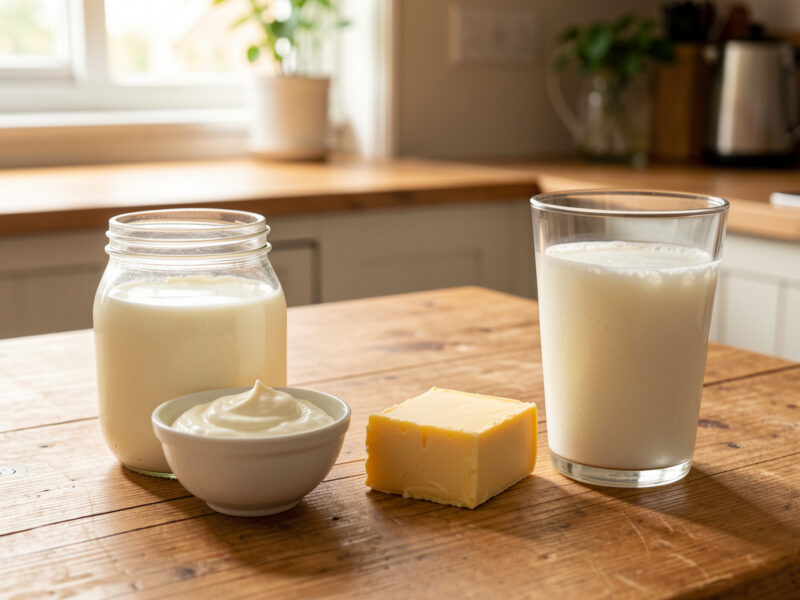
Choosing Your Milk
Whole pasteurised milk gives the thickest, most reliable set. Fat and milk solids build body, and standard pasteurised milk still has the protein structure that gels well when scalded. Avoid UHT or ultra-pasteurised milk — it consistently sets watery in the batches I’ve cultured.
The reason comes down to proteins. When you scald milk, you denature the whey proteins so they form a tighter gel network during fermentation. UHT and ultra-pasteurised milk have already been heated so aggressively at the factory that those proteins are spent — there’s nothing left for the scald to do, so the curd stays loose and weepy. Standard pasteurised milk is the workhorse. Whole gives the thickest result; semi-skimmed works but sets softer; skimmed sets thinnest of all and benefits from a spoonful of milk powder if you want body.
If you have access to raw or low-temp “vat pasteurised” milk, those make superb yogurt too, but you still scald them yourself. The one milk I steer beginners away from is anything labelled UHT, long-life, or ultra-pasteurised. It’s the most common reason a first batch comes out drinkable rather than spoonable.
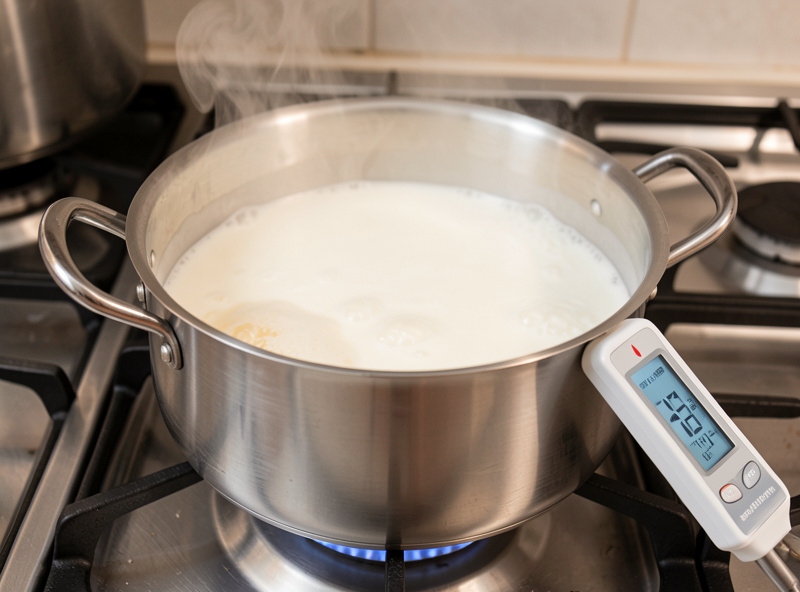
The Scald: Where Thickness Comes From
Scalding means heating the milk to about 82C before you cool and culture it. This is the step that gives a thick set, and skipping it is the most common reason beginners get watery yogurt. The scald restructures the milk proteins so they trap water in a firm gel.
Heat your milk slowly, stirring so it doesn’t catch or skin over heavily, until your probe reads around 82C (a range of 80-85C is fine — you don’t need to boil it). Some fermenters hold it at 82C for 10-20 minutes for an even firmer set; I usually just bring it to temperature and pull it off the heat. The longer hold drives off a little more water and denatures more whey protein, which is why long-set Greek-style yogurts often start with an extended scald.
Then comes the part beginners rush: cooling. The milk must drop to ~43C before you add the culture, because anything hotter will kill the bacteria you’re about to add. I sit the pot in a sink of cold water and stir, watching the probe. When it reads 43C, I’m ready to inoculate. Don’t eyeball this — milk at 50C feels “warm” to the hand but is hot enough to ruin the culture.
Inoculating With a Starter
To inoculate, stir 1-2 tablespoons of live plain yogurt per litre into the cooled 43C milk, or use a direct-set powdered culture per its packet. The yogurt you use must be live and unflavoured — it’s carrying the bacteria that will seed your whole batch.
Any plain yogurt with live active cultures works as a starter; check the label says “live” or “active cultures” and that it’s unsweetened and unflavoured. Whisk your couple of spoonfuls into a small amount of the warm milk first to slacken it, then stir that back through the full pot so the culture is evenly distributed. More starter is not better — overloading it crowds the bacteria and can actually give a grainier, faster-souring result. One to two tablespoons per litre is plenty.
If you’d rather start from a clean, defined culture, a direct-set yogurt culture gives consistent strains every time and is what I recommend if you don’t already have a yogurt you trust. Follow the packet for the dose, since freeze-dried cultures vary in potency. Once you have a batch going, you won’t need to buy culture again — see backslopping below.
Incubation Methods Compared
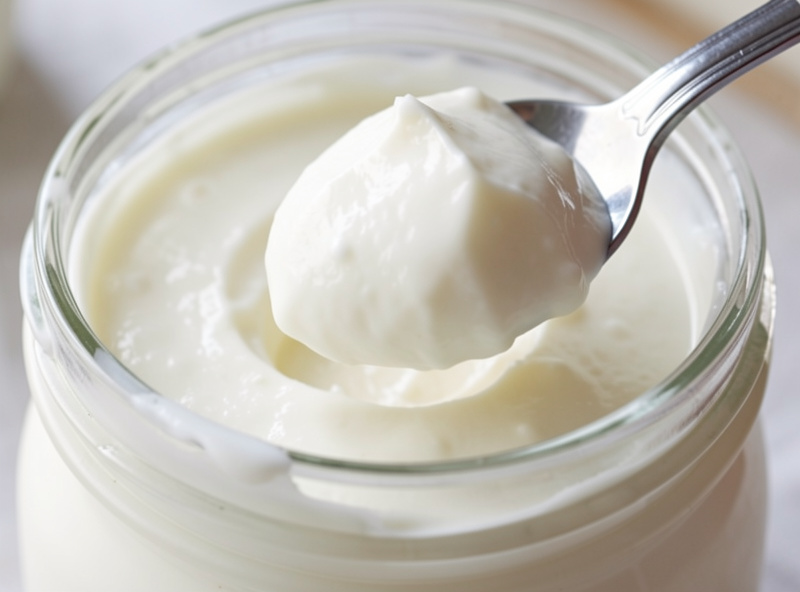
Incubation just means holding the cultured milk steady at 40-45C for 4-12 hours while the bacteria work. Shorter holds give milder yogurt; longer holds give a tarter, firmer set. The method matters less than the stability of the temperature.
You don’t need a dedicated appliance. The job is simply to keep a jar of milk at body-warm temperature without big swings. Here’s how the common methods stack up across the batches I’ve run:
| Method | Temp stability | Effort | Best for |
|---|---|---|---|
| Oven with light on | Good (check with thermometer) | Low | Beginners with no kit |
| Cooler of warm water | Good for 4-6 h, then drifts down | Low | Short, mild sets |
| Instant Pot yogurt setting | Excellent | Very low | Hands-off consistency |
| Dedicated yogurt maker | Excellent | Very low | Regular yogurt makers |
Whichever you choose, verify the real temperature once with a thermometer rather than trusting the dial — oven lights in particular vary wildly from one model to the next. I check at the 4-hour mark for taste and set, then again hourly. When the yogurt has gelled and tastes right to me, it’s done; you don’t have to run the full 12 hours.
Troubleshooting Runny or Sour Yogurt
Runny yogurt almost always traces to three causes: incubation below 38C, skipping the scald, or using UHT milk. Yogurt that’s too sour was simply held too long or too warm. Both are easy to correct once you know the lever to pull.
If your set is thin and weepy, work down the list. Did the incubator actually hold 40-45C, or did it drift cold? Did you scald to 82C, or pour culture into merely warm milk? Was the milk UHT? Fix whichever applies on the next batch. A loose set can still be saved by straining it through cloth into thicker yogurt, so don’t tip it out.
If it’s set firm but mouth-puckeringly sour, you over-incubated. Pull future batches earlier — sourness climbs steadily as the pH falls, and a finished yogurt sits around pH 4.4 on my pH meter. For milder yogurt, stop at 4-6 hours; for tart, let it ride toward 10-12. There’s a window for every palate, and a pH meter takes the guesswork out of fermentation if you want to dial it in precisely. One thing that is never salvageable: fuzzy or coloured mould on the surface. That means contamination — toss the whole batch.
Backslopping the Next Batch
Backslopping means saving a few spoonfuls of your finished yogurt to culture the next batch, exactly as you used store-bought yogurt as the starter. It works reliably for about 3-5 generations before the strain balance drifts and you should re-seed from fresh culture.
Set aside 1-2 tablespoons per litre from a fresh, clean batch — ideally before you’ve dug into it with used spoons — and keep it refrigerated. Use it within a week or so for the strongest, most active seed. Over successive backslops the proportion of the two bacteria slowly shifts and wild organisms can creep in, which shows up as slower sets, off flavours, or thinner texture. When you notice that, just start again from a fresh tub of plain live yogurt or a direct-set culture. Refrigerate every finished batch as soon as it’s set; properly chilled homemade yogurt keeps about two weeks.
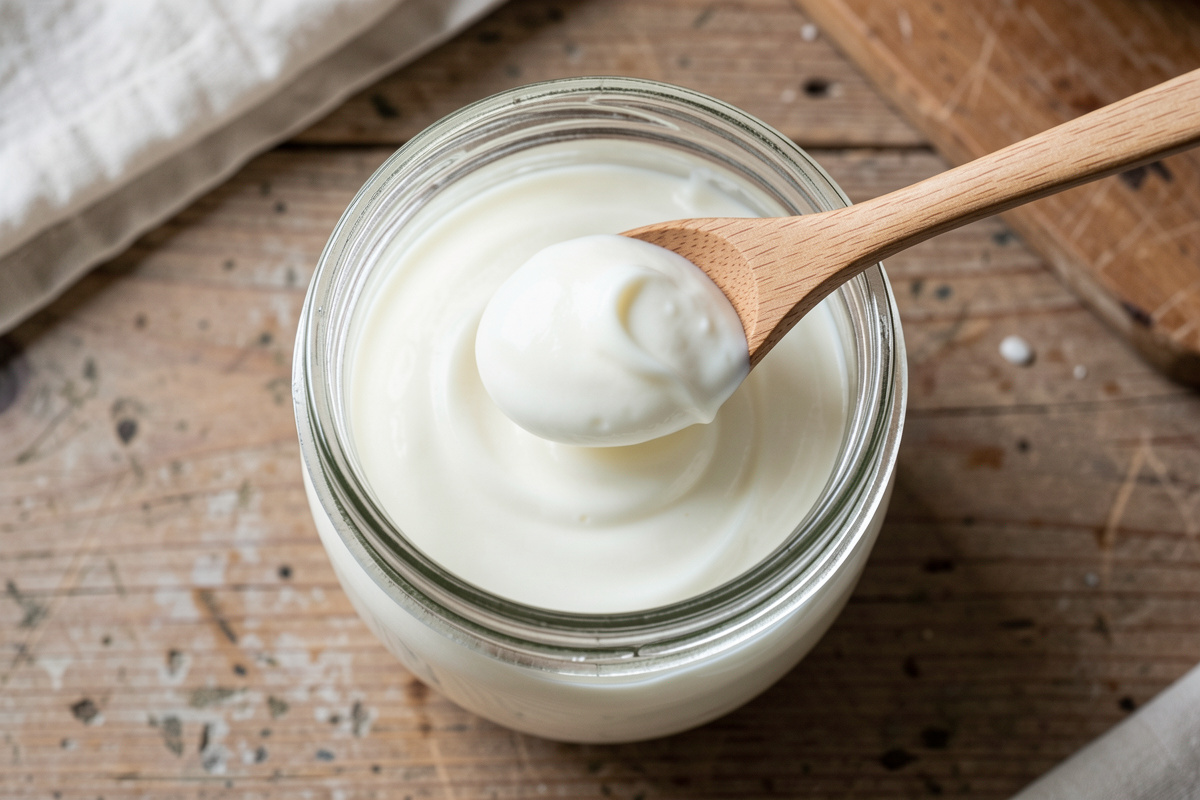
Storing and Using Your Yogurt
Refrigerate yogurt the moment it has set to the firmness you want — chilling halts fermentation so it doesn’t keep souring. Stored cold, homemade yogurt keeps roughly two weeks. The flavour mellows and the texture firms slightly over the first day in the fridge.
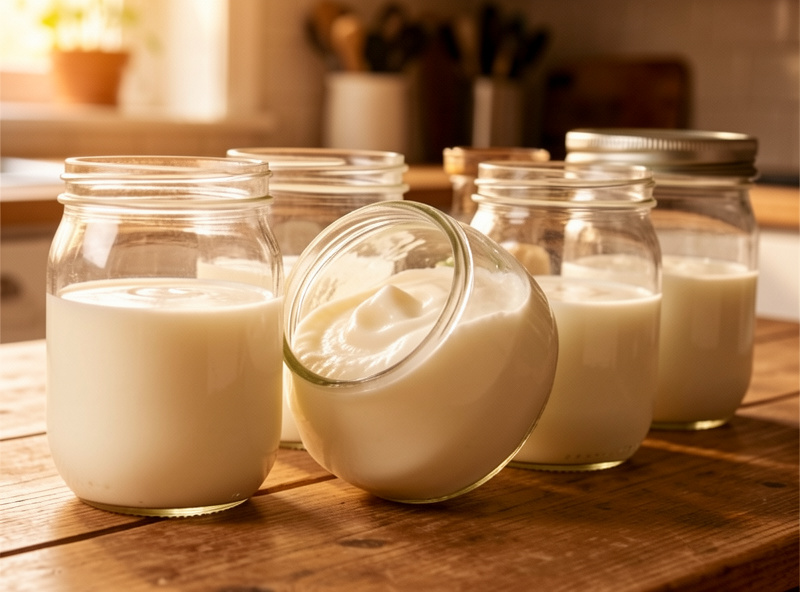
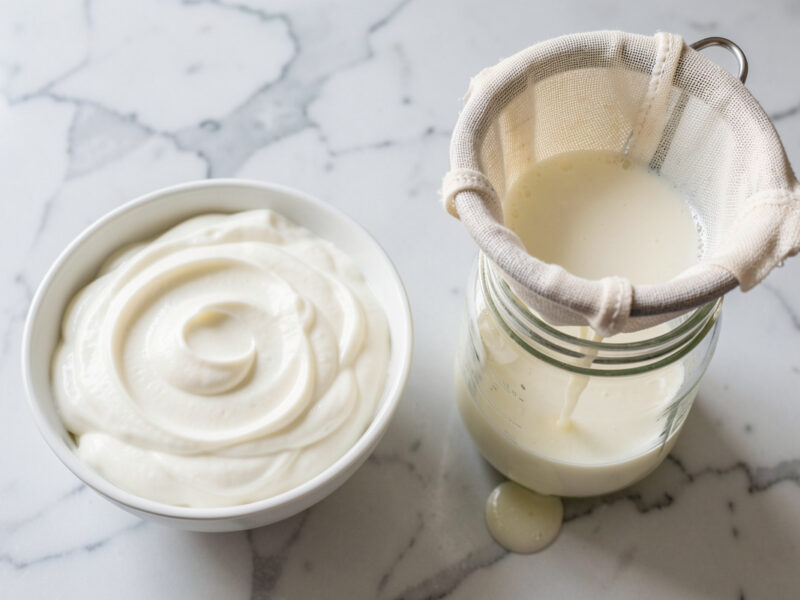
I keep mine in clean glass jars and always reserve a backslop portion before serving. Beyond eating it plain, the same set is your base for straining into thick Greek-style yogurt, blending into dressings, or using as a tangy bake ingredient. If you want a denser spoonable yogurt, straining is the next skill to learn — it’s just a cloth and patience, drawing off whey until you hit the thickness you like.
What temperature should I incubate homemade yogurt at?
Hold cultured milk steady at 40-45C, with 43C as the ideal. Below 38C the thermophilic bacteria stall and the yogurt stays runny; above about 46C you start killing them, so a stable warm spot is essential.
Why is my homemade yogurt runny?
The three usual causes are incubating below 38C, skipping the scald to 82C, or using UHT milk. Fix whichever applies on the next batch. A loose set can also be strained through cloth to thicken it rather than thrown away.
Can I use any plain yogurt as a starter?
Yes, as long as it is plain, unsweetened, and labelled with live or active cultures. Stir 1-2 tablespoons per litre into milk cooled to 43C. Flavoured or sweetened yogurts will not reliably seed a fresh batch.
How many times can I backslop yogurt?
Reusing a few spoonfuls of your finished batch to seed the next works reliably for about 3-5 generations. After that the strain balance drifts, giving slower sets or off flavours, and you should re-seed from fresh yogurt or culture.
Do I have to scald the milk?
For a thick set, yes. Heating to about 82C denatures whey proteins so they form a firm gel during fermentation. Skipping the scald, or using already ultra-heated UHT milk, is the most common reason yogurt comes out thin and watery.
How long does homemade yogurt keep?
Refrigerated promptly after it sets, homemade yogurt keeps about two weeks. Chilling halts fermentation so it stops souring. Discard any batch that shows fuzzy or coloured mould, as that signals contamination and cannot be salvaged.
Related Guides
- Cultured Dairy: The Complete Guide (hub)
- How to Strain Greek Yogurt at Home
- The Complete Guide to Dairy Kefir
- Making Sour Cream and Creme Fraiche
- The Best pH Meter for Fermentation

About Kenny Nyhus Fadil
A home fermenter documenting brines, bubbles, and the occasional moldy tragedy.
Keep Bubbling
Home Cheesemaking: A Beginner’s Guide to Fresh Cheese
How to Strain Greek Yogurt at Home