Vegetables Floating Above the Brine: Risks and Fixes

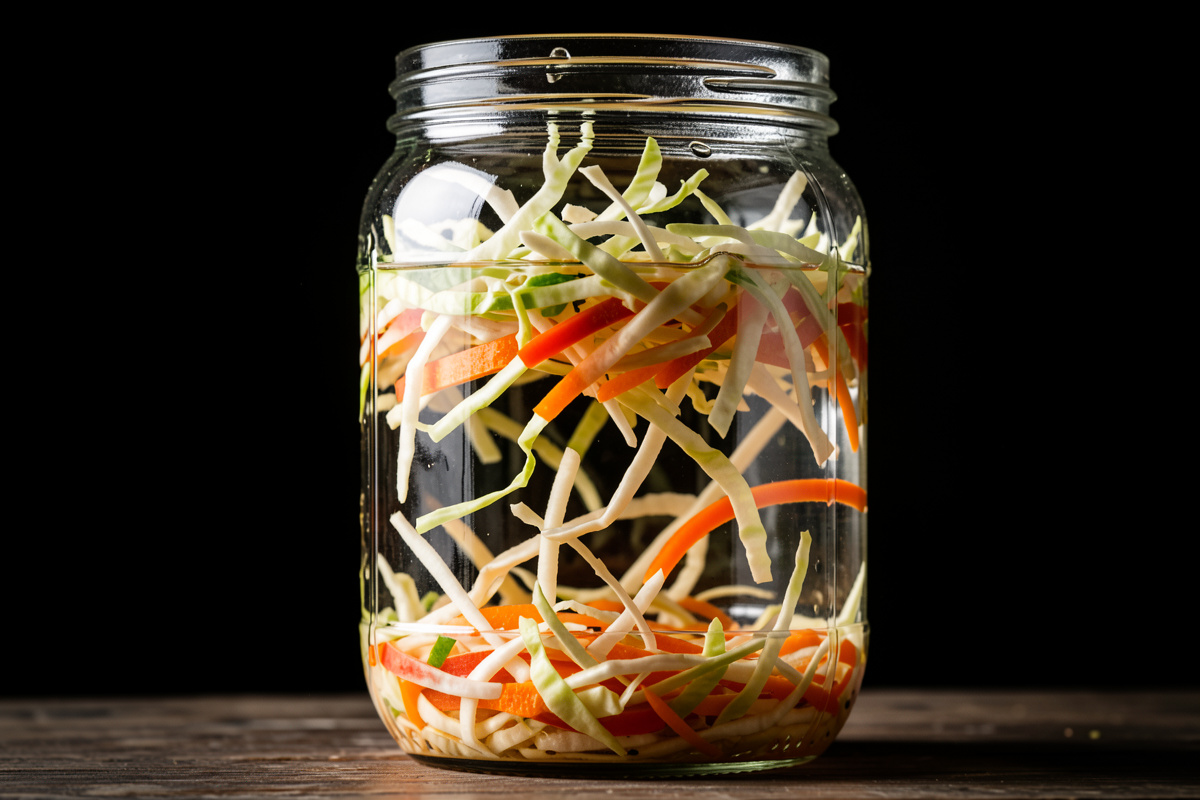
Vegetables floating above the brine is the single most common cause of mold in home ferments — and it’s completely preventable. Anything above the liquid is exposed to oxygen, which is exactly what mold and kahm yeast want and Lactobacillus doesn’t. A few shreds that surfaced and got pushed back under within a day are harmless. Vegetables left bobbing in the air for days are how a good batch grows fuzz. The rule on my bench is absolute: everything stays submerged, always.
I’ve broken that rule and paid for it. One summer I packed a beautiful jar of fermented carrots and ginger, skipped the weight because I was in a hurry, and came back three days later to a raft of carrot floating an inch proud of the brine with a soft fuzzy dot already colonizing the highest piece. The submerged carrots below were perfect. The whole jar went in the compost because of one lazy shortcut. Submersion isn’t a nicety in fermentation — it’s the core mechanism that keeps the right microbes winning.
Why Are My Vegetables Floating Above the Brine?
Two forces push vegetables up: buoyancy and gas. Many vegetables are simply less dense than brine once cut, and during the vigorous fermentation phase, carbon dioxide bubbles form inside and around the pieces and lift them like tiny life vests. Add a jar packed loosely, or one without any weight holding the surface down, and the top layer inevitably rises into the air.
This is normal physics, not a mistake in your recipe — which is why every serious fermentation setup includes something to hold the vegetables down. The gas-lift effect peaks in the first few days when fermentation is most active, exactly when exposure is most dangerous because the batch hasn’t yet acidified enough to fully protect itself. Understanding that timing changes how you set up: you want the weight in from minute one, not added after you notice floating. This is one station on the full vegetable fermentation troubleshooting guide, and it connects directly to the quiet, bubble-driven activity I describe in no bubbles: is it even working — the same CO2 that you may not see is what’s lifting your vegetables.
Is It Dangerous When Vegetables Float Above the Brine?
It’s a risk, not an automatic disaster. The danger is exposure to oxygen, which lets mold and kahm yeast colonize the exposed surfaces. Caught within a day and pushed back under, floating vegetables are fine. Left exposed for days, they can grow kahm yeast (harmless but unpleasant) or true mold (which, in soft fermented vegetables, means discarding the batch). The length and degree of exposure is what determines the outcome.
Here’s how I assess a floated batch. A few pieces that surfaced briefly, no visible growth, brine still smelling clean and sour: push them under, add a weight, move on — no harm done. A raft that’s been up for days with a flat, pale, wrinkly film: that’s kahm yeast, which I skim off before re-submerging; it’s a flavor nuisance, not a hazard. Fuzzy, raised, colored growth — green, black, blue, or textured white or pink: that’s mold, and in high-moisture fermented vegetables the mold filaments spread invisibly below the surface, so the batch goes. Telling kahm from mold is the whole safety call here, and I lay it out with photos in mold vs kahm yeast and the dedicated kahm yeast guide. When in doubt, my calibrated pH meter helps: a batch sitting at a firm 3.4 with only a skimmable film is almost always salvageable. Food-safety authorities including the U.S. National Center for Home Food Preservation emphasize keeping ferments fully submerged for exactly this reason.
Why Do Fermenting Vegetables Float in the First Place?
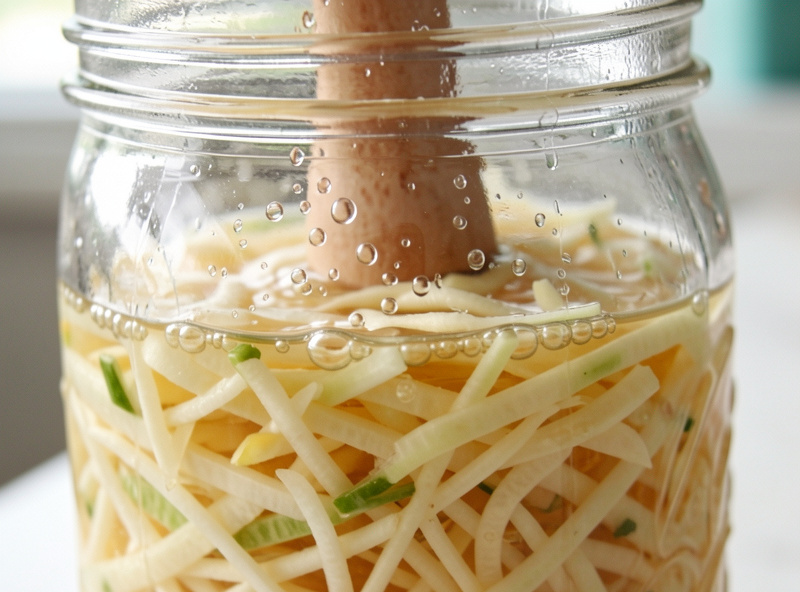
Beyond buoyancy and gas, the specifics of your pack matter. Loosely packed shredded vegetables trap more gas and float more readily than tightly pressed ones. Whole or large pieces — cucumber spears, cauliflower florets, radish chunks — are more buoyant than a dense mat of shredded cabbage. And a jar filled too high, with the vegetables reaching near the rim, leaves no room for a weight to do its job and no headspace for the brine to rise into.
Knowing this shapes how I pack. For shredded krauts I press firmly to expel air and build a dense mat that resists floating, then leave a couple of centimeters of headspace below the brine line for a weight to sit. For chunkier ferments — spears, florets, whole beans — I know buoyancy will fight me harder, so a weight isn’t optional, it’s mandatory. Cabbage leaves folded over the top as a “cap” under the weight are an old trick that holds loose shreds down beautifully. The goal every time is the same: a solid, submerged mass with brine covering it and a weight ensuring it stays that way even when gas tries to lift it.
How Do I Get Vegetables Back Under the Brine?
Act promptly and gently. Push the floating pieces back under with a clean utensil, then add a weight to keep them there. If the brine level has dropped too low to cover everything, top it up with fresh brine mixed to the same salinity — never plain water, which dilutes the salt and weakens the whole batch. The aim is full coverage restored the same day you notice the problem.
My go-to for a jar that’s lost brine is a quick matched batch: I dissolve salt into dechlorinated water at the same percentage I used originally — 2–2.5% for kraut, higher for pickles — and pour it in until the vegetables are covered with a centimeter to spare. Getting the salinity to match matters; topping up with straight water is a classic way to accidentally under-salt a batch and invite the very softness and spoilage you’re trying to avoid. If you’ve had to top up, give the batch a day and check that it’s still souring normally. And skim any surface film before you re-submerge, so you’re not pushing kahm yeast down into an otherwise clean ferment. Once it’s covered and weighted, the anaerobic environment reestablishes and Lactobacillus gets back to dominating.
Which Fermentation Weight Actually Keeps Things Submerged?
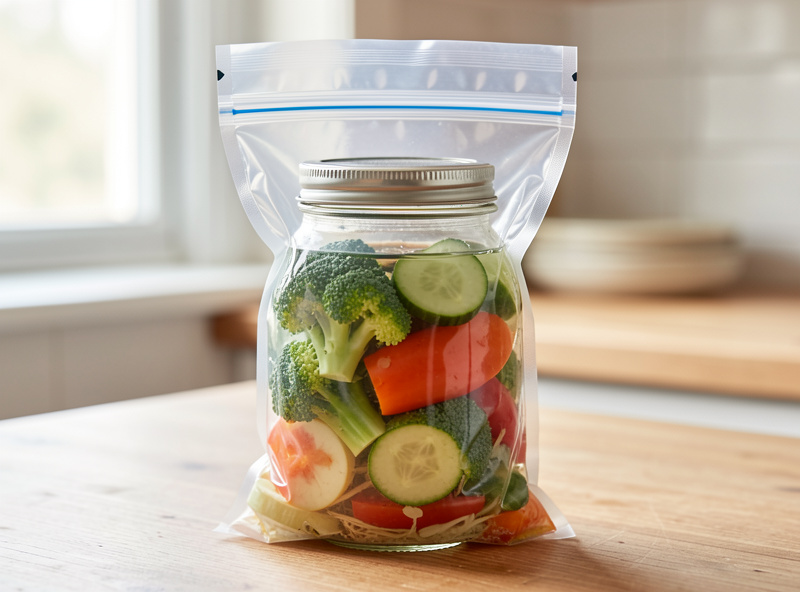
The best weight is the one that covers the most surface and stays put. I’ve run them all side by side: purpose-made glass fermentation weights and ceramic crock stones are my everyday choice for jars and crocks respectively, a follower plate works for wide vessels, and a humble brine-filled zip bag is the champion for conforming to an irregular surface and sealing off oxygen almost completely. Each has a place.
Here’s how I choose. In my water-sealed stoneware crock, the heavy ceramic crock stones that came with it press the whole cabbage mat flat — that’s what a large-batch kraut vessel is built for. In wide-mouth Mason jars I use glass weights sized to the mouth; they’re easy to clean, don’t absorb odors, and sit low. For the trickiest cases — chunky, buoyant, uneven ferments — nothing beats a food-grade zip bag filled with brine (brine, not water, so a leak won’t dilute the batch): it molds to the surface and leaves almost no air gap. The one thing I don’t rely on is nothing at all, or a too-small weight that lets pieces escape around the edges. My full head-to-head, including capacity and cleanup notes, is in fermentation weights compared. Whatever you use, the test is simple: after the vigorous phase kicks in, is everything still under the brine? If yes, the weight is doing its job.
What If Mold Already Grew on the Exposed Vegetables?
If you see genuine mold — fuzzy, raised, and colored — on vegetables that floated, discard the batch. In soft, waterlogged fermented vegetables you cannot reliably cut mold out the way you can with a hard cheese, because the root filaments run through the tissue invisibly and some molds produce toxins that don’t cook away. A lost jar of vegetables costs a few dollars; it isn’t worth the gamble.
Kahm yeast is the reprieve. If the surface growth is a flat, pale, sometimes wrinkly film with no fuzz and no color, that’s kahm — skim it off completely, push the vegetables back under, add a weight, and the batch is fine, though its flavor may be slightly duller. The distinction is everything, and it’s worth studying real photos until you can call it instantly: fuzzy and colored equals toss, flat and pale equals skim. When a floated batch has me genuinely unsure, the deciding factors are the texture (firm and normal versus soft and off), the smell (clean sour versus rotting — see normal funk vs genuinely spoiled), and the pH reading. I explain what makes a meter trustworthy in best pH meter for fermentation.
The lesson threading through all of this is prevention. Weight your ferments from the start, pack them densely, leave headspace for brine, and check on the first two or three days when gas-lift is strongest. Do that and floating stops being a crisis and becomes a non-event. For the bigger picture of what else can go sideways, head back to the troubleshooting hub, and if your floated pickles came out soft as well as exposed, the enzyme story behind that is in why pickles go hollow or soft. Keep everything under the brine, and most of the problems in this entire guide simply never start.

About Kenny Nyhus Fadil
A home fermenter documenting brines, bubbles, and the occasional moldy tragedy.
Keep Bubbling
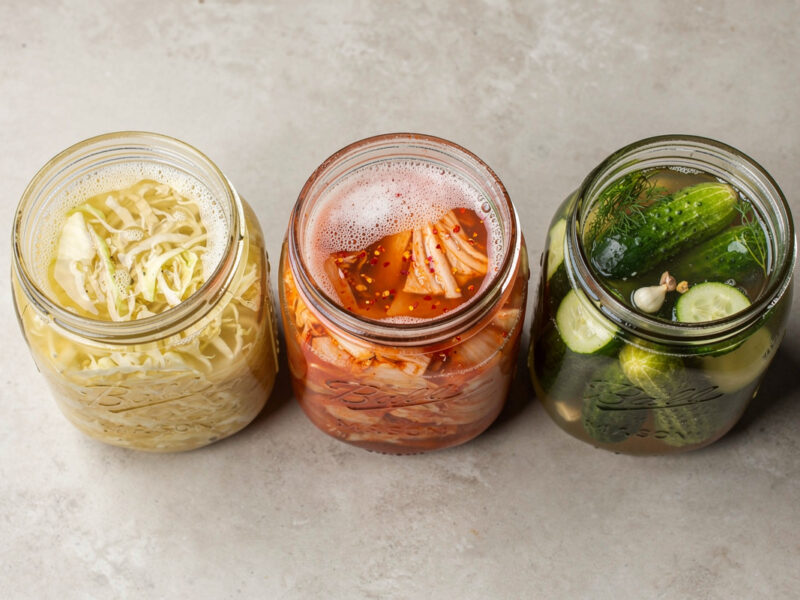
Kahm Yeast: What It Is, How to Prevent It, When It Is Safe
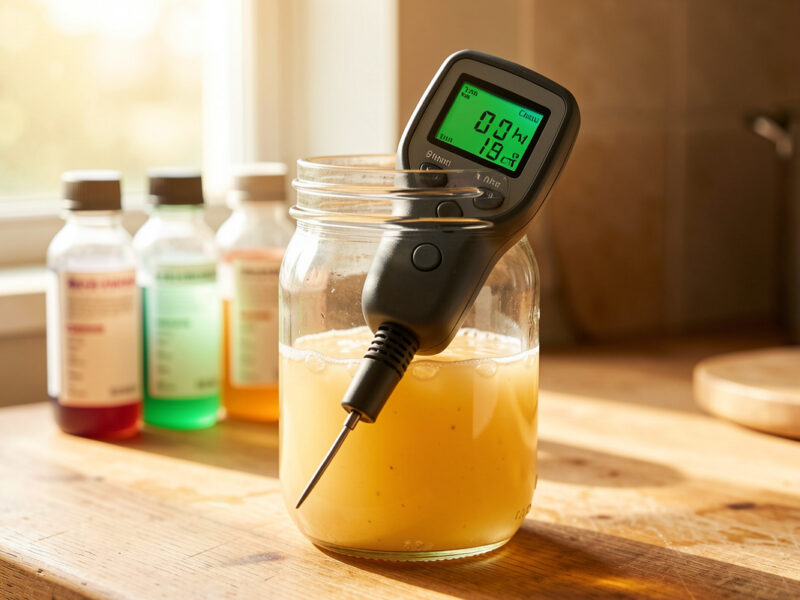
Best pH Meter for Fermentation: What Actually Matters