How to Make Preserved Lemons and How to Use Them

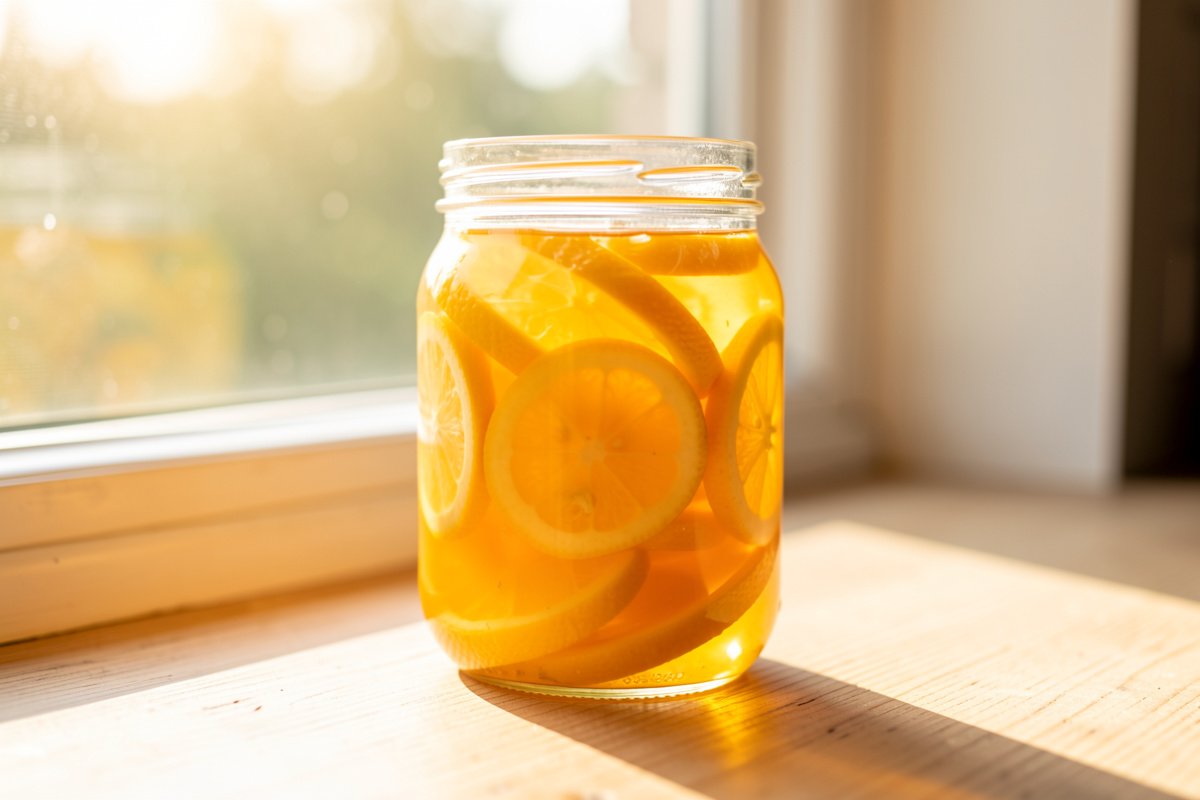
To make preserved lemons, scrub organic lemons, quarter each one from the top leaving the base attached, pack the cut faces with coarse salt at 15–20% of the fruit’s weight, cram them into a sterile jar pressing hard to release their juice, then top with extra lemon juice until fully submerged and cure at room temperature for three to four weeks. That’s the entire method — no airlock, no starter, no special skill.
I’ve kept a preserved-lemon jar going almost continuously for years, and it’s still the single best return on effort in my whole kitchen. Ten minutes of packing, three weeks of patience, and you’ve turned the cheapest bag of lemons into an ingredient that costs a fortune when you buy it jarred. The finished peel goes into tagines, salad dressings, roast chicken, grain bowls — anywhere you want a savory, floral, salty-sour hit that fresh lemon can’t give. If you want the wider context of where this sits among salt cures generally, it’s the flagship of my salt-preserved produce guide.
What Kind of Lemons and Salt Should You Use?
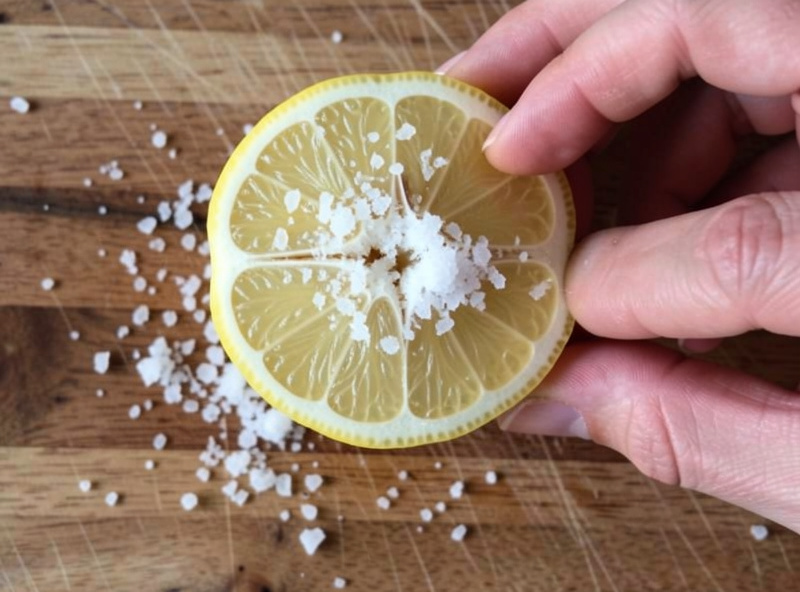
Use organic or unwaxed lemons — you’re eating the peel, so the rind matters more than the flesh — and coarse non-iodized salt like kosher or coarse sea salt. Meyer lemons give a thinner, sweeter pith and cure a little faster; standard Eureka or Lisbon lemons are firmer and hold up beautifully. Avoid iodized table salt, which can cloud the brine and leave a metallic edge.
The salt point is the one I won’t hand-wave. In a preserved lemon, salt is the entire safety system — there’s no acid ferment carrying the load like there is in my kraut. So it goes on the 0.1 gram scale every time: whole lemons on the scale first, note the weight, then measure salt at close to a fifth of that mass. Iodine and anti-caking agents in cheap table salt can interfere with the cure and muddy the liquid, which is why I stick to plain coarse salt. If you’re weighing produce for cures often, that little scale earns its shelf space fast — the same one runs every batch in this cluster.
How Do You Pack the Jar Step by Step?
Cut each lemon into quarters from the top down, stopping about a centimeter short of the base so the wedges stay hinged together; open the lemon like a flower, pack coarse salt into the exposed cut faces, then press it hard into a sterile jar so it releases juice. Repeat, layering extra salt between lemons, until the jar is packed tight and the lemons are submerged in their own salty juice topped off with more squeezed lemon.
The pressing is where beginners go too gently. You want to bruise and crush the lemons enough that they weep freely — a wooden spoon or a clean fist works. By the time the jar is full, the bottom lemons should be sitting in a pool of cloudy juice. If your lemons are stingy and the liquid doesn’t cover everything, squeeze two or three extra lemons and pour that in. Every scrap of peel has to sit below the surface. The brine line is the safety line: anything poking into the air can grow mold that the salty liquid would otherwise stop cold. I learned that the hard way early on, when two proud lemons above the brine grew a fuzzy grey patch and cost me the whole jar.
Leave two or three centimeters of headspace, seal the jar, and give it a good shake to distribute the salt. Then it lives on the counter, out of direct sun, and I turn and shake it every couple of days for the first week to keep the salt moving and the lemons coated.
How Long Do Preserved Lemons Take to Cure?
Preserved lemons need three to four weeks at room temperature to fully cure, though I’ve pushed thin-skinned Meyers to two weeks in a warm kitchen and let winter batches go five. You’ll know they’re ready when the rinds have gone soft and slightly translucent, the pith no longer bites bitter, and the brine has thickened to a light syrup. The raw, sharp lemon smell mellows into something floral and almost savory.
Temperature drives the pace — my Swedish kitchen runs cool in winter, so those batches take longer than summer ones. There’s no harm in going long; if anything the peel gets silkier and the flavor deepens the further past a month you let it sit. What you’re waiting for is texture, not a clock. Squeeze a wedge against the side of the jar around week three: if the rind yields softly like a piece of soft leather rather than snapping, it’s done. If it’s still stiff, give it another week and check again.
Is the Cloudy Brine and Soft Rind Normal?
Yes — cloudy brine and softening rinds are exactly what’s supposed to happen. The cloudiness is dissolved pectin and fruit sugars pulled out of the lemons by the salt; the softening is the salt breaking down the rind’s cell walls. Neither is spoilage. A harmless white film on the surface is usually kahm yeast — skim it and carry on. Only fuzzy, colored, raised growth or a rotten smell means toss the batch.
This is the question I field more than any other, because a first-timer opens the jar at week two, sees a milky, thick liquid and slumping lemons, and assumes it’s gone off. It hasn’t — that’s the cure working. The same cloudiness shows up in every salt preserve I run. If you want the full “is this normal or is this spoiled?” checklist with the specific signs that actually mean trouble, I put it all in are preserved lemons supposed to get soft and cloudy?. The short version: submerged, salty, and citrus-smelling is safe; exposed, fuzzy, and colored is not.
How Do You Actually Cook With Preserved Lemons?
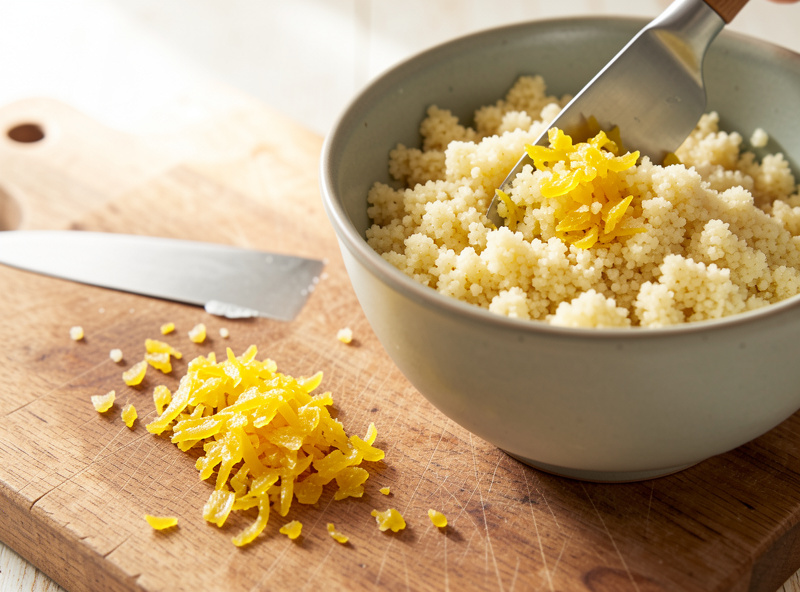
You use the peel, not the flesh — that’s the key move most people miss. Scrape out and discard the soft pulp, rinse the rind briefly if it’s very salty, then finely mince or slice the peel and stir it into whatever you’re cooking. A single wedge’s worth of minced rind will transform a dish. Because it’s already salty, you cut back on other salt in the recipe.
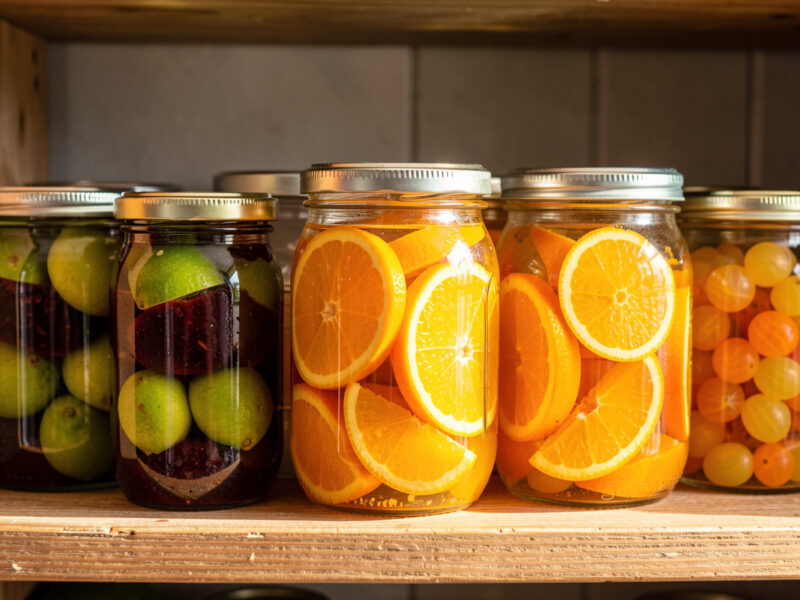
My regular uses: minced into the base of a chicken tagine with olives; stirred through warm couscous or a grain bowl; whisked into a lemon-and-herb salad dressing; folded into softened butter for roast fish; chopped over blistered green beans or roasted carrots. A teaspoon of the brine itself is a secret weapon in a Bloody Mary or a marinade. The flavor is deeper and rounder than fresh lemon — less bright acid, more umami and floral complexity, with the bitterness cured out. Start with less than you think; it’s potent. Once you’ve got the basic lemon down, the same technique opens up across the citrus shelf — limes, oranges, and kumquats each bring their own character, which I cover in preserved limes, oranges, and other citrus variations.
How Do You Store the Finished Jar?
Once cured, preserved lemons keep six to twelve months and often longer — at room temperature if the kitchen stays cool, or in the fridge for extra insurance and slower change. Always keep the lemons submerged, top up with lemon juice or brine if the level drops, and only ever dig in with a clean fork or spoon. Contamination and air exposure are what end a jar, not age.
I keep my working jar in the fridge once it’s cured, purely because it slows everything down and I’m using it slowly. Refrigeration isn’t required for safety — the salt does that — but it’s cheap insurance. If a lemon floats up above the liquid, push it back under or add juice. The full storage playbook, including how to tell when a jar has genuinely turned versus just aged, is in how long do preserved lemons keep and how to store them. And if you’re wondering why this is a salt cure and not a fermentation like my kraut, the distinction — and why it changes how you handle the jar — is laid out in salt-cured vs lacto-fermented.
For the food-safety backbone here — why high salt makes citrus shelf-stable — I lean on the National Center for Home Food Preservation and the water-activity thresholds in the FDA Food Code. As an Amazon Associate I earn from qualifying purchases. If you need jars to start, compare quart wide-mouth Mason jars.
Frequently Asked Questions
Do I have to use organic lemons?
Organic or unwaxed lemons are strongly preferred because you eat the peel, which is where wax and residues concentrate. If you can only get waxed lemons, scrub them well under hot water first. The rind quality matters more than the flesh in this recipe.
How much salt per lemon do I need?
Weigh your lemons and use salt at 15 to 20 percent of that weight. A rough guide is about one to two tablespoons of coarse salt per lemon, but weighing is far more reliable since salt types vary so much by volume. The salt is the only preservative here, so do not cut it.
Can I speed up the cure?
A warmer kitchen cures faster, and thin-skinned Meyer lemons finish sooner than thick Eureka lemons, sometimes in about two weeks. You can also slice the lemons thinner for more salt contact. But three to four weeks gives the best texture and flavor, so patience pays off.
Do I eat the flesh or just the peel?
Use the peel. Scrape out and discard the soft cured pulp, then mince or slice the rind into your dish. The peel carries the floral, savory, cured flavor, while the pulp is mostly salty mush. A teaspoon of the brine is also a great seasoning.
Why did a white film form on top?
A thin white film is almost always kahm yeast, which is harmless. Skim it off and make sure the lemons stay submerged. Only worry if you see fuzzy, raised, colored growth or smell rot rather than sharp salt and citrus, which would mean discarding the batch.
Related Reading
- Salt-Preserved Produce: The Complete Guide
- Are Preserved Lemons Supposed to Get Soft and Cloudy?
- Preserved Limes, Oranges, and Other Citrus Variations
- How Long Do Preserved Lemons Keep and How to Store Them
- Salt-Cured vs Lacto-Fermented: Two Different Preservation Paths

About Kenny Nyhus Fadil
A home fermenter documenting brines, bubbles, and the occasional moldy tragedy.
Keep Bubbling
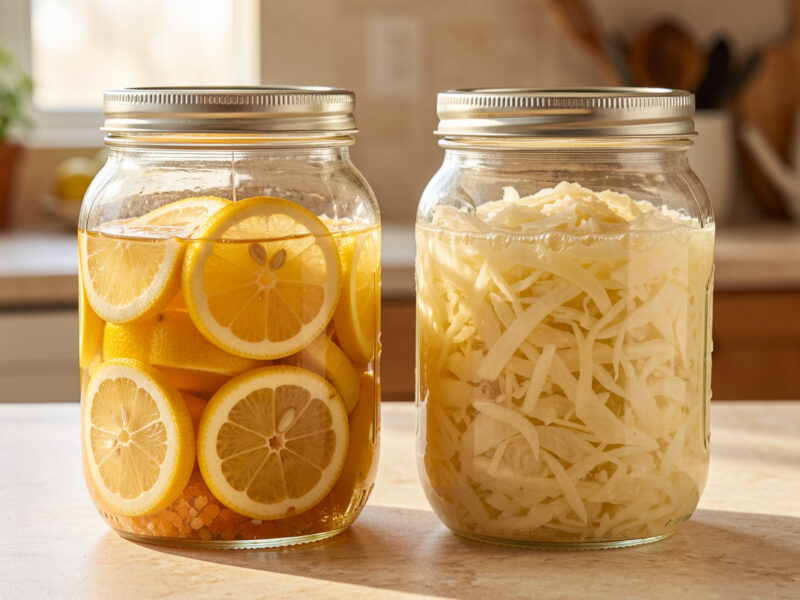
Salt-Cured vs Lacto-Fermented: Two Preservation Paths
How to Pick and Prep Pickling Cucumbers