Fermentation Crock Care & Cleaning: Complete Guide

A fermentation crock only earns its keep if it comes out of every batch as clean as it went in, and that means no soap film in the glaze, no mold ring in the water moat, and no crazing you have ignored for three years. Care is simple: hot water and a stiff brush after every ferment, a periodic descale of the moat and rim, a bone-dry storage cure, and a yearly hard look at the glaze. Do those four things and a good stoneware crock outlives you.
I have been running crocks in my Sweden kitchen long enough to have made every mistake in this guide personally. I have left a water-sealed crock damp in a cupboard and opened it to a black-spotted moat. I have scrubbed a fresh kraut crock with dish soap and spent the next batch chasing a faint detergent taste that never fully left the lacto-tang. The crock survived all of it — stoneware is tougher than people think — but the batches did not. This hub is the whole maintenance system: what to do after each ferment, how to descale the parts hard water ruins, how to kill a smell that has soaked into the clay, and how to read a crack before you trust another fifteen pounds of cabbage to it.
What Does Fermentation Crock Care Actually Involve?
Crock care breaks into four jobs on different clocks: clean after every batch (hot water, brush, no soap), descale the moat and rim every few weeks during a run, deep-deodorize only when a smell has set, and inspect-and-store between batches so nothing grows in the downtime. Miss the storage step and you inherit the deodorizing step; skip the descale and the water seal stops sealing.
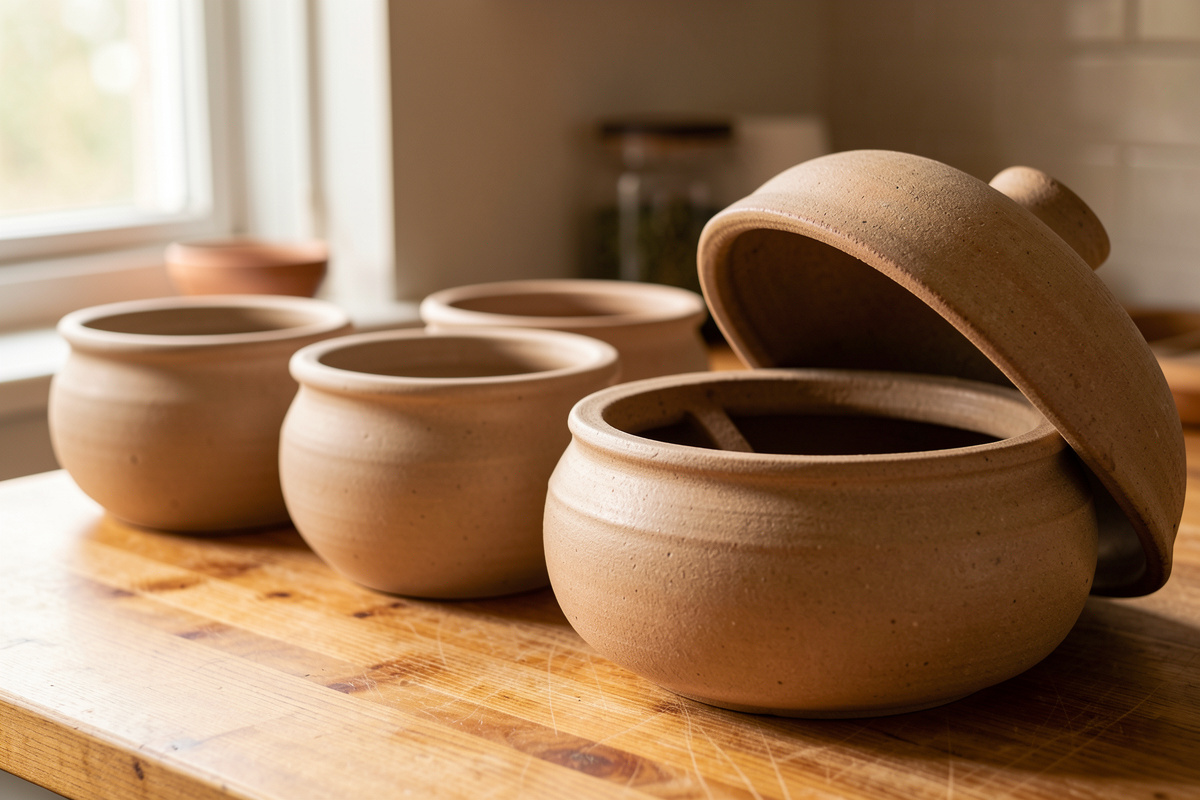
The reason a crock needs a system rather than a quick rinse is that fermentation glaze lives a hard life. The interior spends weeks in contact with an acidic, salty, low-pH environment — the same Lactobacillus chemistry that drops a sauerkraut brine to pH 3.4 is mildly etching to anything organic left on the surface. Salt creeps into micro-pores. Cabbage sugars and chili oils bond to the glaze. And the one part unique to a water-sealed stoneware crock, the moat channel that holds the airlock water, is a standing pool that mold and hard-water scale both love.
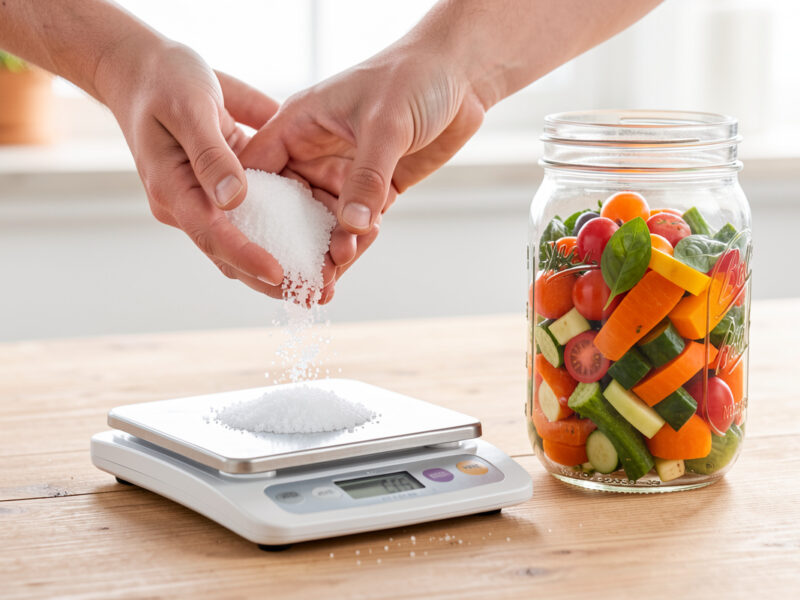
My rule is that the crock is a piece of measurement equipment, not a bucket. I salt by weight on a 0.1 g scale and check brines on a salinity refractometer precisely because fermentation is a controlled process, and a controlled process starts with a clean, known vessel. A crock carrying last batch’s residue is an uncontrolled variable — off-flavors, stray yeast, a head-start for kahm. Everything below is how I keep that variable at zero across the German-style water-sealed crock I use for big kraut runs, my smaller open-top stoneware crock, and the shelf of Mason jars and HDPE buckets that back them up.
How Do You Clean a Stoneware Crock Without Leaving Soap Residue?
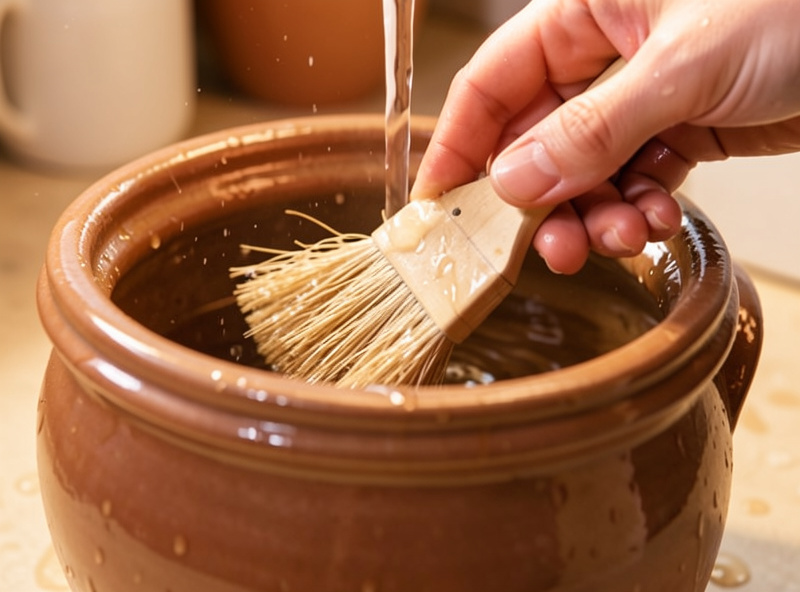
Clean a stoneware crock with the hottest tap water you can stand, a stiff natural-bristle or nylon brush, and no dish soap — the glaze is non-porous enough that hot water and mechanical scrubbing lift kraut residue completely, while surfactants soak into the fired-clay rim and foot where water never fully rinses them out. For stuck-on rings, a baking-soda paste does what soap would, minus the film.
The soap problem is specific and real. A glazed interior is glass-smooth and rinses clean, but the unglazed foot ring, the lid’s mating edge, and any hairline in the glaze are porous fired clay. Detergent wicks in and re-releases slowly into the next batch’s brine, where you taste it as a soapy back-note fighting the lactic sourness. That is the ferment I ruined years ago, and it is why the full method — the order of operations, the exact brush, when a baking-soda or citric-acid paste is warranted — gets its own deep dive in how to clean a stoneware fermentation crock without soap residue. The short version: scrape solids, hot-water brush the interior and lid, paste-scrub any residue ring, rinse until the water runs clear and slick-free, and dry fully before storage.
Two things people get wrong. First, they reach for a scouring pad on the glaze — a green scrubby will haze a glossy interior over time and give the next residue something to grip. Save abrasives for a dedicated paste and a soft cloth. Second, they clean the crock but forget the lid and the weights, which sit in the same brine and carry the same residue; those get the same hot-water treatment, and the follower stones and glass weights have their own routine in cleaning glass and ceramic fermentation weights. A clean crock with a dirty weight is still a dirty vessel.
Why Does the Water Moat Grow Mold and Scale?
The moat grows mold because it is a warm, still, low-oxygen puddle that you top up and forget, and it grows scale because tap water leaves calcium and magnesium behind every time it evaporates. Both live in the one channel that makes a water-sealed crock work — and a scaled or slimed moat stops holding the airlock seal that keeps oxygen off your ferment.
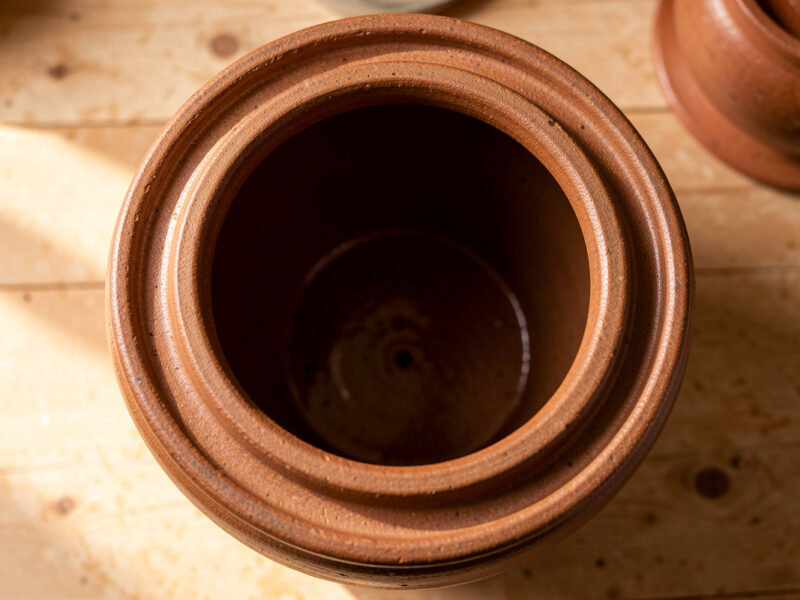
This is the maintenance job most crock owners never do because they never look. The moat sits under the lid’s skirt, out of sight for the whole three-to-six-week run, quietly evaporating. I top mine up with water on a schedule, but standing water at room temperature is an invitation, and hard water — my tap runs moderately hard — chalks a white ring at every old waterline. Left long enough, that scale roughens the channel and the mold gets a foothold in it. A rough, colonized moat does not seal cleanly, and a moat that does not seal lets air to the surface, which is how you get an unexpected kahm bloom or worse on what should have been a clean anaerobic ferment.
The fix is a routine, not a heroic scrub: empty and refresh the moat water on a set interval, wipe the channel, and periodically descale it with a mild acid — plain white vinegar or a citric-acid solution dissolves calcium scale without touching the glaze. The full descale-and-disinfect walk-through, including how to tell moat kahm from moat mold and how often to change the water in warm weather versus cold, is in crock moat mold and hard-water scale: keeping the seal clean. If your crock has ever mysteriously let air in mid-batch, the moat is the first place I would look.
How Do You Get Stubborn Smells Out of Jars, Lids, and Crocks?
Stubborn ferment smells come from oils and sulfur compounds — kimchi’s garlic and fish sauce, a chili mash’s capsaicin, an over-ripe kraut’s funk — soaking into porous clay, silicone gaskets, and plastic lids. Hot water alone will not pull them; you break them with a baking-soda soak for alkaline odors, a vinegar or citric-acid soak for mineral and mild funk, and sunlight plus air for silicone and plastic.
Glass and glazed stoneware are the easy cases — the smell sits on the surface and a baking-soda scrub usually clears it. The trouble is everything porous or rubbery in the system: the silicone waterless-airlock lids I run (the Pickle-Pipe style), the gaskets on Fido-style jars, the plastic three-piece airlocks, and the unglazed rim of the crock itself. Garlic and fish-sauce sulfurs bond to those materials and laugh at a rinse. I learned to keep a dedicated set of silicone lids for alliums and chili after a kombucha F2 came out faintly of last week’s kimchi — cross-contaminated smell is cross-contaminated flavor.
The material-by-material method — which soak for which smell, why UV light degrades the odor compounds in silicone, when a smell means “deodorize” versus “this gasket is done, replace it” — is laid out in removing stubborn smells from jars, lids, and crocks. One safety note that belongs here: never reach for bleach on anything that touches a ferment. It is hard to fully rinse from porous clay and silicone, it can leave residues that fight your culture, and food-grade acids and alkalis do the job without that risk.
What Is the Right Way to Clean Fermentation Weights?
Clean glass fermentation weights like any glassware — hot water, a brush, baking-soda paste for haze — and treat ceramic follower stones like the crock’s unglazed clay: hot water and a brush, an acid soak for scale, and a full dry-out, but never a long soap soak that the porous stone will hold. Both spend the whole ferment submerged in brine, so they carry exactly what the crock carries.
Weights are the most overlooked part of the kit and the easiest place for a haze or a scale ring to build up unnoticed, because they come out looking “clean enough.” Glass weights develop a cloudy film from hard-water minerals and brine salts — a citric-acid soak clears it in twenty minutes. Ceramic and stoneware follower stones are porous on their unglazed faces and behave like a small piece of the crock: they take on smell and scale, and they must dry completely before storage or they will hold moisture against the crock in the cupboard. The step-by-step for both materials, plus how I check a weight for hidden cracks before trusting it under a follower plate, is in cleaning glass and ceramic fermentation weights.
How Should You Store a Crock Between Batches?
Store a crock bone-dry, uncovered or loosely covered, in a ventilated spot — never sealed damp with the lid clamped on. The single cause of a musty, mold-spotted crock is putting it away with residual moisture and no airflow; a fully dried crock stored open can sit idle for a year and come out fresh. Moisture plus a closed lid plus room temperature is how you grow the exact problem you are trying to avoid.
Between-batch storage is where good crock owners still slip, because the mistake is invisible for weeks. You wash the crock, it looks dry, you set the lid on and put it in the cupboard — and the film of water you could not see, plus the water trapped in the moat you forgot to empty, plus the still air under a clamped lid, ferments its own little colony. I open crocks in autumn that were “cleaned” in spring and find a moat ring and a musty rim every time I got lazy about the dry-out. The reliable routine — air-dry inverted, empty and dry the moat, store the lid off or barely resting, keep the weights separate and dry — plus how to bring a stored crock back into service without a full re-clean is covered in storing a crock between batches so it stays fresh. Do the storage right and you have deleted the deodorizing job entirely.
Is a Cracked or Crazed Crock Still Safe to Use?
A fine crazing pattern in an intact glaze is usually cosmetic and safe on a modern, lead-free food-grade crock; a structural crack that goes through the body, a chip that exposes raw clay in the food zone, or crazing on an old or unknown imported glaze is a stop sign. The two failure modes are different: crazing risks harboring bacteria and, on suspect glazes, leaching; a through-crack risks the crock splitting under a full brine load.
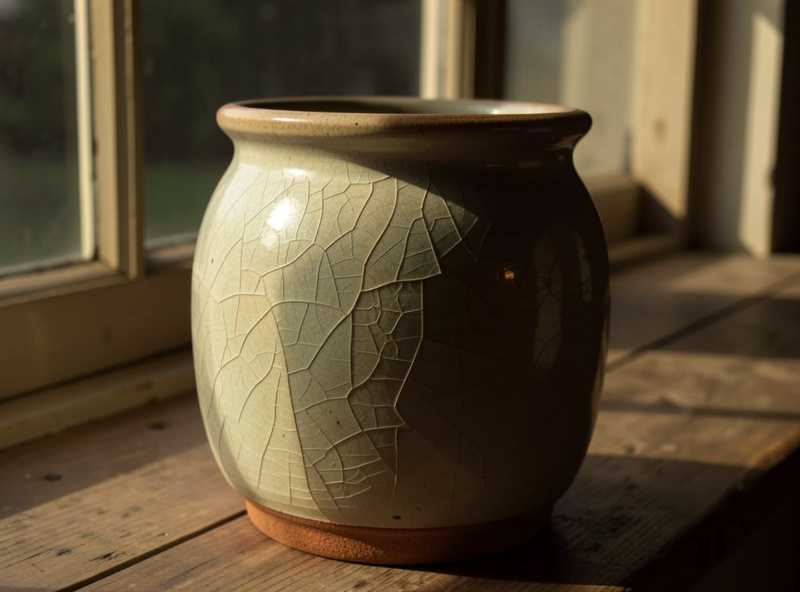
Crazing — the fine web of hairlines in the glaze surface — is the one that confuses people, because it looks alarming and is often harmless. On a known modern crock fired with a food-safe, lead-free glaze, tight crazing that does not catch a fingernail is generally fine to keep using, though it deserves closer cleaning attention since those lines can hold residue. The real hazards are a crack you can feel through the glaze, a chip exposing the porous bisque where your brine sits, and any crazing or glaze damage on an old, antique, or imported crock of unknown glaze chemistry — the U.S. Food and Drug Administration has long warned that traditional and imported glazed ceramics can leach lead, and acidic ferments are exactly the condition that pulls lead out of a bad glaze. My full decision tree — the fingernail test, the ring test for hidden body cracks, when to demote a questionable crock to dry storage or a planter, and when to trust it — is in cracked or crazed crock: when it is still safe to use.
Which Cleaner Do You Reach For — and When?
Fermentation-crock cleaning runs on four cheap, food-safe agents plus hot water, and the whole trick is matching the agent to the residue. Here is the shelf I actually keep next to the sink and what each one is for. Note that these are cleaners for empty gear between batches — none of this goes near an active ferment.
| Cleaner | Best for | Safe on glaze? | Watch out for |
| Hot water + brush | Every after-batch clean; kraut and pickle residue | Yes — first choice | Won’t cut set-in oils or scale alone |
| Baking soda paste | Residue rings, alkaline/funky smells, glass haze | Yes, mildly abrasive | Rinse fully; use a cloth not a scouring pad on glossy glaze |
| White vinegar (5%) | Hard-water scale, moat descale, mineral film | Yes | Never on active ferment; rinse before next batch |
| Citric acid solution | Heavy scale, glass-weight haze, deodorizing | Yes — my go-to descaler | Mix fresh; stronger than vinegar, rinse well |
| Bar Keepers Friend (oxalic) | Stubborn stains, metal marks on glaze | Yes on glaze, brief use | Rinse thoroughly; not on unglazed clay or long soaks |
| Bleach / chlorine | Nothing here — avoid | Risky | Wicks into clay/silicone, fights cultures — do not use |
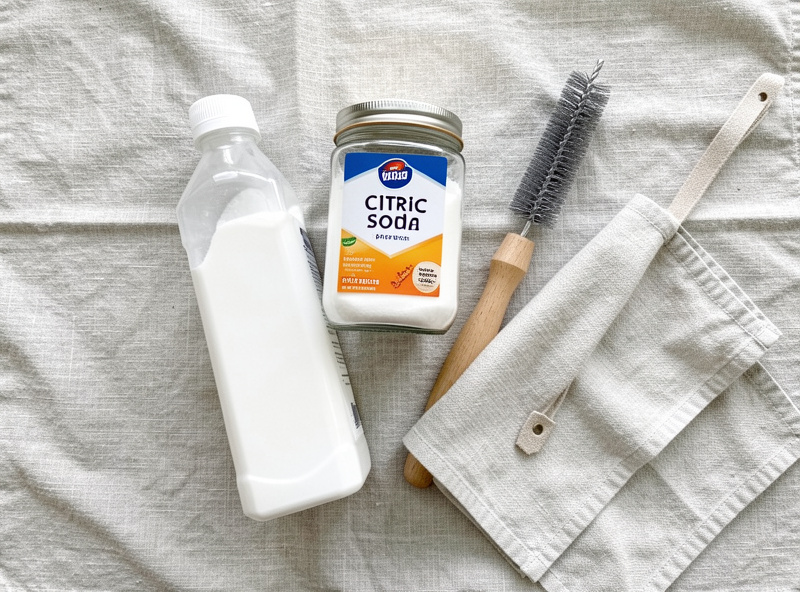
If I could keep only two, it would be baking soda and citric acid: between them they handle residue, haze, scale, and most smells, and both rinse clean off a food surface. Vinegar is interchangeable with citric acid for descaling — I keep both because I brew vinegar from a live mother and always have it around, and the parallel between souring a ferment and using acid to clean is not lost on me. A jar of food-grade citric acid and a stiff long-handled bottle brush cover most of the routine cleaning in this guide; a can of Bar Keepers Friend handles the occasional stain that pastes won’t shift.
As an Amazon Associate I earn from qualifying purchases.
What Does My Crock-Care Calendar Look Like?
My maintenance schedule has four cadences: after every batch, weekly during a run, between batches, and once a year. It is boring on purpose — boring maintenance is what keeps a crock in service for decades, and it is the difference between the fermenters whose crocks are heirlooms and the ones replacing a musty crock every couple of years.
After every batch: scrape solids, hot-water brush the interior, lid, and weights, paste any residue ring, rinse slick-free, and dry fully before storing. This is the non-negotiable core, detailed in the stoneware cleaning guide.
Weekly during an active run: check and top up the moat, and if I see the first white scale ring or any film, refresh the water and give the channel a quick vinegar wipe. Catching moat problems early is far easier than the full remediation in the moat mold and scale guide.
Between batches: the full dry-and-store routine from the storage guide, plus a smell check — if the rim carries any funk, I deodorize now per the smell-removal guide rather than discovering it mid-batch.
Once a year, or after any drop or thermal shock: a glaze inspection using the crack-and-crazing checks in the cracked-crock safety guide, and a descale of the weights per the weights cleaning guide. For broader safety context on home fermentation practice, the National Center for Home Food Preservation is the reference I point people to.
None of this is hard. It is a brush, a box of baking soda, a jar of citric acid, and the habit of drying the crock all the way before it goes on the shelf. The crocks I clean this way have never carried a flavor between batches, never surprised me with a colonized moat mid-run, and never split under a load. That is the whole return on ten quiet minutes of maintenance.
How Do Hard Water and Salt Slowly Wear a Crock Down?
Hard water and salt do not crack a crock, but over years they haze the glaze, chalk the moat and rim, and creep into any micro-pore they find. The glaze itself is glass and shrugs it off; the damage lands on the exposed clay and the standing-water zones. Descaling on a schedule is what keeps a five-year-old crock looking like a new one.
Two mechanisms are at work. Hard water — mine runs moderately hard on the strips I keep for cross-checking brines — deposits calcium and magnesium every time it evaporates, which is why the moat waterline chalks white and the interior grows a faint film above the brine line during a long ferment. Salt is the quieter one: at 2 to 2.5% by weight in a kraut brine, or 3.5 to 5% in a lacto-pickle or chili mash, there is a lot of dissolved salt sitting against the glaze for weeks, and where the glaze has any hairline or the clay is exposed at the rim, salt works in and dries as a crust. Neither is dangerous. Both are cosmetic and both are cumulative.
The remedy is the same mild acid I use everywhere in this guide. A citric-acid soak or a white-vinegar wipe dissolves calcium scale and salt crust off the glaze and the weights without etching anything — acid removes mineral deposits by dissolving them, exactly the way it would descale a kettle. I run a full descale on the crock, moat, and weights once a season, and spot-treat the moat weekly during a run. Skip it for a couple of years and you get the hazed, chalk-ringed crock people assume is worn out when it is really just overdue for twenty minutes with citric acid. The weights take the worst of it because glass shows haze plainly — the fix is in cleaning glass and ceramic fermentation weights.
What About the Rest of the Kit — Airlocks, Lids, and Buckets?
The crock gets the attention, but a fermentation setup is a system, and the parts that fail on cleanliness are usually the small ones: three-piece water airlocks, silicone waterless lids, drilled jar lids, follower plates, and the big HDPE buckets. Each has a quirk. Clean them wrong and you carry smell, scale, or stray culture into the next batch no matter how spotless the crock is.
Three-piece and silicone airlocks: the water in a three-piece airlock grows the same scum a moat does — empty and rinse it between batches, and periodically disassemble and soak the pieces in citric acid to clear film. Silicone waterless lids (my Pickle-Pipe style) hold garlic and chili smells stubbornly; they get the deodorizing treatment from removing stubborn smells from jars, lids, and crocks, and I keep a separate set for alliums. Drilled lids and grommets: the grommet is a smell trap and a hidden mold spot — pop it out and clean behind it. Follower plates and stones: treated like the crock’s clay — hot water, brush, acid soak for scale, full dry. HDPE buckets: food-grade plastic scratches, and scratches harbor residue and odor, so I brush gently, never scour, and retire a bucket once the inside goes cloudy and scuffed. A bucket is cheap; a tainted twenty-pound cabbage run is not.
The through-line is that every part touching the brine carries what the brine carried. I clean the whole kit as one job at the end of a batch — crock, lid, moat, weights, airlock, follower — because a single dirty component makes the rest of the effort pointless. Ten minutes, everything, every time.
Can I put a fermentation crock in the dishwasher?
No, and for two reasons. Dishwasher detergent is a strong surfactant that wicks into the crock’s unglazed rim and foot and re-releases into your next batch as a soapy off-flavor. And the thermal shock of a hot dishwasher cycle can craze or crack heavy stoneware. Hand-wash with hot water and a brush instead.
Is it safe to use dish soap on a fermentation crock?
It is safe for you, but it tends to ruin the next batch. Soap soaks into the porous unglazed clay of the rim and foot where it never fully rinses out, then leaches into the brine as a detergent back-note that fights the lactic sourness. Hot water and mechanical scrubbing clean the non-porous glaze completely without that risk.
How do I get the mold ring out of my crock’s water moat?
Empty the moat, scrub the channel with a small brush and baking-soda paste to lift the mold, then descale any hard-water ring with white vinegar or a citric-acid solution. Rinse and dry. Going forward, change the moat water on a schedule and never store the crock with water sitting in the channel.
Is a crock with crazing in the glaze still safe to ferment in?
On a modern, lead-free, food-grade crock, tight cosmetic crazing that does not catch a fingernail is generally safe, though it needs closer cleaning since the lines hold residue. On an old, antique, or imported crock of unknown glaze, crazing or glaze damage is a stop sign because acidic ferments can leach lead from suspect glazes. A through-body crack is unsafe on any crock.
How should I store a fermentation crock when it is not in use?
Store it completely dry with the lid off or barely resting, in a ventilated spot, and with the moat emptied. The one thing that ruins a stored crock is putting it away damp under a closed lid, which grows mold and musty smells. A fully dried, open-stored crock can sit idle for a year and come out fresh.
Keep Building
- How to Clean a Stoneware Fermentation Crock Without Soap Residue
- Crock Moat Mold and Hard-Water Scale: Keeping the Seal Clean
- Removing Stubborn Smells from Jars, Lids, and Crocks
- Cleaning Glass and Ceramic Fermentation Weights
- Storing a Crock Between Batches So It Stays Fresh
- Cracked or Crazed Crock: When It Is Still Safe to Use

About Kenny Nyhus Fadil
A home fermenter documenting brines, bubbles, and the occasional moldy tragedy.
Keep Bubbling
Crock Moat Mold and Hard-Water Scale: Keep the Seal Clean
Vegetable Fermentation Troubleshooting: The Complete Fix Guide