Fermentation Equipment: The Complete Home Brewer Toolkit

A complete home fermentation lab — vessels, weights, lids, scales, sensors, and climate control across every ferment from sauerkraut to vinegar to sourdough to kombucha — runs to about 444 dollars in 2024 prices, per the bill of materials below. Most of that is one-time spend; the per-batch consumables (salt, jars, lids) add roughly 6 dollars to every kilogram of finished ferment. After five years of running roughly 280 batches across nine ferment categories, my kit is what survived the cull from initial enthusiasm to actual daily use.
This guide is the bill of materials in the order I would buy them again, the tools that earned their place versus the ones I sold or donated, and the cross-ferment crossover that lets a single setup handle sauerkraut, kimchi, kombucha, vinegar, sourdough, and lacto-pickles without rebuying anything. The biggest unlock for me was treating equipment as cumulative — every tool added should serve at least two ferments, ideally three.
As an Amazon Associate I earn from qualifying purchases.
The Three-Tier Equipment Map
Tiered by capability, not by price. Beginner gets reliable lacto-pickles, sauerkraut, and basic sourdough. Intermediate adds kombucha, kimchi, vinegar, and consistent multi-jar workflows. Advanced adds tempeh, koji, controlled-environment ferments, and long-aged products. Most home fermenters stop at intermediate and never regret it.
| Tier | Ferments Enabled | Total Spend | Key Tools | Time to Build |
|---|---|---|---|---|
| Beginner | Sauerkraut, lacto-pickles, sourdough starter | $30-60 | Mason jars, food scale, fine sea salt, cabbage leaves as weights | One trip to the store |
| Intermediate | + Kombucha, kimchi, vinegar, multi-batch lacto | $120-200 | + Glass fermentation weights, airlock lids, dedicated coffee grinder, brewing thermometer | One weekend |
| Advanced | + Tempeh, koji, controlled-environment ferments | $300-450 | + Ceramic crock, demijohn, seedling heat mat, Govee sensor stack, pH meter | 2-3 weekends |
| Specialist | + Long-aged ferments, miso, cured products | $600+ | + Dedicated mini-fridge as cold cellar, vacuum sealer, climate-controlled chamber | Months |
My personal rig sits at the upper end of advanced. The single highest-ROI purchases in retrospect: a 4-litre Polish-style ceramic crock with water moat (cut my surface-mold problems dramatically once the moat kept oxygen off the brine entirely), a 3000-gram-capacity scale accurate to 1 gram (made salt percentages repeatable), and a Govee H5075 Bluetooth thermohygrometer (gave me data on what my kitchen actually does temperature-wise over a year).
Vessels: Jars, Crocks, Demijohns, Tanks
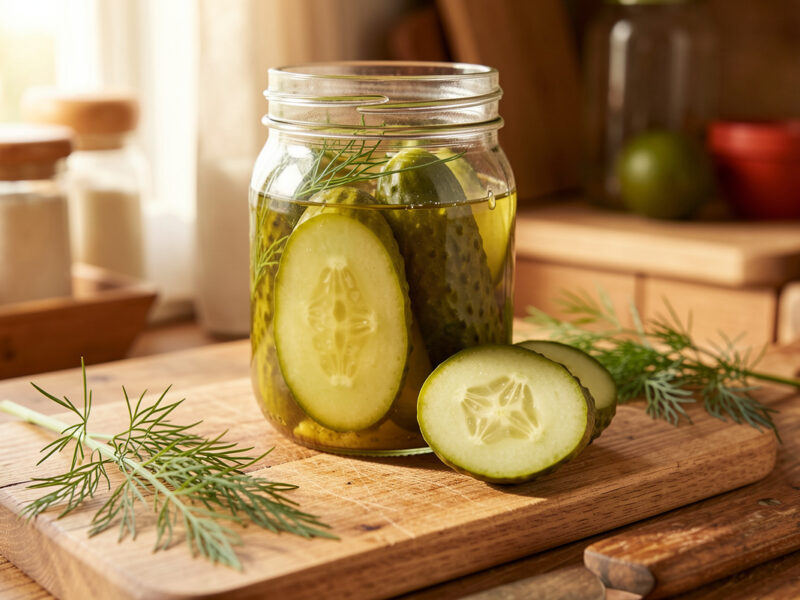
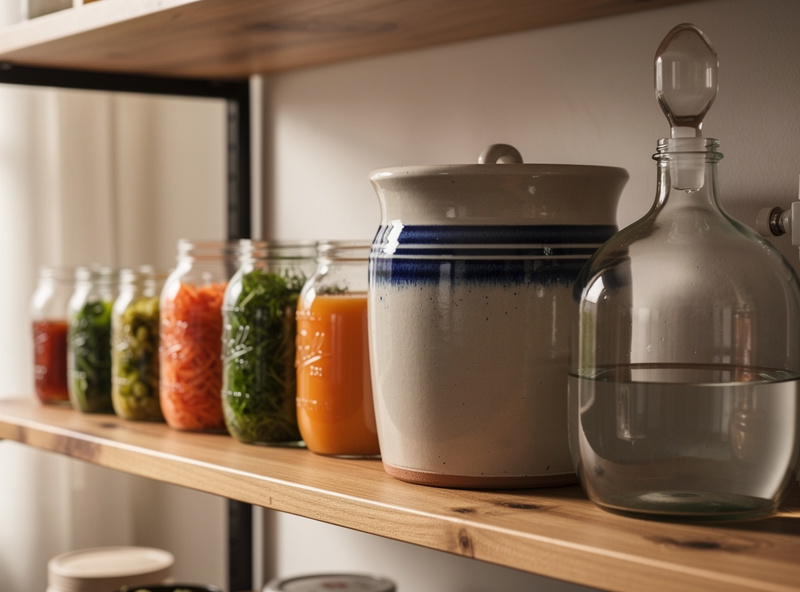
Vessel choice decides batch size, surface-air ratio, and maintenance load. Mason jars (500 ml to 1 litre) are the workhorse for small batches and experiments — cheap, ubiquitous, fit in any kitchen. Ceramic crocks (3-10 litres) are for large sauerkraut, kimchi, and lacto-veg batches where the water moat seal eliminates daily skimming. Demijohns (5-25 litres) are for vinegar, mead, and long fermentations needing maximum air-surface contact. Plastic food-grade tanks (20+ litres) are commercial-adjacent and rarely needed at home.
For mason jars, wide-mouth beats narrow-mouth for almost every application. The wide opening admits a hand, a glass weight, and an airlock lid — the narrow type requires fishing tools through a small opening for every check. Buy a case of 12 wide-mouth 1-litre Mason jars (18-25 dollars) and a case of 12 wide-mouth 500-millilitre jars (15-20 dollars); that covers most household ferments for a decade.
Ceramic crocks earn their cost when you make sauerkraut or kimchi in 3-plus kilogram batches. My Polish-style 4-litre fermentation crock cost 90 dollars in 2022 and has produced roughly 60 kilograms of sauerkraut since — a per-kilogram amortised cost of 1.50 dollars and dropping. The water moat is the design feature that matters; older crocks without it require daily attention. The crock detail and comparison with mason jars is documented in my homemade sauerkraut guide.
Weights and Submersion Tools
Keeping the vegetable below the brine is the single most important hardware decision for any lacto-ferment. Surface mold and kahm yeast form exclusively where oxygen meets fermenting vegetable; submerge fully and the surface stays clean. Three options work: glass fermentation weights, folded outer cabbage leaves, or Ziplock bags filled with 2-3 percent brine. Each has a use case.
Glass fermentation weights (a 4-pack costs 18-24 dollars) are the convenience option. Reusable, dishwasher-safe, and fit standard wide-mouth jars. They make it far easier to keep the vegetable fully submerged, which is the actual mechanism behind fewer surface-mold problems, and they become a permanent part of your kit. Folded cabbage leaves are the zero-cost option — pull an outer leaf from the cabbage you are shredding, fold it tight, press it down on top of the salted shredded cabbage as the final layer. Works perfectly and teaches you to recognise kahm yeast (it forms on top of the leaf, not the kraut, and is harmless cosmetic). Ziplock-brine bags fit any jar shape and are useful for irregular vessels but introduce a plastic-in-contact-with-acid question some fermenters dislike.
The comprehensive testing of all three across 12 months of batches is in fermentation weights compared. The crock-vs-jar question and the equipment matrix are covered in the same article. Once you understand kahm yeast — the visual diagnosis is identical across sauerkraut, kimchi, vinegar, and pickles — surface-mold concern drops dramatically; the full ID guide is at kahm yeast guide.
Airlocks and Lids
Airlocks let CO2 escape from active ferments while preventing oxygen from entering. For ferments under 14 days (most sauerkraut and kimchi batches), an airlock is convenience rather than necessity — a loose mason-jar lid works fine. For ferments over 14 days (vinegar, kombucha second fermentation, mead, long-aged lacto-veg), an airlock becomes the difference between a clean ferment and chronic kahm-yeast skimming.
The two airlock styles worth knowing: bubbler airlocks (a small water-filled trap that bubbles when CO2 escapes — standard for brewing) and silicone valve lids (a one-way silicone flap that lets CO2 out without water trap maintenance). I run silicone valve lids on Mason jars and a traditional bubbler on the demijohn. Cost: 10-14 dollars per silicone lid, 4-6 dollars per bubbler airlock plus a drilled-and-grommeted lid.
Lids generally: avoid the metal canning lids that come with new Mason jars. The acid in any ferment corrodes the metal coating over 6-12 months and the brine ends up with off-flavours and visible rust spots. Use plastic Ball jar lids (3-4 dollars for a 12-pack) for finished-ferment fridge storage, and silicone airlock lids for active fermentation. Glass or ceramic lids in dedicated crocks last indefinitely.
Measuring Tools: Scale, pH, Thermometer, Hydrometer
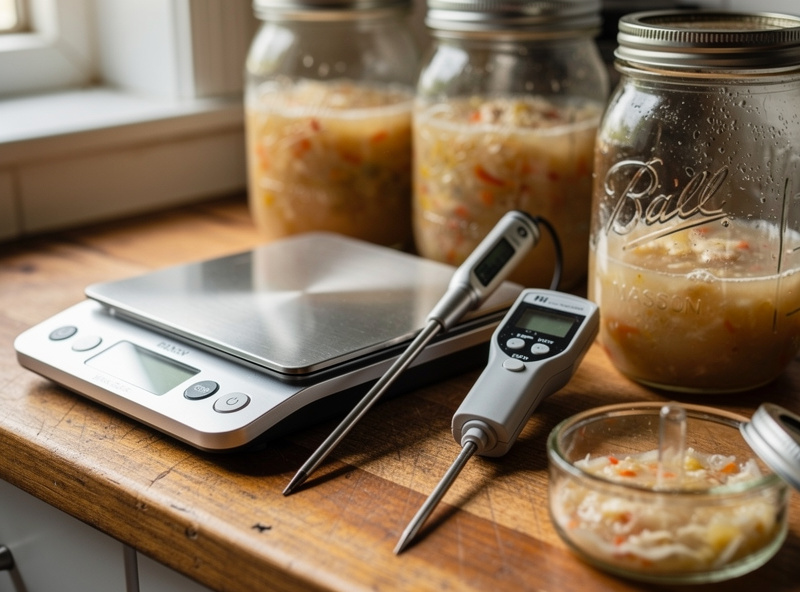
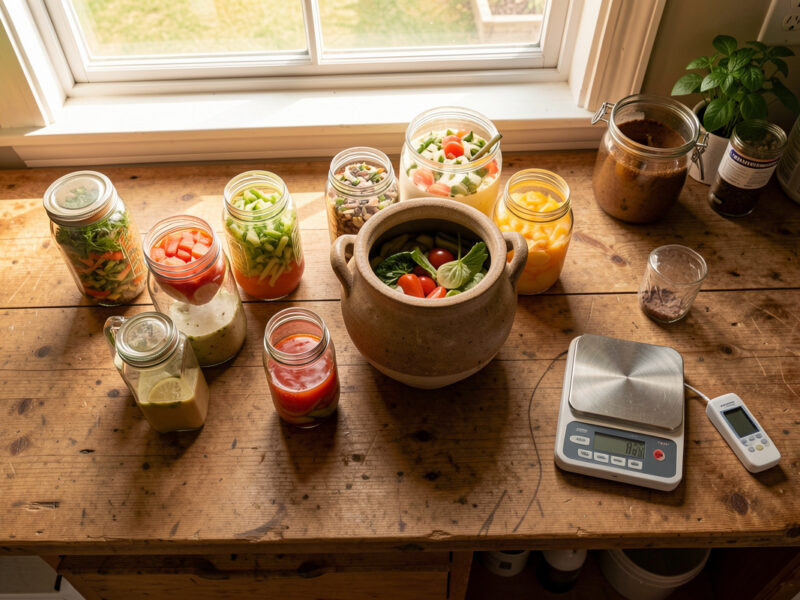
A precise digital kitchen scale is the single most useful measuring tool. Mine is a 3000-gram-capacity unit accurate to 1 gram, cost 18 dollars, and has paid for itself in batch consistency. Every salt percentage, every sourdough flour ratio, every kombucha sugar measurement runs off the scale. Volumetric measurements (tablespoon, cup) are unreliable across salt types, flour brands, and even within batches as moisture changes the density.
pH meter (25-50 dollars for a digital model) becomes worthwhile when you start canning ferments or making vinegar, where a stable pH at or below 4.6 — the threshold below which Clostridium botulinum cannot grow or produce toxin (NCHFP) — is the safety floor. For sauerkraut, kimchi, and basic lacto-ferments you can rely on taste and visual cues; pH testing is overkill. For sourdough hydration measurements, a separate dough hydrometer is irrelevant — flour:water ratios by weight (covered in my sourdough density guide and sourdough starter guide) are what matter.
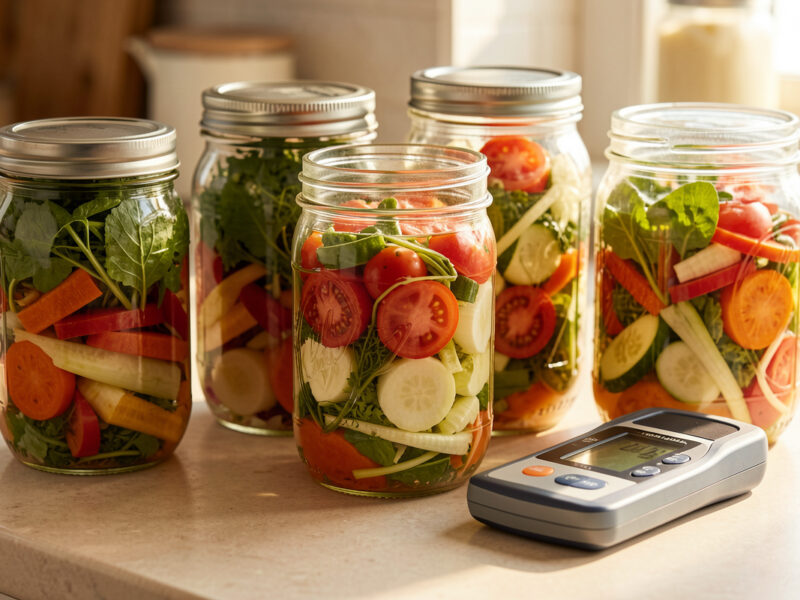
Thermometer choice depends on the ferment. An infrared thermometer (15-30 dollars) is useful for sourdough dough temperature and brewing wort. A standard probe thermometer with a long stainless probe (8-12 dollars) goes into kombucha or sake during active fermentation without exposing the liquid to air. A Bluetooth thermohygrometer (Govee H5075, 22-28 dollars) sits next to the crock and logs trends over time — by far the most useful sensor for diagnosing temperature drift problems.
Climate Control: Heat Mats, Cold Cellars, Curing Chambers
Most home fermentations run at 18-22 C and most kitchens drift through that range naturally. The exceptions worth equipping for: keeping sauerkraut at 18-20 C in summer (basement or air-conditioned room), keeping kombucha at 22-26 C in winter (seedling heat mat under the jar), and keeping sourdough proofing at 25-28 C year-round (proofing box or oven with light on).
A 30-watt seedling heat mat (12-18 dollars) handles most warm-side needs. Set the mat under the ferment vessel with a temperature controller (Inkbird ITC-308, 29 dollars), program 24 C cutoff, and the kombucha stays in range through Swedish winters when the kitchen hits 16 C overnight. For cold-side needs, a small mini-fridge with a temperature controller (or just a basement) holds the 12-15 C range needed for slow-fermenting vinegars and long-aged ferments.
For dedicated climate-controlled fermentations — koji, tempeh, and long-aged products — a small purpose-built chamber is the next step. The detailed climate-control patterns I use overlap directly with what curingchamber.com covers for charcuterie, and many of the same sensors and controllers move between disciplines. Tempeh specifically uses a 31 C fermentation chamber for 24-36 hours; the build pattern is detailed in tempeh and koji where fermentation meets mushroom cultivation, which is the cross-discipline article that pairs with my mycology equipment guide.
Specialised Tools for Different Ferments
Each ferment has one or two specialised tools that punch above their weight. For sourdough: a bench scraper (4 dollars) and a banneton proofing basket (15 dollars). For kombucha: a tea ball or large strainer (6 dollars) and bottling flip-top bottles (12 dollars for 6). For vinegar: a siphoning tube for racking off the spent mother (8 dollars) and dark amber bottles for storage (3-4 dollars each). For sauerkraut and kimchi: a mandoline slicer for consistent shred thickness (15-30 dollars).
One non-obvious tool worth owning: a dedicated coffee grinder used only for fermentation work. Grinding dried gochugaru for fresh kimchi paste, dried herbs for kombucha second fermentation, and toasted spices for spiced sauerkraut produces noticeably better results than pre-ground store versions. Cost: 18-25 dollars for a basic blade grinder. Reserved exclusively for ferment use — no coffee contamination of flavours, no flavour contamination of coffee.
Hydroponic crossover gear: if you grow lettuce, kale, or cabbage hydroponically (covered in smarthydrolab’s systems hub), the salt-percentage adjustment for hydroponic produce uses identical hardware to field-grown ferments — only the math changes. The full hydroponic-greens-fermentation workflow is in fermenting hydroponic greens.
Bill of Materials by Tier
The exact list I would buy again in priority order. Beginner tier: 12 wide-mouth 1-litre Mason jars (24 dollars), food scale accurate to 1 gram (18 dollars), 1-kilogram bag of unrefined sea salt (8 dollars), unbleached cotton cloth and rubber bands (6 dollars). Total: 56 dollars. Capability: sauerkraut, lacto-pickles, sourdough starter, simple kimchi.
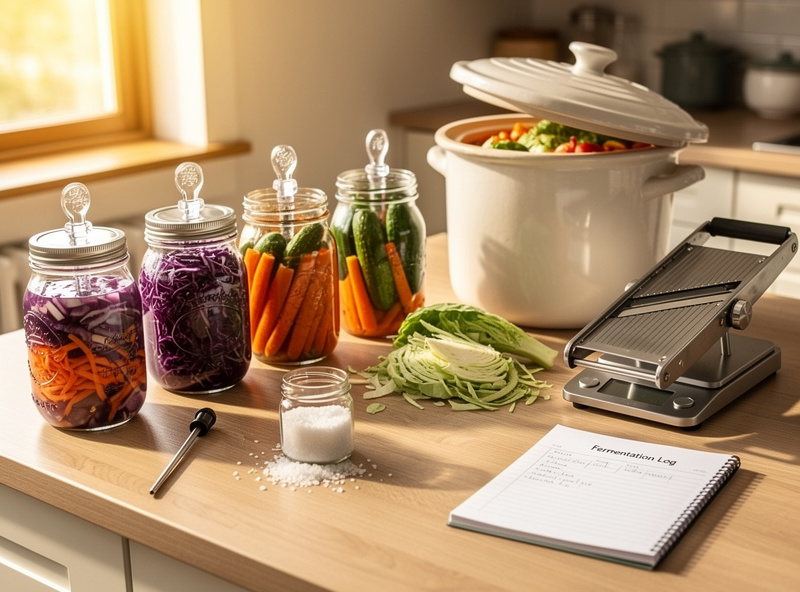
Intermediate tier adds: 4-pack glass fermentation weights (22 dollars), 4 silicone airlock lids (50 dollars), Govee H5075 thermohygrometer (24 dollars), mandoline slicer (22 dollars), dedicated coffee grinder (18 dollars), banneton basket and bench scraper (19 dollars). Cumulative total: 211 dollars. Capability: kombucha, vinegar, multi-jar workflows, consistent sourdough.
Advanced tier adds: 4-litre Polish-style ceramic crock with water moat (90 dollars), 5-litre glass demijohn (35 dollars), 30-watt seedling heat mat (16 dollars), Inkbird ITC-308 temperature controller (29 dollars), pH meter (35 dollars), bottling kit with flip-tops and siphon (28 dollars). Cumulative total: 444 dollars. Capability: tempeh, koji, controlled-environment ferments, long-aged products, full vinegar mother management — covered in my home vinegar making guide. For the broader scope of what these tools enable across ferments, see also my lacto-fermentation guide and the homemade sauerkraut guide.
Equipment I Bought and Sold: Tools That Did Not Earn Their Keep
The honest catalogue of what I bought, used, and then donated or resold after concluding it did not deserve counter space. Sharing the list because the YouTube fermentation channels uniformly recommend every item on it, and every item under-performed for my actual workflow.
First, a 28-litre commercial-style stainless brewing kettle with thermometer port. Bought in 2023 thinking I would scale up sauerkraut production; sold in 2024 after concluding that 4 kilograms of finished sauerkraut every six weeks is more than my household uses. The lesson: home fermentation rewards depth (variety of ferments) more than scale (large batches of one). For most households, a 4-litre ceramic crock is the largest vessel that earns its place; anything bigger ends up half-empty.
Second, an electric pickle press with adjustable weight. The kind of niche gadget that markets to fermenters and solves a problem most fermenters do not have. Glass fermentation weights at one-tenth the cost achieved identical results with no electricity, no motor, and no moving parts. The same lesson applies to most “smart” fermentation gadgets — the underlying biology is simple; the equipment should be simple too.
Third, a cheap pH paper test-strip pack with broad ranges. Replaced after three batches with a digital pH meter because the paper test strips lose accuracy in cloudy ferment brines and the colour reading is genuinely hard to call without a colour-matched reference card. Skip the strips entirely — either trust your tongue and your nose (sufficient for most lacto-ferments) or invest in a digital meter (necessary for vinegar and canning work). The middle option of paper strips is the worst of both worlds.
Fourth, a glass weight set with non-standard sizing. Bought from a brewing supplier that turned out to make weights 2 millimetres too large for any standard wide-mouth Mason jar I owned. Returned after a frustrating week. Lesson: confirm dimensional fit before buying weights. Standard wide-mouth Mason jars have roughly a 76-millimetre inside diameter (Masontops jar-mouth sizing reference); weights should be 65-68 millimetres so they drop in and lift out cleanly.
Fifth, a vacuum-pump pickle jar that used a manual hand pump to remove headspace air after sealing. The marketing claim was zero kahm yeast. The reality was a hand pump that needed re-pumping three times a day to maintain seal, a rubber gasket that perished in 60 days of acid contact, and a fundamentally fragile design. Sold to a friend who runs short ferments where the daily pump cadence is less of a burden. The cheap option (glass weight plus loose mason jar lid) outperformed it.
Frequently Asked Questions
What is the minimum equipment to start fermenting at home?
A 1-litre wide-mouth Mason jar, a food scale accurate to 1 gram, unrefined sea salt (not iodised), and a piece of unbleached cotton cloth with a rubber band — total cost under 30 dollars. This kit produces excellent sauerkraut, lacto-pickles, and a sourdough starter. Add glass fermentation weights as the first upgrade for 18-24 dollars to eliminate most surface kahm-yeast problems.
Do I need a fermentation crock or are mason jars enough?
Mason jars are sufficient for any batch under 1.5 kilograms. A ceramic crock with water moat seal (60-110 dollars) becomes worthwhile for 3-plus kilogram batches because the water seal eliminates daily kahm-yeast skimming and the volume scales well. Beginners should start with jars; consider a crock after 3-4 successful batches if you find yourself wanting larger volumes.
What is the most important measuring tool for home fermentation?
A digital food scale accurate to 1 gram. Volumetric measurements (tablespoons, cups) are unreliable across salt types and flour brands. Every salt percentage, sourdough hydration, and kombucha sugar measurement should be weighed in grams for batch-to-batch consistency. Cost: 15-25 dollars for a reliable 600-3000 gram scale.
Do silicone airlock lids work as well as bubbler airlocks?
Yes, for home use. Silicone valve lids let CO2 escape and prevent oxygen entry just as effectively as water-trap bubblers, with no daily water-level maintenance. The downside is single-purpose design and 10-14 dollar cost per lid. Bubblers (4-6 dollars plus a drilled lid) are slightly more flexible across vessel sizes but require daily water-top-up checks.
What does a pH meter add to home fermentation?
Useful for vinegar (where a stable pH at or below 4.6, the C. botulinum safety threshold per NCHFP, is the goal) and water-bath canning of fermented products. Optional for sauerkraut, kimchi, kombucha, and most lacto-ferments where taste, smell, and visual cues are reliable indicators of safe acidification. Digital pH meters cost 25-50 dollars and need monthly calibration with buffer solutions.
Is a 3D printer useful for fermentation equipment?
Niche but rewarding. Useful for custom mason jar lids with integrated airlocks, fermentation weights sized to non-standard jars, mandoline guards, and tempeh tray vent grates. PETG and PLA are both food-safe enough for indirect contact. A 200-dollar entry-level FDM printer earns its cost back inside ten parts. Not essential — every part it makes can be bought commercially.
Related Guides on FermentFoundry
- Fermentation Weights: Glass vs Ceramic vs Ziplock Bag Compared
- Kahm Yeast: What It Is, How to Prevent It, When It Is Safe
- Tempeh and Koji: Where Fermentation Meets Mushroom Cultivation
- Fermenting Hydroponic Greens: Why They Need a Different Salt Ratio
- Lacto-Fermentation for Vegetables: The Complete Home Guide

About Kenny Nyhus Fadil
A home fermenter documenting brines, bubbles, and the occasional moldy tragedy.
Keep Bubbling
Low-Salt Fermentation: How Low Can You Safely Go?
Vegetable Fermentation Troubleshooting: The Complete Fix Guide