Infused Vinegar Recipes and Methods: Herbs, Fruit, and Heat

Infused vinegar recipes all share one simple method: take finished vinegar and steep herbs, fruit, alliums, or spice in it after the fermentation is complete. The method is simple: start with vinegar of at least 5 percent acidity, add your flavouring, and let it steep cold for two to four weeks or warm it gently to extract in hours. The acidity does double duty — flavour carrier and preservative.
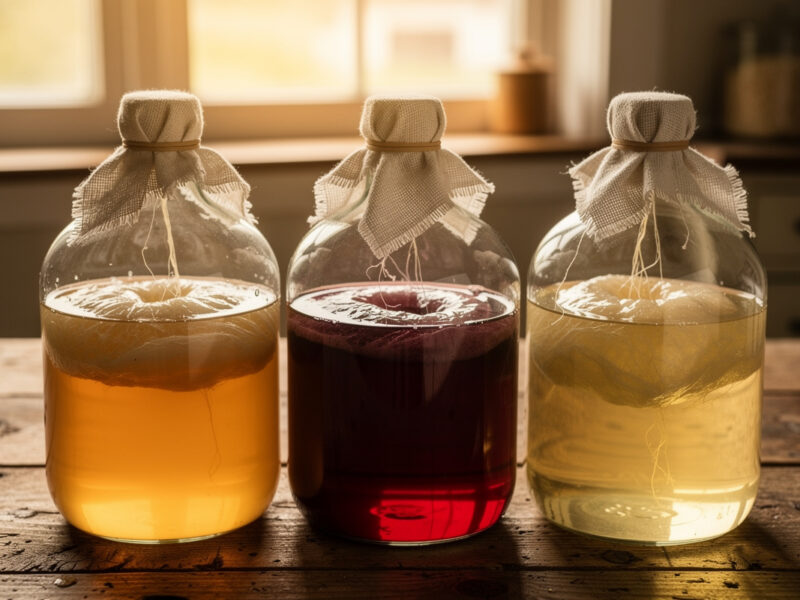
This is the most rewarding thing you can do with a finished batch, and it is where all the patience of brewing pays off at the table. Infusing happens entirely after the acetic fermentation is done, so there is no culture to manage and no Acetobacter to keep alive — just clean vinegar, good ingredients, and a little time. What follows are the methods I actually use, the safety logic behind them, and a handful of combinations worth your bench space.
Start With the Right Base Vinegar
Infusion does not improve weak vinegar; it amplifies whatever you start with. Use a fully finished vinegar at 5 percent acidity or higher — that acidity, which corresponds to a pH well under the 4.6 safety floor, is what makes infusing fresh ingredients safe in the first place. A clean white wine vinegar is the neutral canvas that lets herbs and fruit speak; a cider or red wine vinegar brings its own backbone and pairs better with robust flavours like rosemary, fig, or chilli.
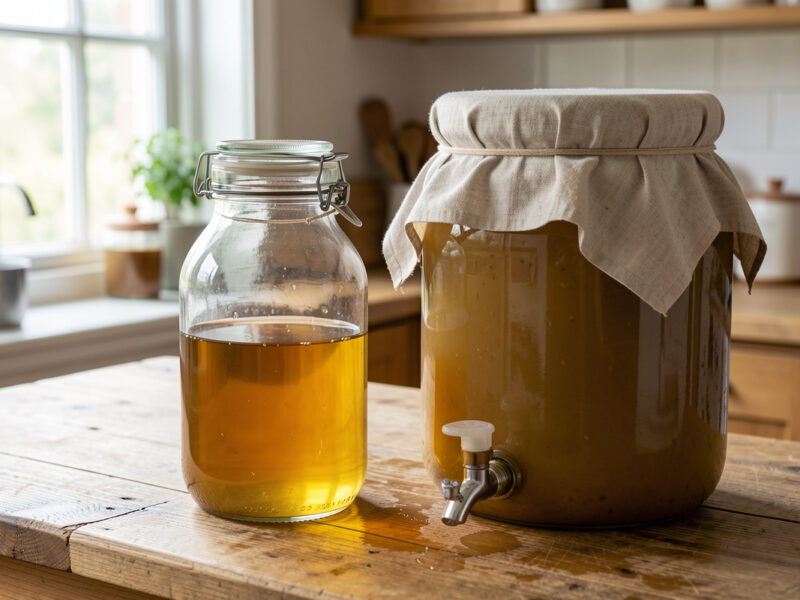
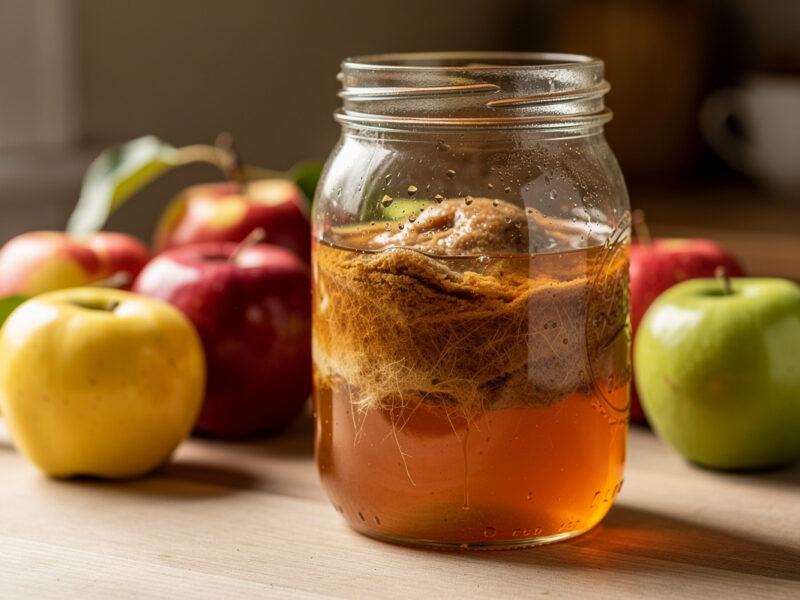
Whatever base you choose, it should be strained clear of any mother before you infuse — a stray piece of mother will keep working slowly and cloud the bottle. I draw off clear finished vinegar, check it tastes sharp and complete with no residual alcohol, and only then start adding flavour. Starting from a properly finished batch is the whole game; everything after is just steeping.
The Three Infusion Methods
There are three ways to get flavour out of an ingredient and into vinegar, and they trade speed against depth. Cold steeping is slowest and gives the cleanest, most layered result. Warm infusion uses gentle heat to extract in an afternoon. Immediate infusion blends or muddles for near-instant but rougher flavour. I reach for cold steeping for anything I want to keep, and warm infusion when I need a flavoured vinegar the same day.
| Method | How | Time | Best for |
|---|---|---|---|
| Cold steep | Submerge clean ingredients in vinegar, cap, store cool and dark | 2–4 weeks | Herbs, fruit, the best colour and depth |
| Warm infusion | Warm vinegar gently (not boiling), pour over ingredients, steep covered | 1–4 hours | Same-day results; spices and tougher aromatics |
| Immediate | Blend or muddle ingredients with vinegar, then strain | Minutes | Fruit purees, quick dressings, vivid colour |
For warm infusion, warm the vinegar in a non-reactive pan — glass or stainless, never bare aluminium or copper, which acetic acid corrodes — to just below a simmer, then pour it over the aromatics in a clean jar. Do not boil it; you will drive off the volatile aromatics you are trying to capture and sharpen the acid harshly. Cold steeping needs nothing but a cupboard and patience.

The Food-Safety Logic of Infusing
This is the part worth getting right, because it is where infused vinegar and a genuinely dangerous preparation look superficially similar. Steeping fresh garlic, herbs, or chilli in vinegar is safe precisely because the vinegar is acidic — a pH under 4.6 stops the bacteria that cause concern, including the botulism organism, from establishing. That same garlic and those same herbs steeped in oil, which has no acidity, are a textbook botulism risk and must be refrigerated and used quickly. The National Center for Home Food Preservation is the reference I point people to for the acidified-foods logic behind why the vinegar version is safe and the oil version is not. Vinegar is the safe medium; oil is not. Never confuse the two.
A few sensible habits keep infused vinegar trouble-free: use clean jars, keep all the solids fully submerged under the vinegar, and if you are infusing fresh low-acid produce in quantity, store the bottle in the fridge and use it within a few months rather than leaving it warm on a shelf indefinitely. Properly acidic vinegar with submerged ingredients is one of the safer home-preserving projects there is — the acidity that makes it vinegar is the same thing that keeps it safe.
Combinations Worth Making
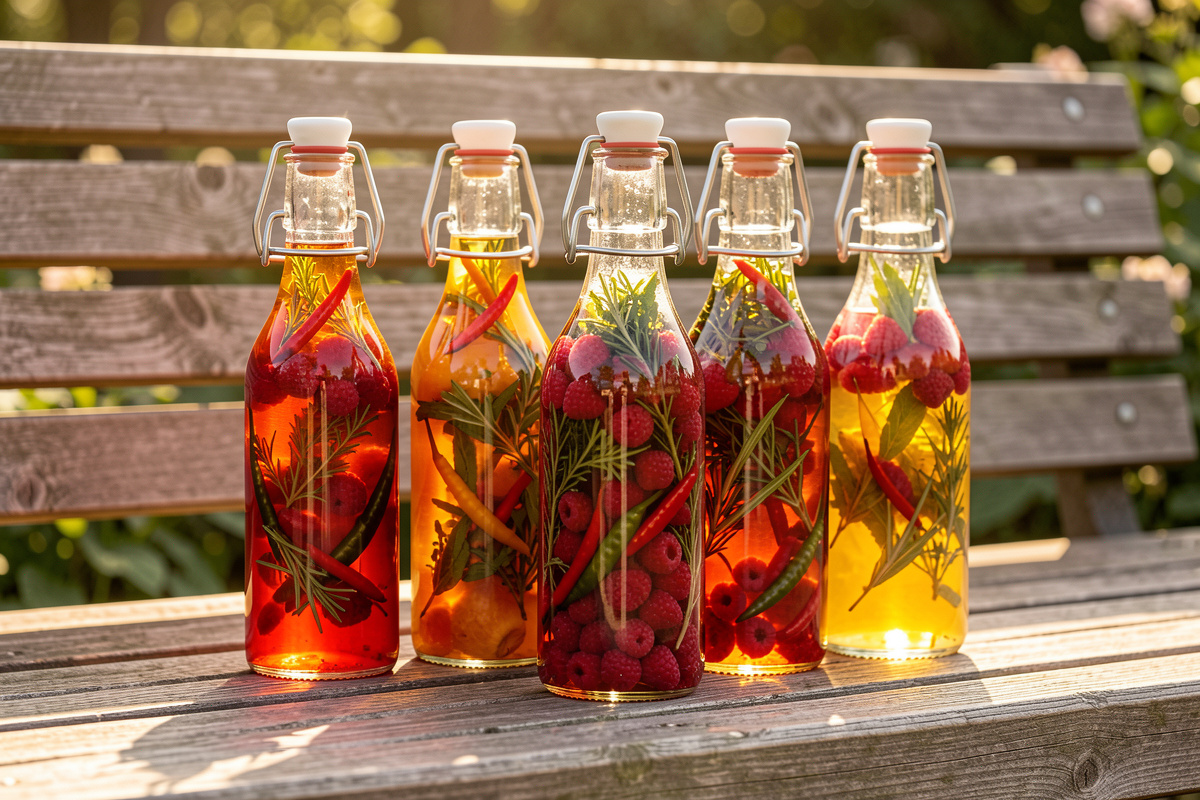
The pairings I come back to fall into four families. Herb infusions — tarragon in white wine vinegar is the classic, but rosemary, thyme, dill, and basil all work — want a delicate base and a cold steep so the herb stays bright. Fruit infusions like raspberry, blackberry, fig, or strawberry give colour and a sweet-tart edge; a brief warm infusion or an immediate blend-and-strain pulls colour fast. Allium and chilli — garlic, shallot, sliced chilli — build savoury heat and pair with cider or red wine vinegar. Spice blends of peppercorn, coriander seed, star anise, and ginger reward gentle warming to open them up.
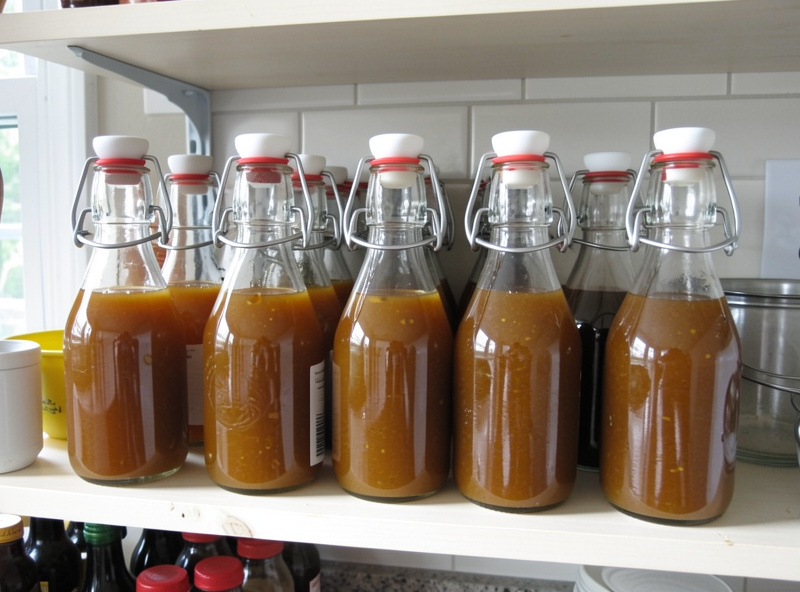
Strain every infusion through muslin once it has reached the flavour you want, then bottle it. Removing the solids stops the flavour tipping from pleasant to bitter and keeps the vinegar clear. Decant into clean swing-top glass bottles, label them with the contents and date, and you have a shelf of flavoured vinegars that cost almost nothing and outclass anything on a supermarket shelf. As an Amazon Associate I earn from qualifying purchases.
How Much to Add: Ratios That Work
Infusion is forgiving, but a few rough ratios save you from weak or overpowering results. For hardy herbs and spices, I use about one part loosely packed aromatics to four parts vinegar by volume — a generous handful of rosemary or a tablespoon of cracked peppercorns to a 500-millilitre bottle. For fruit, go heavier, closer to one part fruit to two parts vinegar, because the water in the fruit dilutes the acid and the flavour is gentler. For potent ingredients — garlic, ginger, hot chilli — less is more; two or three cloves or a single sliced chilli will flavour a whole bottle.
The honest truth is that taste beats any ratio. I check a cold steep weekly, and the moment it hits the flavour I want, I strain it — whether that is at ten days or four weeks. Vinegar keeps extracting as long as the solids sit in it, so leaving a strong ingredient too long pushes the flavour past pleasant into harsh. Start checking early and pull it when it is right, not when a recipe says the time is up.
Troubleshooting Cloudy, Bitter, or Refermenting Infusions
Three issues come up, and all three are easy to read. Cloudiness usually means a stray piece of mother came across with the base vinegar and is still active, or fine fruit pulp is in suspension; strain through a coffee filter and it clears. Bitterness almost always means the infusion steeped too long or the heat in a warm infusion went too high — woody herb stems and citrus pith are the usual culprits, so strip them out and shorten the next steep.
Active refermentation — new bubbling or a fresh film forming weeks after bottling — tells you residual sugar from sweet fruit or a fragment of mother is feeding a slow ferment. It is not dangerous in properly acidic vinegar, but it muddies the bottle; strain again, and keep fruit infusions in the fridge where the cold slows everything down. None of these ruin a batch — they are signals telling you to strain, chill, or shorten next time.
Putting Infused Vinegars to Work
A shelf of flavoured vinegars earns its keep fast. A tarragon or herb vinegar makes a vinaigrette with nothing more than good oil, salt, and a whisk. Fruit vinegars are the backbone of a shrub — equal parts fruit vinegar and sweetener, topped with sparkling water, is a drinking vinegar that holds for weeks in the fridge. Chilli and garlic vinegars cut through rich braises and deglaze a pan beautifully, lifting fond into an instant sauce. A splash of any of them brightens a soup or a pot of beans at the end of cooking the way a squeeze of lemon does, but with more depth.
This is where the brewing comes full circle. The same Acetobacter work that took a bottle of wine down to sharp vinegar over six weeks ends up as the thing that makes a Tuesday salad taste deliberate. Preservation and flavour are the same craft here, never medicine and never mysticism — just acid, time, and good ingredients doing honest work.
Bottling, Shelf Life, and the Long Game
Once strained and bottled, an infused vinegar made from properly finished, fully acidic vinegar keeps for many months in a cool dark cupboard, and herb and spice versions often improve over the first few weeks as the flavours marry. Fruit infusions are best used within a few months while their colour and brightness hold. If you ever see active fermentation restart — bubbling, a new film forming — it means a piece of mother or some residual sugar came along; strain again and refrigerate.
Infusing is the natural next step once you have the brewing dialled in, and it loops back into everything else on the bench — a clean base from my home vinegar making guide, drawn from a vessel chosen for the job in my guide to vinegar vessels, kept alive by a healthy mother of vinegar. Keep building: a finished batch is not the end of the project, it is the start of a shelf of flavours, and a homemade apple cider vinegar or red wine vinegar makes the best possible canvas for it.
Related Articles
- Home Vinegar Making Guide
- The Best Vessels for Brewing Vinegar at Home
- Vinegar Fermentation Stages: From Sugar to Acetic Acid
- The Mother of Vinegar, Explained
- Apple Cider Vinegar From Scratch
- How to Make Red Wine Vinegar

About Kenny Nyhus Fadil
A home fermenter documenting brines, bubbles, and the occasional moldy tragedy.
Keep Bubbling
Vinegar Fermentation Stages: From Sugar to Acetic Acid
How to Make Apple Cider Vinegar From Scratch (With Mother)