Smart Fermentation Chamber: Temperature and pH Monitoring with Home Automation Sensors

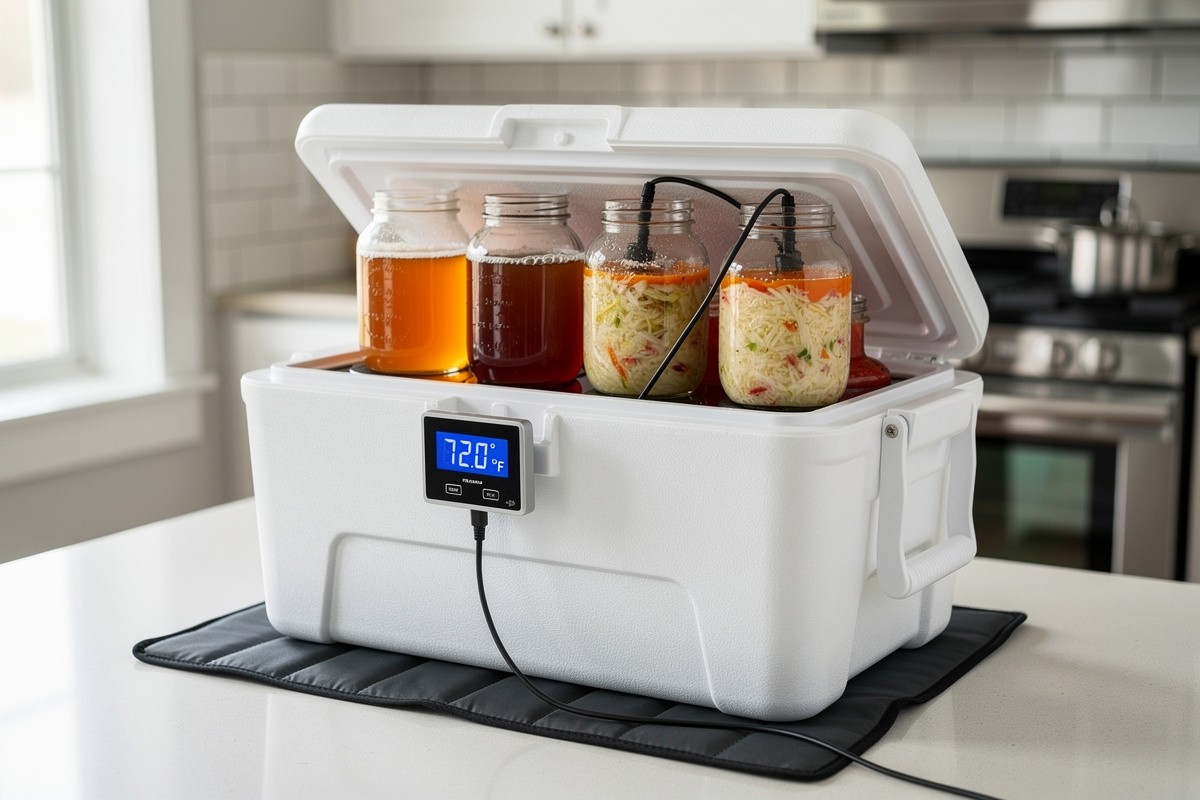
I built my first version of this out of a broken dorm fridge and a $12 seedling mat because I was tired of a cold snap wiping out a kombucha SCOBY overnight, and the core setup hasn’t changed much since: a temperature probe, a Wi-Fi smart plug, and Home Assistant running the automation. Done right, it holds kombucha SCOBY health between 24-29°C, sourdough starter activity at 21-24°C, and yogurt incubation at 43-46°C, with less than +/-1°C drift across the chamber. The core hardware runs $60-90: a temperature sensor with probe ($15-25), a seedling heat mat with thermostat ($20-30), a small USB fan for air circulation ($8-12), and a smart plug for scheduling ($10-15). A continuous pH probe is a genuinely optional add-on on top of that — $25-40 for a basic analog kit — and I’d only bother with it once you’re running enough ferments at once that tasting your way through each one gets tedious. The chamber itself can be a repurposed cooler, a cardboard box lined with reflective insulation, or a dedicated mini-fridge with the cooling circuit disabled — the only requirements are insulation and enough interior volume to hold your active ferments with air space above each vessel.
As an Amazon Associate I earn from qualifying purchases.
Temperature Control: The Foundation Every Ferment Needs
Fermentation is microbiological work, and every microorganism has a temperature range where it works fastest and a range where it stops working entirely. Lactobacillus species (sauerkraut, kimchi, sour pickles) are active from 15-40°C but produce the cleanest flavor at 18-22°C — warmer temperatures accelerate fermentation but shift the bacterial population toward heterofermentative strains that produce acetic acid and off-flavors. Saccharomyces cerevisiae (sourdough starter, ginger bug) peaks at 26-30°C for maximum rise but produces more acetic acid (sour flavor) at cooler temperatures and more lactic acid (mild tang) at warmer temperatures. Kombucha SCOBY stops fermenting below 20°C and the yeast component dies below 15°C — a single cold night in an unheated kitchen kills a SCOBY that has been building for 3 weeks.
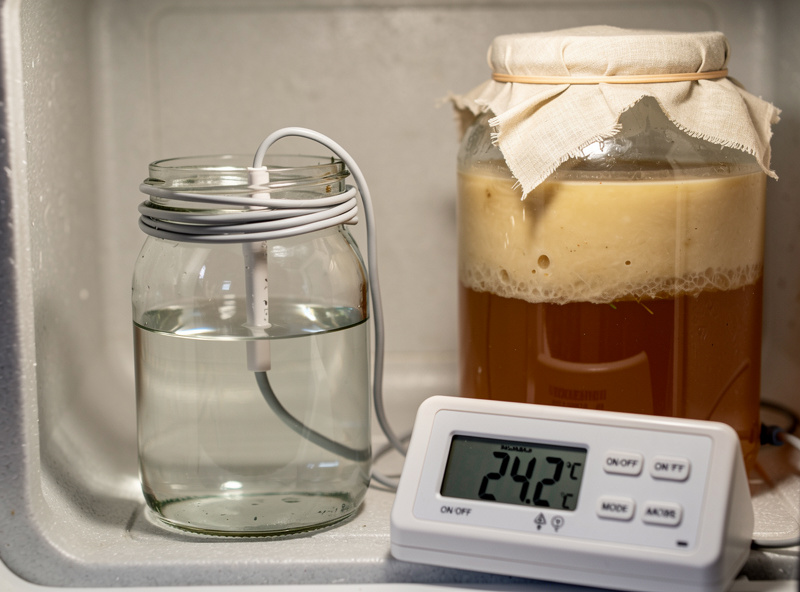
The control loop is simple: a temperature sensor probe submerged in a water-filled jar (water acts as a thermal buffer that smooths the sensor’s readings — air temperature fluctuates by 3-5°C each cycle while water temperature varies by less than 0.5°C) feeds data to Home Assistant. An automation compares the current temperature to the setpoint and toggles the smart plug powering the heat mat. A USB fan connected to a second smart plug runs for 30 seconds every 5 minutes to circulate air and eliminate hot spots above the heat mat. The total cost of this control loop is one temperature sensor and two smart plugs — roughly $40 if you already run Home Assistant. I use the same Govee temperature controller that runs my koji and tempeh incubation for this chamber too, just with a different setpoint saved — one controller, three or four completely different jobs depending on the season.
pH Monitoring: When Temperature Is Not Enough
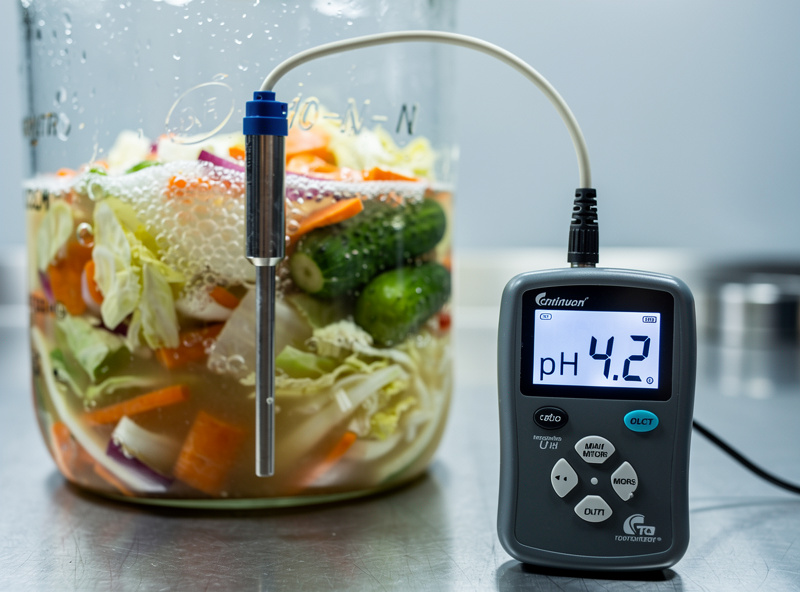
Temperature tells you whether the fermentation environment is right; pH tells you whether the fermentation is actually working. On my meter, a lacto-fermented vegetable batch typically starts around pH 6.0-6.5 fresh out of the garden and shows a clear, fast initial drop within the first 48-72 hours if the salt and temperature are both in range — but reaching a genuinely stable, food-safe pH is a slower process than that first drop suggests, and I don’t treat an early reading as the finish line. The one number that actually matters is the safety floor: pH must be at or below 4.6 to keep C. botulinum from growing (UC Davis food safety fact sheet), and I let a batch run its full course — days to a couple of weeks depending on salt percentage and room temperature — rather than pulling it the moment the probe first crosses that line. If the pH has barely moved after 72 hours, the salt concentration is probably wrong or the chamber is running too cold. A kombucha batch should drop from pH 5.0 (fresh sweet tea) toward pH 2.8-3.2 over 7-10 days. A sourdough starter fed at 1:1:1 ratio should drop from pH 5.5 to pH 4.0 within 4-6 hours at 24°C. Monitoring pH continuously with a $25-40 probe connected to an ESP32 running ESPHome gives you a pH curve for every ferment, and the curve shape tells you more about fermentation health than any single reading — a pH that drops fast then plateaus is a healthy ferment; a pH that drops slowly and never reaches the target is a stuck ferment that needs intervention.
For the full sensor selection guide covering which temperature probes survive acidic fermentation environments (hint: stainless steel probes last; bare thermistor beads corrode within weeks), Wi-Fi versus Zigbee reliability in the warm humid air above a fermentation chamber, and how to integrate everything into Home Assistant, the best smart home sensors guide on HomeAutoCentral covers the hardware side that the fermentation requirements here depend on.
Building the Chamber: Materials and Assembly
The chamber container determines how stable your temperature control loop runs. A repurposed picnic cooler with 25mm of polyurethane foam insulation holds temperature within +/-0.5C over 8 hours with a 20W heat mat — the foam walls have an R-value of approximately 5 per inch, which means a 40-litre cooler loses roughly 2-3 watts of heat per degree Celsius of temperature difference between interior and ambient. A cardboard box lined with reflective foil-faced bubble wrap insulation (available at any hardware store for 5 per roll) holds temperature within +/-1.5C over the same period — functional but requires more frequent heat mat cycling. A dedicated mini-fridge with the cooling circuit disconnected and the door seal intact is the best long-term solution for a smart chamber — but the vessel you ferment inside also matters as much as the chamber itself; the fermentation vessel comparison guide breaks down crocks, wide-mouth jars, and dedicated fermentation crocks side by side: the factory foam insulation is typically 30-40mm thick with an R-value of 8-10, and the door gasket eliminates air leaks that convective airflow exploits in cooler lids.
Mount the heat mat on the bottom of the chamber with 10mm of air gap beneath it — the mat should not sit directly on the chamber floor because it needs airflow on both sides to distribute heat evenly. A wire baking rack elevated on four small blocks creates this gap. Place the temperature probe in a 500ml jar of water on the middle shelf — water buffers the temperature signal and prevents the control loop from oscillating because the sensor responds slowly to air temperature changes but the water temperature represents the true thermal state of the chamber contents. The fermentation vessels sit on the shelf above the heat mat, with at least 50mm of air space between the top of the tallest vessel and the chamber ceiling for air circulation. The one mistake I made on my first build was skipping the water-jar buffer and mounting the probe straight to the chamber wall — the heat mat cycled on and off every ninety seconds instead of settling into a slow rhythm, and it took me a week of watching the Home Assistant history graph to figure out why.
The Automation Logic I Actually Run
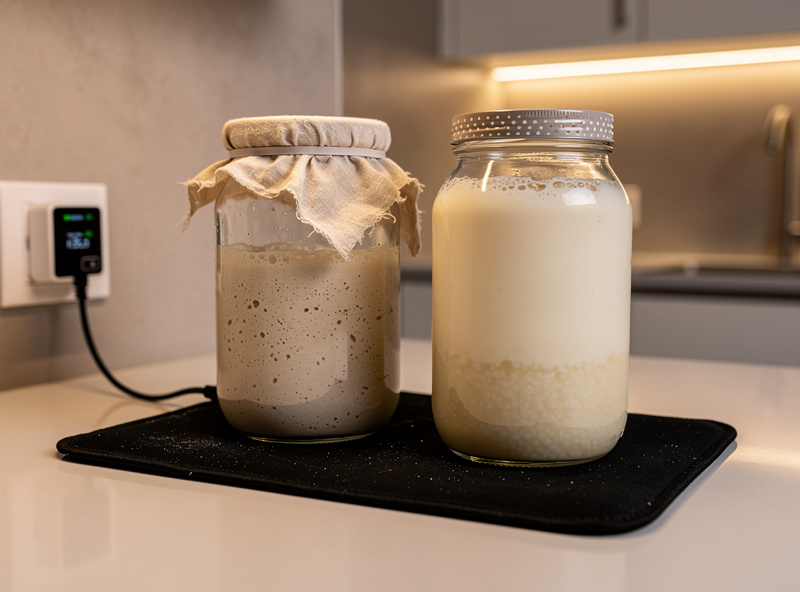
The Home Assistant side of this is a plain threshold automation, not anything exotic — I say that because people assume “smart chamber” means something more complicated than it is. One automation watches the water-jar temperature sensor: if the reading drops more than 0.5°C below setpoint, turn the heat-mat smart plug on; once it climbs 0.5°C above setpoint, turn it off. That small deadband is what stops the relay from chattering on and off every time the sensor twitches. A second, completely separate automation runs the circulation fan on a fixed schedule — 30 seconds on, 4.5 minutes off — regardless of temperature, because its job is air mixing, not heating.
I keep the two automations independent rather than combining them into one script, because a chamber holding both a kombucha vessel and a sourdough starter at the same time needs the fan running even when the heat mat is satisfied — otherwise the shelf nearest the heat mat runs a degree or two warmer than the shelf above it, and I’ve had a starter rise unevenly because of exactly that gradient. If you’re running Home Assistant already, this is a five-minute automation to write; if you’re not, the seedling-mat thermostat that ships with most heat mats will do a cruder version of the same job on its own, just without the logging.
Frequently Asked Questions
What temperature should a fermentation chamber maintain?
Lacto-ferments (sauerkraut, kimchi): 18-22C for clean flavor. Sourdough starter: 21-24C for balanced yeast and bacteria activity. Kombucha: 24-29C for SCOBY health. Yogurt: 43-46C for thermophilic culture incubation. Milk kefir: 20-25C. Tempeh: 30-32C for Rhizopus mold growth on soybeans.
How do I build a smart fermentation chamber?
Use an insulated container (cooler, mini-fridge, or foil-lined cardboard box) with a seedling heat mat controlled by a smart plug. Add a temperature probe in a water jar for buffered readings. A USB fan on a 30-second timer every 5 minutes circulates air to eliminate hot spots. Total hardware: $60-90.
Do I need a pH meter for home fermentation?
Not required but pH data tells you whether fermentation is active before you can taste it. A lacto-ferment typically shows a fast initial drop within 48-72 hours if salt and temperature are in range, but reaching a stable, safe pH at or below 4.6 (the threshold that keeps C. botulinum from growing, per UC Davis food safety guidance) takes days to a couple of weeks depending on salt percentage and room temperature. A $25-40 continuous pH probe connected to ESP32 logs the entire acidification curve, and the curve shape reveals stuck ferments before they spoil.
Can I use a regular thermometer instead of a smart sensor?
A regular thermometer tells you the current temperature. A smart sensor with Home Assistant automation maintains it. The difference is that the automation catches overnight temperature drops that would kill a kombucha SCOBY or stall a sourdough starter while you are asleep. The automation costs $15 more and prevents losing weeks of fermentation work.
What happens if my fermentation chamber gets too cold overnight?
Kombucha SCOBY dies below 15C — one cold night kills weeks of culture. Sourdough starter below 15C goes dormant but recovers when warmed. Lacto-ferments below 15C slow dramatically but do not die — expect 7-10 day ferments to take 3-4 weeks. Yogurt below 38C never sets because thermophilic bacteria require sustained heat to coagulate milk proteins.
How do I monitor multiple ferments at different temperatures in one chamber?
You cannot with one heat mat — the chamber has one temperature zone. Run multiple chambers or stagger ferment types by season: sourdough and kraut in winter at room temperature (18-22C), kombucha and yogurt in a dedicated heated chamber. A mini-fridge with the cooling circuit disabled and a heat mat installed makes a compact dedicated chamber for $40.
Related Articles
- Lacto-Fermented Vegetables: Complete Guide
- Kombucha: Complete Home Brewing Guide
- Sourdough Starter: Complete Guide
- Vinegar Brewing: Complete Home Guide
- Fermenting Hydroponic Greens: Different Salt Ratio

About Kenny Nyhus Fadil
A home fermenter documenting brines, bubbles, and the occasional moldy tragedy.
Keep Bubbling
Fermenting in a Cold Kitchen: Warm Spots That Actually Work
Chloramine vs Chlorine: Why Boiling Is Not Enough