DIY Fermentation Chamber: Build a Temperature-Controlled Box

A DIY fermentation chamber is the single best upgrade for consistent results, and you can build one for almost nothing: the simplest version is an insulated box with a seedling heat mat for warmth, and the most capable is a converted mini-fridge or wine cooler driven by an inexpensive plug-in temperature controller. The goal is to hold a steady temperature — roughly 18 to 22°C suits most vegetable and kombucha ferments — instead of letting a drafty kitchen swing your batches around.
I have built chambers at both ends of this range, from a styrofoam cooler with a warming mat to a thermostat-controlled fridge that both heats and cools. This guide is the build, not the electronics deep-dive: the physical approaches, what each one costs in effort, and how to pick the one that matches your climate and your ferments. If you want to add sensors and automation on top, the smart fermentation chamber build with home-automation monitoring picks up exactly where this one ends.
Why Temperature Is the Dial Worth Controlling
Temperature sets the speed and the character of every ferment. Warmer batches run faster and can turn soft or overly sour; cooler batches run slow and clean and keep more crunch. Most lacto-vegetable ferments and kombucha sit happiest around 18 to 22°C, and holding that window steadily — rather than swinging from a cold night to a warm afternoon — is what separates a predictable batch from a gamble.
A chamber matters most when your ambient does not cooperate. A cold Swedish winter kitchen runs well below the ideal window, so a ferment that should take two to three weeks crawls or stalls; a hot summer kitchen overshoots and softens kraut fast. The chamber is just a small, insulated space where you set the temperature you want and the room outside stops mattering. That is the whole idea, and every build below is a different way to achieve it.
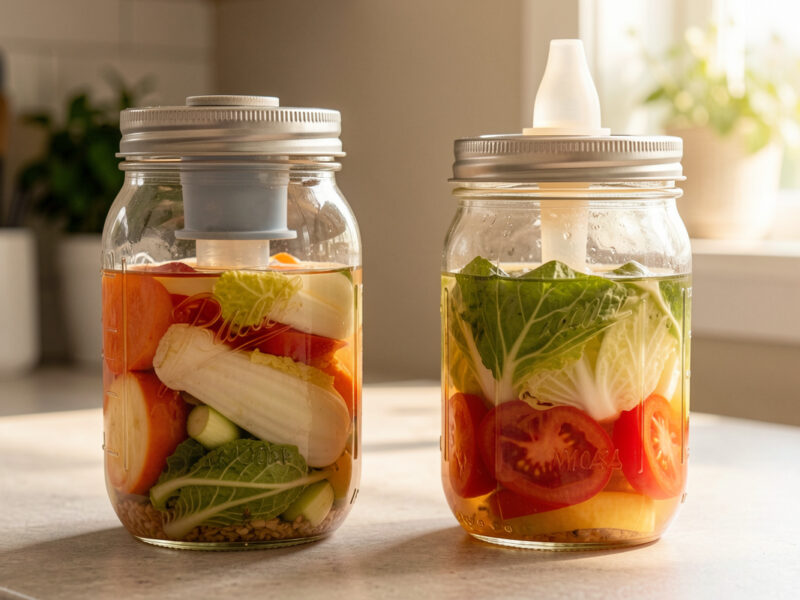
The Passive Build: Insulated Box, No Electronics
The cheapest chamber is a well-insulated container that simply buffers the room. A foam cooler, an insulated bag, or even an unheated cupboard slows down the temperature swings the kitchen throws at your jars. It will not hold a target on its own, but it flattens the day-night swing, which alone improves consistency. Add a jug of room-temperature water inside as thermal mass and the swings flatten further.
This is where most people should start, because it costs nothing and teaches you what your ferments actually need. Drop a thermometer in and watch it for a few days; you will quickly see whether your problem is too cold, too warm, or just too variable. The answer decides whether your next step is adding heat, adding cooling, or just leaving the insulated box alone.
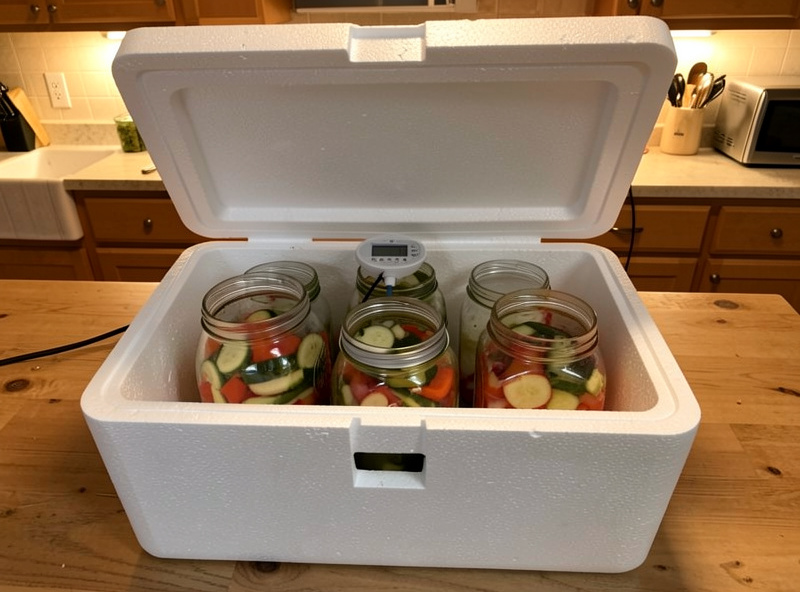
The Warming Build: Heat Mat or Seedling Mat
If your kitchen runs cold, the simplest active chamber adds gentle heat. I use a seedling heat mat with a thermostat — the same kind used for starting plants — inside an insulated box, with the thermostat probe set to my target. The mat nudges the temperature up a few degrees and holds it there, which is exactly what a cold-weather kraut or a slow kombucha needs.

The key is the thermostat. A bare heat mat with no control runs at a fixed output and can overshoot in a small insulated space, so the inline thermostat that cycles the mat on and off around your setpoint is what makes this reliable. This build is ideal for warming koji and miso holds too, where a steady, slightly elevated temperature matters even more than it does for kraut.
The Full Build: Thermostat-Controlled Fridge or Cooler
The most capable home chamber is a mini-fridge or wine cooler driven by a plug-in temperature controller. The controller has a probe inside the fridge and two outlets — one for cooling, one for a small heat source — and it switches them to hold your exact setpoint. This is the only build that both cools in summer and heats in winter, giving true year-round control regardless of the room.
The heart of it is an inexpensive plug-in temperature controller — the dual-stage kind homebrewers use for fermentation fridges. Plug the fridge into the cooling outlet, a small heat mat into the heating outlet, drop the probe inside, set your target, and the controller does the rest. A wine cooler is the nicest base because its shelving suits jars, but any working mini-fridge converts the same way. This is the chamber I rely on for cold-crashing, long miso holds, and anything I want to hold dead-steady for weeks.
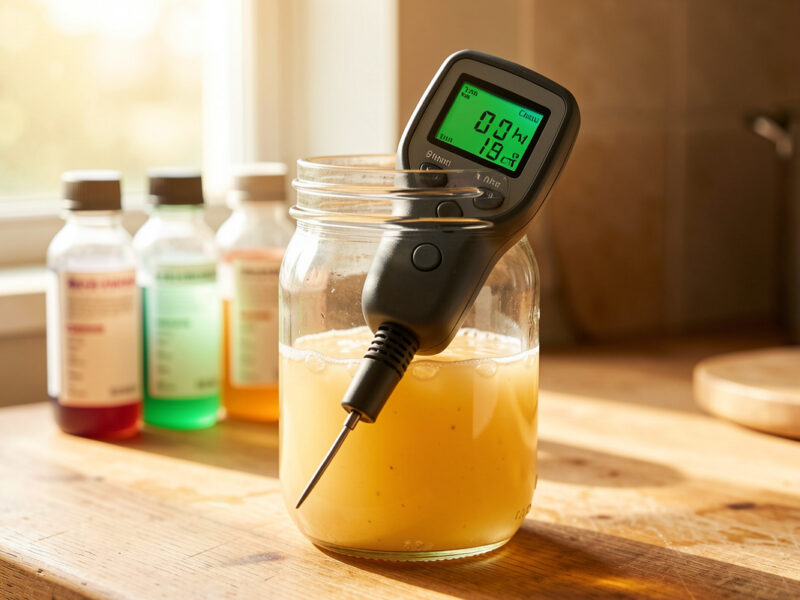
Placement, Mass, and the Mistakes to Avoid
Where you put the chamber matters as much as how you build it. Keep it out of direct sun and away from the stove and radiator, because external heat sources fight the controller and cause the very swings you built the box to stop. A basement, a pantry, or a north-facing corner is ideal — somewhere already cool and stable, so the chamber only has to make small corrections rather than battle a hostile room.
Thermal mass is the quiet trick that makes any build steadier. A few jugs of water inside the chamber absorb heat when the controller cycles on and release it slowly when it cycles off, so the temperature glides instead of spiking. This is especially useful in the fridge build, where a near-empty fridge cycles hard and overshoots, while a fridge loaded with jars and water jugs holds a setpoint smoothly. Add mass and your cheap controller behaves like an expensive one.
The mistakes I see most are over-building before measuring, putting the probe in the wrong place, and forgetting headspace inside the chamber for airflow. Sit the controller probe in the open air of the chamber, not taped to a jar or buried under one, so it reads the space your ferments actually live in. And leave room around the jars — a chamber crammed full traps pockets of warm air and reads unevenly from shelf to shelf.
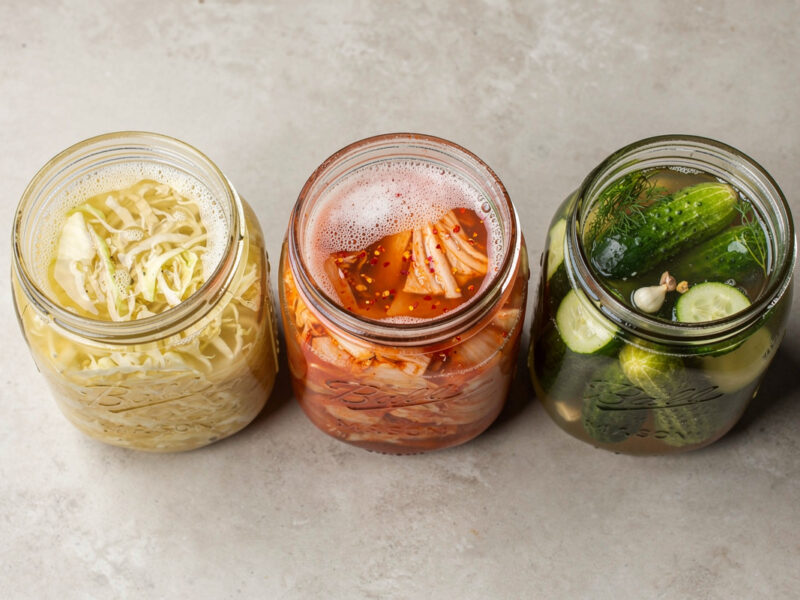
Matching the Chamber to the Ferment
Different ferments want different holds, and a chamber lets you give them what they ask for instead of one compromise temperature. Sauerkraut and most lacto vegetables run clean and crisp at the cool end, around 18°C, where the slow ferment keeps texture. Kombucha prefers the warmer end of the window, closer to 22 to 24°C, to keep the SCOBY active. Koji and miso holds want a steady, slightly warmer environment still, which is exactly why the heat-mat build doubles so well for them.
The point of the chamber is that you stop fighting your room and start choosing a number on purpose. Set the cool end for a crunchy pickle batch, nudge it up for a sluggish kombucha, hold it dead-steady for a long miso — the same hardware serves all of them once you have control. That flexibility is what turns a chamber from a luxury into the piece of equipment that quietly raises the floor on everything you ferment.
Choosing Your Build
Match the build to your climate and how serious you are. If your kitchen already sits near 18 to 22°C most of the year, a passive insulated box is all you need. If it runs cold, a heat-mat-and-thermostat box solves it cheaply. If you face both hot summers and cold winters, or you want to ferment year-round without thinking about it, the thermostat-controlled fridge is the build that ends the problem permanently.
| Build | What it controls | Best for | Effort & cost |
|---|---|---|---|
| Passive insulated box | Buffers swings only | Mild, stable kitchens | Lowest |
| Heat mat + thermostat box | Adds and holds warmth | Cold kitchens, koji/miso | Low |
| Thermostat-controlled fridge | Heats and cools to setpoint | Year-round, hot summers | Moderate |
Cost-wise, the spread is wide but the entry point is genuinely cheap. A passive box can be a cooler you already own plus a thermometer. The heat-mat build adds a mat and an inline thermostat for the price of a few jars of premium kraut. The fridge build is the most expensive, but a used mini-fridge or a retired wine cooler off a local marketplace, paired with one inexpensive dual-stage controller, comes in well under the cost of a purpose-built fermentation cabinet — and it will outlast every batch you put through it. I would always hunt for a second-hand fridge before buying new; the controller does not care how old the compressor is, only that it runs.
One practical sourcing note: a wine cooler makes the most pleasant base because its racks already suit jar shapes and it tends to run quiet, but its compressor often cannot pull as cold as a true fridge, which is irrelevant for fermentation since you are holding 18 to 24°C, not 4°C. A standard mini-fridge pulls colder than you need and handles the cooling side effortlessly. Either works; pick whichever you find cheap and in good running order, and let the controller turn it into a fermentation chamber.
Start at the cheapest build that solves your actual problem, which you only learn by putting a thermometer in an insulated box for a few days first. Most people over-build before they know what their kitchen does. Once you know, the right chamber is obvious — and once you have steady temperature, the next refinement is logging and alerting it, which is exactly the automation layer the smart-chamber build adds on top of this hardware.
Some links above are Amazon affiliate links; if you buy through them I may earn a small commission at no extra cost to you. I only point to gear I actually use to run my own fermentation chamber.
Related Guides
- Fermentation Equipment: The Complete Home Brewer Toolkit
- Smart Fermentation Chamber: Temperature and pH Monitoring with Sensors
- Crock vs Jar vs Vacuum Bag: Which Fermentation Vessel Wins
- Best pH Meter for Fermentation: What Actually Matters
- How to Sterilize Fermentation Equipment (and When Not To)

About Kenny Nyhus Fadil
A home fermenter documenting brines, bubbles, and the occasional moldy tragedy.
Keep Bubbling
Kahm Yeast: What It Is, How to Prevent It, When It Is Safe
Best pH Meter for Fermentation: What Actually Matters