Mead Making Guide for Beginners

Mead is the oldest fermented drink there is, and for beginners it is deceptively simple: dissolve honey in water, pitch yeast, and wait. The honey-to-water ratio sets the strength — roughly 1.4 kg (3 lb) of honey per gallon gives an original gravity near 1.105 and a 13–14% mead. The catch, and the one thing that separates a clean mead from a sulphury disappointment, is that honey is nearly pure sugar with almost no nutrient, so the yeast needs feeding. Get the nutrient right and mead is one of the most forgiving beverages to start; rush it and honey will teach you patience the hard way.
I came to mead through the same measurement-first approach I use across the beverage fermentation hub — hydrometer, clean technique, known yeast. Unlike cider, which is drinkable in weeks, mead is a long game that rewards months of aging more than almost anything else you can ferment. This guide is the beginner path: the ratio, the nutrient regime, the styles, and how to avoid the rotten-egg smell that scares people off their first batch.
The Honey-to-Water Ratio
Everything starts with how much honey goes into your water, because that sets your sugar and therefore your alcohol. A standard, balanced traditional mead uses about 1.4 kg of honey topped up to one gallon (3.8 L) of total volume, which reads around 1.105 on the hydrometer and ferments out to roughly 13–14% ABV. Want it lighter and sessionable? Use less honey for an original gravity near 1.060 and a 7–8% “short mead” you can drink young. Want a strong, sweet dessert mead? Add more honey and choose a yeast that quits before the sugar is gone. The hydrometer reading, not the recipe, tells you what you actually have.
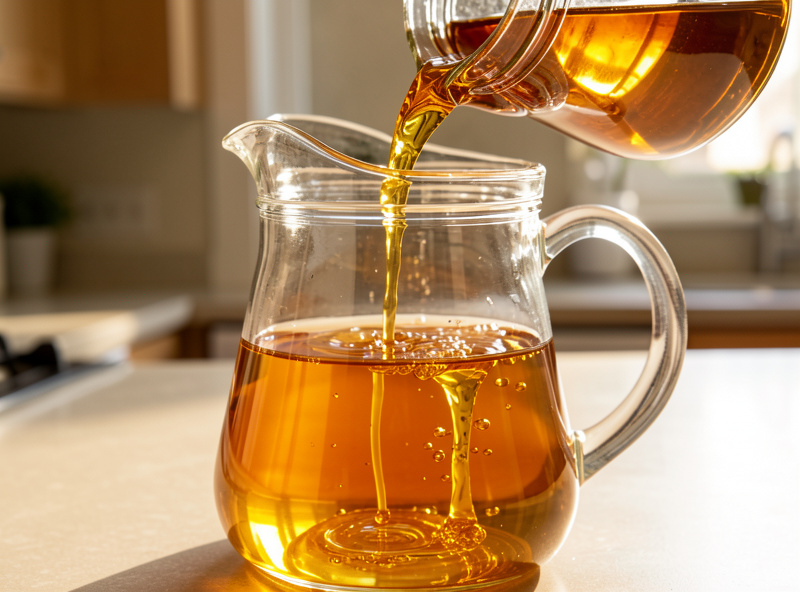
Do not boil the honey. Old recipes call for boiling, but it drives off the delicate aromatics that make mead taste of its honey. I warm the water just enough to dissolve the honey fully, cool it, then pitch — preserving the floral character that a wildflower or orange-blossom honey brings. The honey itself is acidic and antimicrobial enough that, combined with the alcohol to come, the must is safe; sanitation of equipment is still the discipline.
The Nutrient Problem: Why Beginner Meads Stall and Smell
This is the single most important section for a first-time mead maker. Honey is almost pure sugar with very little nitrogen, vitamins, or minerals — the things yeast need to build healthy cells. Pitch yeast into plain honey water and the colony starves, ferments sluggishly, throws a rotten-egg hydrogen-sulphide smell, and often stalls before the sugar is gone. The fix is yeast nutrient, and the technique that works best is staggered nutrient additions — adding the nutrient in a few small doses across the first few days of fermentation rather than all at once, so the yeast gets fed when it is hungriest.
This is the same lesson the hub teaches in reverse: cider and grape wine rarely stall because their juice carries natural nutrient, while honey does not. A healthy, well-fed yeast colony makes clean alcohol; a starving one makes off-flavours. On my bench, a proper nutrient regime has rescued more slow meads than any other single intervention, and getting it right the first time means you never meet the sulphur smell at all. If a mead does throw that smell, it usually blows off over time, and a small nutrient addition plus gentle aeration early on prevents it.
Styles of Mead
“Mead” is a family, and knowing the styles helps you decide what to make. The base is traditional mead — just honey, water, and yeast. From there you add things: fruit makes a melomel, apples make a cyser (honey meets cider), grapes make a pyment, and spices or herbs make a metheglin. Caramelising the honey first gives a rich, toffee-toned bochet. Beginners do well to start traditional so they learn the honey and the nutrient regime cleanly, then branch into a fruited melomel once the base process feels routine.
| Style | Added ingredient | Flavour direction | Beginner fit |
|---|---|---|---|
| Traditional | None (honey only) | Pure honey character | Best first batch |
| Melomel | Fruit / berries | Fruity, vibrant | Easy second batch |
| Cyser | Apple juice | Honeyed cider | Easy |
| Metheglin | Spices / herbs | Warm, complex | Moderate |
| Bochet | Caramelised honey | Toffee, marshmallow | Moderate |
Yeast and Fermentation
Yeast choice sets how dry and how strong your mead finishes. 71B is a beginner favourite because it ferments cleanly, softens harsh acidity, and leaves a rounder profile — excellent for traditional and fruit meads. EC-1118 is the bulletproof option: it ferments dry and strong, tolerant of high alcohol, and will restart a stuck batch when nothing else will, though it can strip some delicate honey character. For a sweeter dessert mead, a dedicated sweet-mead strain quits around 14% and leaves residual honey behind. Rehydrate the yeast, pitch into the must at room temperature, and ferment at 18–21°C for a clean result.
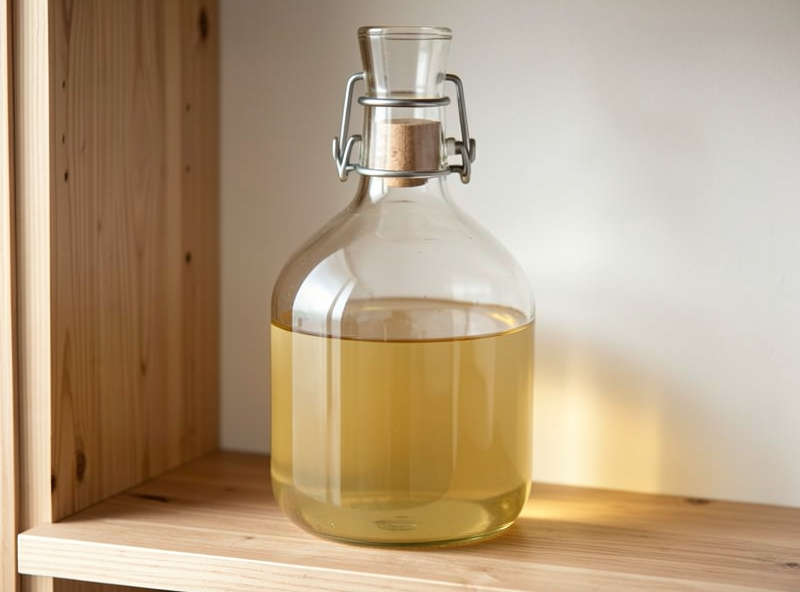
Primary fermentation runs a few weeks — slower than cider because of the high gravity. Once the vigorous bubbling subsides and the gravity has dropped substantially, rack the mead off its lees into a clean carboy under an airlock for the long, slow secondary. This is where mead diverges from every other beginner beverage: it needs time.
The Aging That Makes Mead
A young mead, two months in, is often harsh, hot, and disappointing — and this is exactly why beginners give up too early. Mead transforms with age more dramatically than any other home ferment. That same harsh batch at six months to a year becomes smooth, integrated, and genuinely impressive. I rack mead off its sediment a couple of times across those months, keeping headspace minimal each time to prevent oxidation and the slide toward vinegar. Patience is not a virtue here, it is the recipe. Bulk-age in the carboy, bottle when clear and stable, and try to forget about it for a while.
If you want sweetness in the finished mead, ferment it dry, stabilise with sorbate and sulphite to stop the yeast restarting, then back-sweeten with a little honey to taste — never bottle a sweetened, live mead or you risk pressure. Once the traditional-mead rhythm is yours, the whole beverage world opens up: fruit wine, beginner grape wine, and the fast folk drinks like tepache all build on the same patience and the same hydrometer.
Your First One-Gallon Mead, Step by Step
Here is the exact batch I would put a beginner on. Sanitise a one-gallon jug, airlock, and spoon. Warm about two litres of water and stir in roughly 1.4 kg of honey until fully dissolved, then top up with cool water to a gallon, leaving headspace. Take and record the original gravity — you are aiming near 1.105. Rehydrate a packet of 71B and pitch it. Add the first dose of yeast nutrient now, and plan two or three more small doses over the next few days; that staggered feeding is what keeps the honey-starved yeast healthy and odour-free.
Fit the airlock and ferment at 18–21°C. It bubbles within a day or two and runs for several weeks. When the gravity has dropped well and the activity slows, rack off the lees into a clean jug, top up, and refit the airlock for the long aging. Take a final gravity to calculate your ABV, then leave it alone — checking and racking every couple of months — until it is clear and smooth, ideally six months to a year out. Bottle it then. That is a complete, clean traditional mead, and every fancier style is a variation on this same foundation.
Frequently Asked Questions
How much honey do I need to make mead?
For a balanced traditional mead, use about 1.4 kg (3 lb) of honey topped up to one gallon of total volume. That reads near 1.105 on a hydrometer and ferments to roughly 13 to 14% ABV. Less honey makes a lighter session mead; more makes a stronger or sweeter one.
Why does my mead smell like rotten eggs?
That sulphur smell is stressed yeast, almost always from honey’s lack of nutrient. Use yeast nutrient added in staggered doses over the first few days. The smell usually blows off with time, and good nutrition prevents it entirely. It is the most common beginner mead problem.
How long does mead take to make?
Primary fermentation runs a few weeks, but mead truly needs aging. It is often harsh at two months and smooth at six months to a year. Unlike cider, mead rewards long patience more than any other beginner beverage. Bulk-age in the carboy before bottling.
Should I boil the honey when making mead?
No. Boiling drives off the delicate aromatic compounds that give mead its honey character. Warm the water just enough to dissolve the honey fully, cool it, then pitch the yeast. The honey is naturally acidic and antimicrobial enough that boiling is unnecessary.
What yeast is best for beginner mead?
71B is a favourite because it ferments cleanly and softens harsh acidity, ideal for traditional and fruit meads. EC-1118 is the bulletproof high-alcohol option that also restarts stuck batches. For a sweet mead, choose a strain that quits around 14% leaving residual honey.
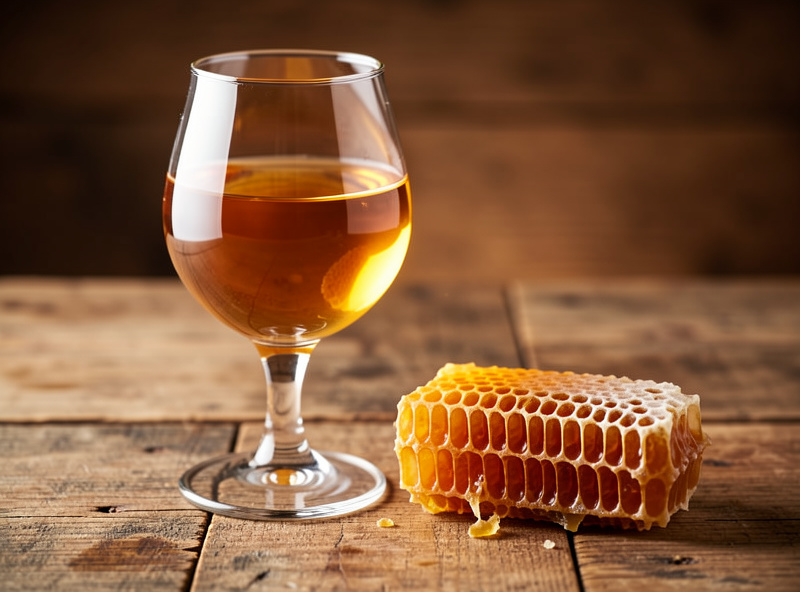
How strong is homemade mead?
Most traditional meads finish at 12 to 14% ABV, similar to wine. A must at about 1.105 original gravity fermenting dry to near 1.000 yields roughly 13 to 14% by the (OG minus FG) times 131.25 formula. Strength is set by how much honey you use.
Related Guides
- Fermenting Alcohol at Home: The Complete Hub
- Wine Making at Home for Beginners
- Fruit Wine Fermentation Guide
- Making Hard Cider at Home
- Tepache: Fermented Pineapple in Four Days
As an Amazon Associate I earn from qualifying purchases. A jar of mead yeast nutrient is the one purchase that prevents the most common beginner mead failure.

About Kenny Nyhus Fadil
A home fermenter documenting brines, bubbles, and the occasional moldy tragedy.