Kombucha Brewing: The Complete Home Guide from SCOBY to Bottle

Kombucha is the cheapest functional beverage I make and the one with the steepest learning curve in the first three batches. After four years of running concurrent 4-litre primary fermenters and second-fermentation flavour experiments, my system produces 8-10 litres of finished bottled kombucha per week at a per-litre consumables cost of roughly 13 cents — versus 4-8 dollars per litre at the supermarket for inferior product. The SCOBY, the tea ratio, the sugar percentage, and the F1-to-F2 timing decide everything.
This guide is the full system: where to source a healthy SCOBY, how to feed and store the spare ones that inevitably accumulate, the F1 timeline that produces clean-tangy base kombucha, the F2 protocol that adds flavour and fizz without making bottle bombs, and the continuous-brew workflow that has replaced batch brewing in my kitchen. Kombucha is forgiving once the variables are set; it is unforgiving while you are still calibrating SCOBY temperament and sugar levels.
As an Amazon Associate I earn from qualifying purchases.
The Two-Stage Brew: F1 and F2 Compared
Every kombucha I bottle has gone through two distinct fermentations. F1 (primary) is the sugared sweet-tea fermentation by the SCOBY at room temperature in a wide-mouth jar — produces the base kombucha. F2 (secondary) is the carbonation-and-flavour stage in sealed flip-top bottles with added fruit, herbs, or juice — produces the fizzy bottled beverage. The timing, temperature, and outcome of each stage are different.
| Stage | Container | Duration | Temperature | Sugar Source | Outcome |
|---|---|---|---|---|---|
| F1 — Primary | Wide-mouth jar, cloth cover | 7-14 days | 21-26 C | Cane sugar (60-80 g/L) | Tangy base kombucha, no fizz |
| F2 — Secondary | Flip-top bottle, sealed | 2-5 days | 21-25 C | Fruit, juice, or sugar (5-15 g/L) | Carbonated flavoured kombucha |
| Cold storage | Sealed bottles in fridge | 4-8 weeks | 2-5 C | n/a — fermentation stops | Stable carbonated beverage |
| Continuous brew (F1 alt) | Spigot crock with reserve | Ongoing | 21-26 C | Replenished sugared tea | Steady-state F1 supply |
| SCOBY hotel | Sealed jar, room temperature | Months to years | 21-26 C | Strong vinegar from old F1 | Backup SCOBY storage |
Most beginner guides skip F2 entirely and produce flat sour kombucha that tastes like medicinal vinegar. The F2 step is what makes the finished beverage taste like the bottled kombucha at the store — fizzy, fruity, sharp, balanced. The detailed second-fermentation flavour pairing matrix is documented in how to flavour kombucha during second fermentation, and the carbonation safety procedures live in the same article.
SCOBY: Sourcing, Care, and the Hotel
A SCOBY (Symbiotic Culture Of Bacteria and Yeast) is the rubbery off-white pancake that floats on a kombucha ferment. The SCOBY contains the live cultures that convert sugared tea into kombucha — without it, sweet tea just stays sweet tea. Three reliable sources: a friend who already brews (every brewer has more SCOBY than they need), an online speciality supplier like Kombucha Kamp or Cultures for Health, or a bottle of unpasteurised commercial kombucha (GT’s Synergy) which you can use to grow a baby SCOBY in 4-8 weeks.
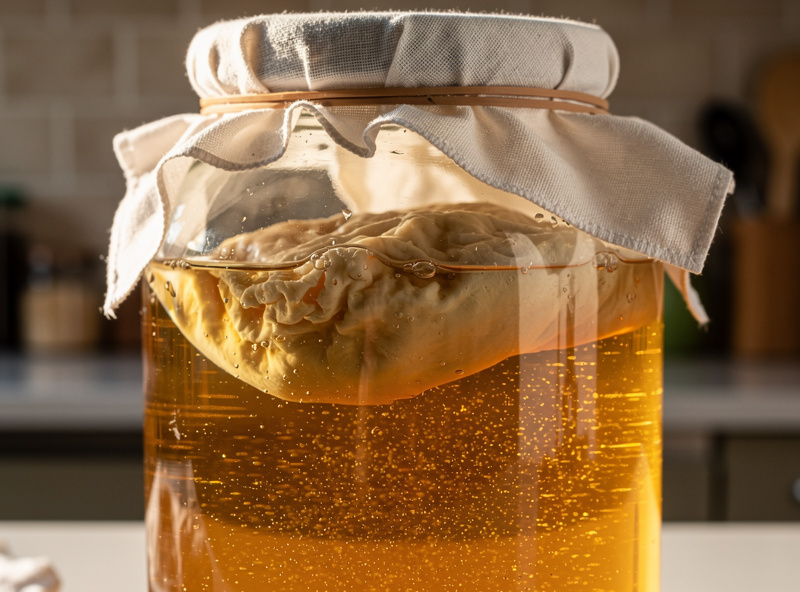
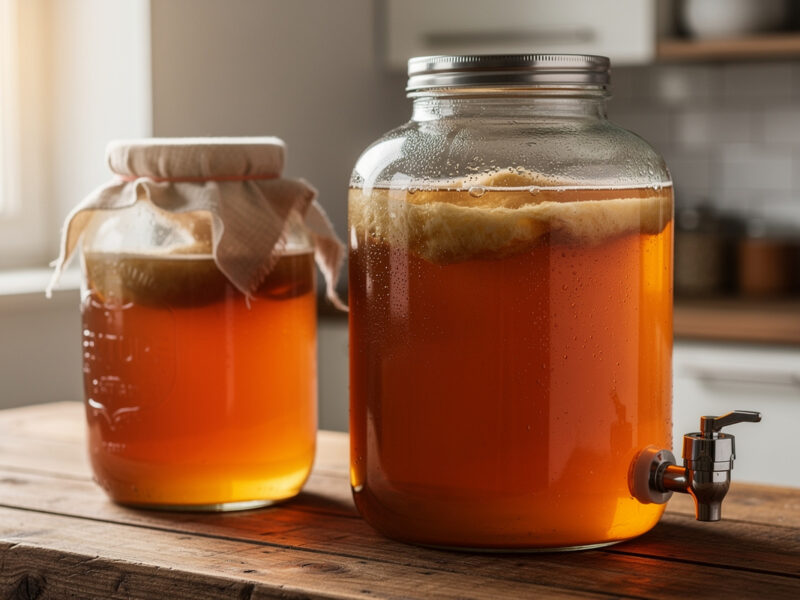
Healthy SCOBY is off-white to pale tan, 1-3 cm thick at maturity, has a smooth top layer and a slightly stringy underside. Unhealthy SCOBY shows dark spots that are persistent (yeast bunches are normal and brown-stringy; mold is fuzzy and raised — discard the entire batch). The smell test is reliable: healthy kombucha smells vinegary and slightly bready; contaminated kombucha smells off, sulphurous, or sweet without any acidity.
Every successful F1 batch produces a new baby SCOBY on top of the original. After 3-4 batches you have more SCOBY than you can use. The fix is a SCOBY hotel — a 2-litre jar kept at room temperature (not the fridge, where cold dormancy makes a culture more mold-prone on revival) holding strong vinegar-like reserve liquid from previous batches with the extra SCOBYs submerged in it. The hotel keeps SCOBYs alive for months, and my full SCOBY hotel guide covers feeding, storage, and reviving a neglected one. I keep two hotels: one active and one rotating. The discipline parallels the mother-management work in my home vinegar making guide; both rely on the same kind of perpetual-culture maintenance.
F1: Primary Fermentation
The F1 procedure for 4 litres is: brew 4 litres of sweet black tea (8 tea bags or 8 grams loose-leaf black tea, steeped 10 minutes, then sweetened with 280 grams of plain cane sugar), cool to room temperature (this is non-negotiable — hot tea kills the SCOBY), pour into a wide-mouth jar leaving 5 cm headspace, add the SCOBY and 400 ml of mature kombucha (10 percent starter from a previous batch), cover with a clean cotton cloth secured with a rubber band, leave at 21-26 C for 7-14 days.
The 10 percent starter is the single most under-discussed F1 variable. Starter is mature kombucha from your previous batch, and it does two critical things: it drops the initial pH well below the 4.6 threshold where Clostridium botulinum cannot grow (NCHFP) — kombucha starter typically lands in the pH 3-4 range from the first hour — and it provides active inoculum that lets the SCOBY get to work immediately instead of taking 3-4 days to wake up. Without starter, F1 takes longer and the contamination risk is higher. With starter, F1 is reliable and clean.
Taste-test from day 7. The kombucha should be tangy but with some residual sweetness — too sweet means more time, too vinegary means you went too long and the SCOBY ate all the sugar. Most kitchens at 22-24 C hit the right balance at day 10-12. Cooler kitchens (18-20 C) need 14-16 days. The full timing window varies with SCOBY age, room temperature, and the specific tea blend — taste-test rather than relying on a fixed calendar.
F2: Flavour and Carbonation
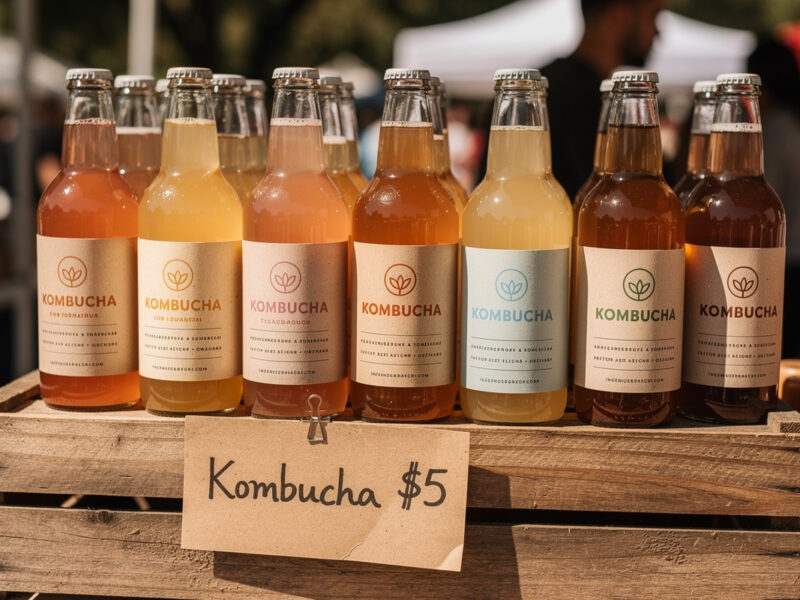
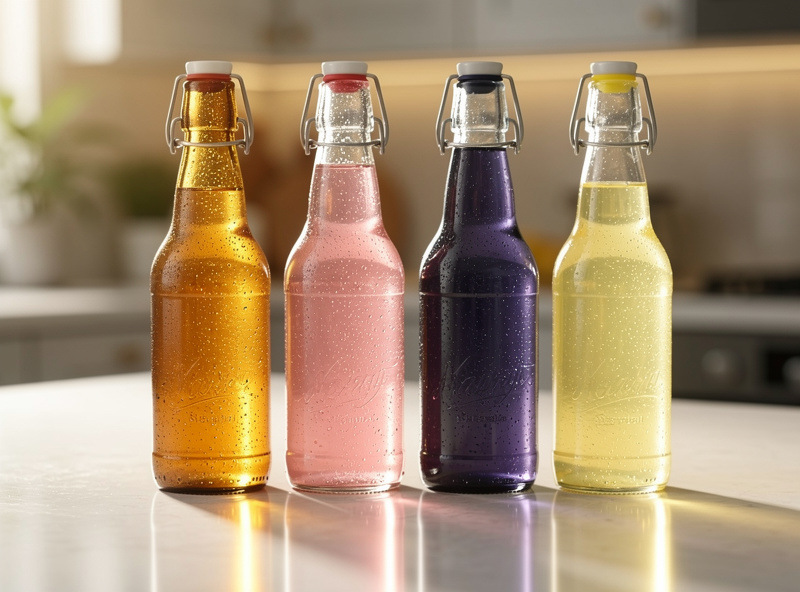
F2 is where kombucha goes from medicinal to delicious. After F1, decant the kombucha into flip-top bottles (Grolsch-style swing-tops, 16-22 dollars per 6-pack), leaving 4 cm headspace, add flavouring (5-15 grams fresh fruit, 2-4 tablespoons juice, or 5-10 grams ginger per litre), seal tightly, leave at room temperature for 2-5 days, then move to the fridge.
Flavouring options span the full range from simple to elaborate. Single-ingredient: ginger (the workhorse — 5 grams per litre produces gentle warmth), lemon, raspberry, blueberry, peach. Combinations I run regularly: ginger-turmeric-black pepper (warm, peppery, golden-hued profile), strawberry-basil (summer favourite), apple-cinnamon (autumn), pineapple-jalapeño (tropical heat). The flavour-pairing matrix is documented in how to flavour kombucha during second fermentation; the article lists 25 flavour combinations with the actual measurements and timelines I have tested.
Carbonation safety is the F2 detail that beginners under-respect. CO2 builds up rapidly during F2 and bottles can explode at room temperature if left too long. The safe rule: F2 at 21-25 C for no more than 5 days, burp bottles once daily after day 2 (open briefly to release pressure, then re-seal), refrigerate as soon as the bottle feels firm under finger pressure. Plastic test bottles (a single small plastic bottle filled alongside the glass batch) is a cheap way to check pressure — when the plastic bottle is rock-hard, all bottles are at full pressure.
Tea and Sugar Choices
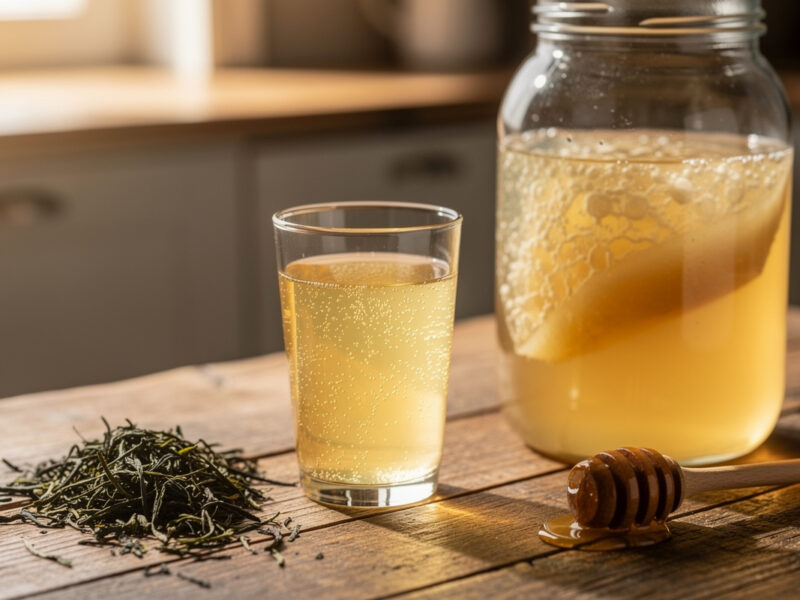
Black tea is the standard and most reliable substrate for kombucha. The SCOBY genuinely prefers black tea — Assam, Ceylon, or generic black — and produces the most balanced flavour and the cleanest finished beverage. Green tea works but produces a slightly lighter, less acidic kombucha that some prefer; oolong is somewhere between. For the full breakdown of how black, green, oolong, and white each affect SCOBY health and flavour, see my guide to the best tea for kombucha. Avoid flavoured teas (Earl Grey, fruit teas, herbal teas) for F1; the essential oils in flavoured teas can stress the SCOBY over multiple batches.
Sugar is non-negotiable. The SCOBY needs sucrose (regular cane sugar) to convert to alcohol and then to acetic acid. Substitutes do not work: honey is too acidic and contains antimicrobials that stress the SCOBY, stevia and xylitol cannot be metabolised by the yeasts, raw cane sugar works but slows the ferment slightly. Plain refined cane sugar at 70 grams per litre is the standard; the SCOBY consumes about 80 percent during F1, leaving the finished kombucha with around 15 grams of residual sugar per litre — less than a regular soda by a factor of 6-8.
Water matters more than most guides admit. Chlorinated tap water inhibits the SCOBY over multiple batches; if your tap water is heavily chlorinated, let a covered jug sit overnight before brewing (chlorine evaporates), or use a basic carbon filter. Fluoridated water generally works but some sensitive SCOBYs slow down over time. Filtered or bottled spring water is the safest choice for new brewers.
Bottling, Carbonation Safety, Storage
Bottle choice matters for safety and convenience. Flip-top glass bottles (Grolsch-style swing-top) handle CO2 pressure safely and reseal easily. Standard wine bottles with corks fail under kombucha pressure. Beer bottles with crown caps work but require a capper and bottle opener. Plastic bottles are safer than glass for pressure but the kombucha picks up a slight plastic taste over storage.
Fridge storage stops F2 and stabilises carbonation. Cold kombucha keeps 4-8 weeks at 2-5 C; flavour stays bright for the first 4 weeks and slowly deepens with mild loss of fizz after that. Long-storage bottles (8+ weeks) are still safe but become flatter and more vinegary — useful as a base for salad dressings or marinades rather than as a sipping drink.
If you keep getting unfizzy kombucha despite a proper F2 step, the diagnostic tree starts with sugar (was 5-15 grams per litre added at bottling), temperature (was F2 at 21-25 C, not 16-18), and bottle quality (did the flip-top seal completely or was there a slight leak). Full diagnostic flow lives in why is my kombucha not fizzy, which is the single article I link to most often when friends ask about kombucha problems.
Troubleshooting: SCOBY, F1, F2, and Off-Flavours
Four common kombucha problems cover most beginner failures. SCOBY refuses to develop on a fresh start: the starter ratio is too low (use 10-15 percent mature kombucha, not 5 percent), or the room is too cold (move above 21 C). New SCOBY forms but the kombucha never turns tangy: insufficient sugar (the SCOBY ran out of food early), or the SCOBY itself is weak from over-storage in the hotel — feed it fresh sweet tea for one full F1 cycle to revive it.
F2 produces no fizz even after 5 days: bottles are not sealing properly, or the residual F1 sugar was already too low (the SCOBY ate all the sugar in F1, leaving nothing for F2). The fix is bottling at F1 day 9-11 (not day 14+) so there is still sugar to drive F2 carbonation. The flat-fizz diagnostic decision tree, with exact fixes for each cause, is in why is my kombucha not fizzy.
Off-flavours that are not normal kombucha: sulphurous notes (yeast stress from too-warm fermentation — drop the temperature 2 C), nail-polish acetone notes (the SCOBY is metabolising alcohol pathways instead of acetic acid — usually too-warm fermentation), and bready or beer-like notes (SCOBY has shifted toward alcohol production — restart with a fresh SCOBY from the hotel). The same visual ID for surface yeast versus mold that applies to kimchi (kimchi mold vs white film) and sauerkraut (sauerkraut mold vs kahm yeast) applies directly to kombucha SCOBYs. Brown stringy yeast bunches hanging from the SCOBY are normal; fuzzy raised patches in any colour are mold and require discarding the batch and SCOBY.
Continuous Brew vs Batch Brew
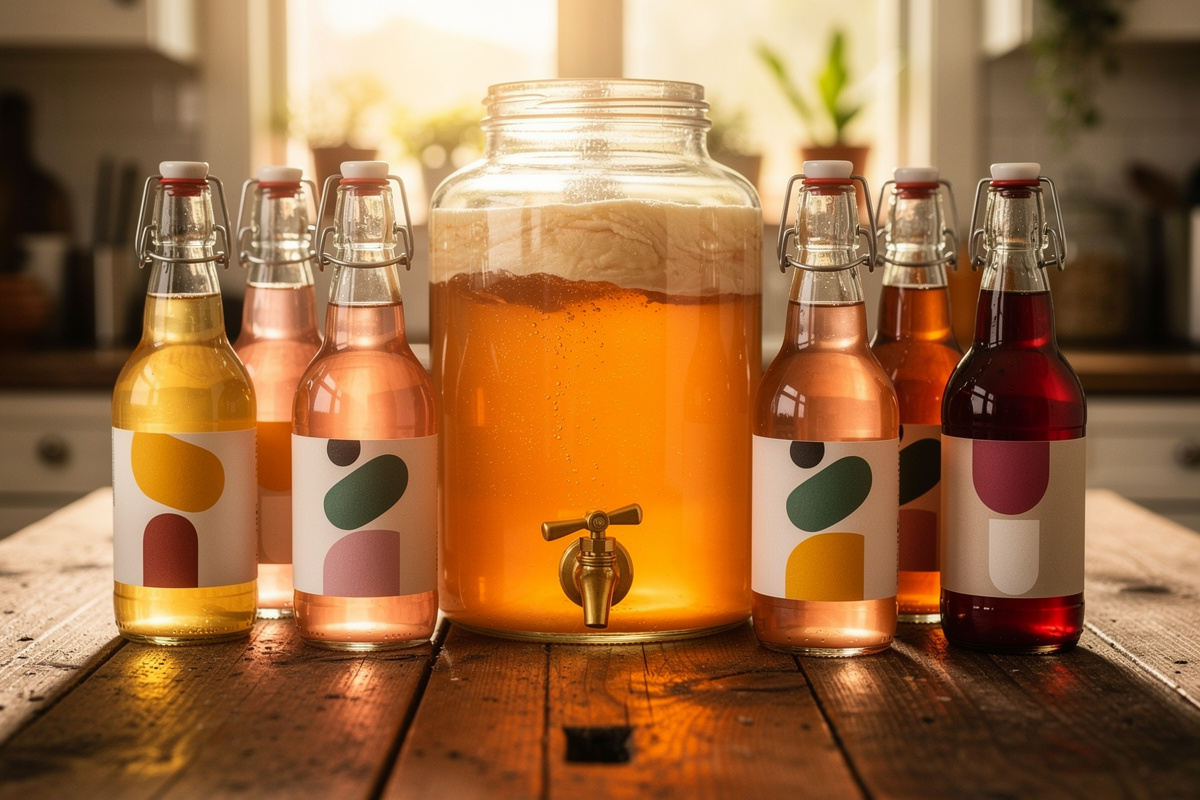
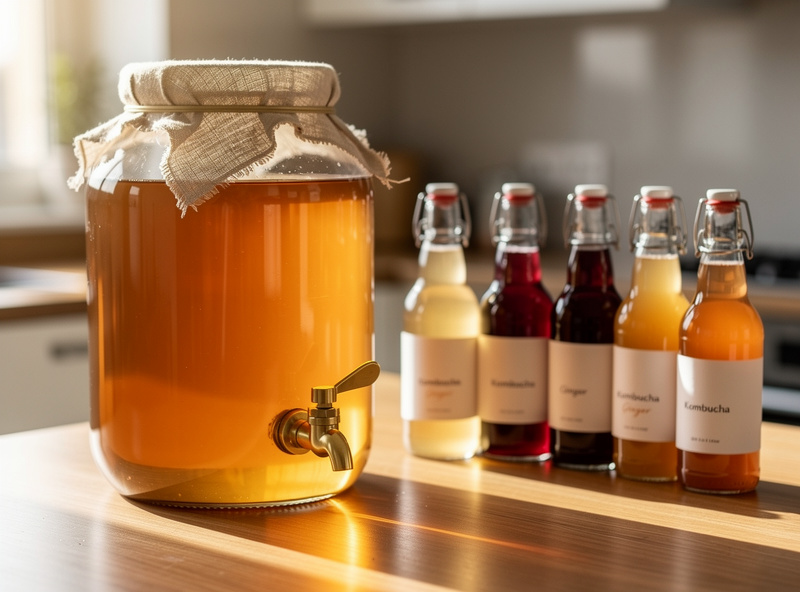
Continuous brew (CB) uses a large vessel with a spigot at the bottom — you draw off finished kombucha through the spigot and pour fresh sweet tea in from the top, maintaining a steady-state F1 supply. CB has three advantages over batch brewing: less downtime between batches, more consistent flavour, and less SCOBY handling (the SCOBY stays in the vessel for months). I break down the full trade-off, including the spigot-material trap, in my continuous brew vs batch comparison. The disadvantage is bigger upfront equipment investment (a 7-litre spigot vessel runs 35-55 dollars) and the larger SCOBY accumulation.
My system is hybrid. The CB vessel runs primary F1 at steady state — I draw off 1.5 litres weekly, replace with the same volume of sweet tea, and the system has run uninterrupted for 22 months. The drawn-off 1.5 litres goes into F2 in flip-top bottles with whatever flavouring I am running that week. The CB vessel runs at room temperature year-round; I use a 30-watt seedling heat mat under it in winter when the kitchen drops to 18 C.
For new brewers, batch brewing is the right starting point. Run 2-3 batches before considering continuous brew, because CB hides some of the F1 timing diagnostics that are useful for learning. Once you can hit the F1 endpoint reliably in a batch system, the move to CB takes one afternoon and the time savings compound over months. The hardware crossover for CB sits in my fermentation equipment guide alongside the broader vessel and lid choices.
My System After Four Years
One continuous-brew 7-litre vessel running F1 at steady state, six flip-top bottles in F2 rotation (one for each weekday plus weekend), one SCOBY hotel on the counter. Total active work: roughly 25 minutes per week — 10 minutes drawing off F1 and refilling sweet tea, 10 minutes bottling F2 with flavourings, 5 minutes burping and fridging F2 bottles two days later.
Total annual cost: about 60 dollars for cane sugar and black tea, with bottles and equipment amortised over years. Output: roughly 450 litres of finished kombucha per year, which covers household use and produces enough surplus to gift two or three flip-tops every week. The math is decisive: 60 dollars for 450 litres works out to roughly 13 cents per litre in consumables, versus 4-8 dollars per litre at the supermarket for inferior product.
For a beginner’s first kombucha batch, my recommendation is: 4 litres of sweet black tea (8 tea bags, 280 grams cane sugar), cooled to room temperature, poured into a 5-litre wide-mouth brewing jar, SCOBY plus 400 ml starter added, covered with cotton cloth and rubber band, left at 22 C for 10 days, then bottled in flip-top bottles with ginger or raspberry for 3-day F2. Total cost for the first batch: under 25 dollars including buying a starter SCOBY online (12-20 dollars from a speciality supplier). The principles transfer from kombucha to every other ferment in my pantry — see the broader system in my lacto-fermentation guide and the closely-related home vinegar making guide.
Frequently Asked Questions
How long does kombucha take to brew?
Primary fermentation (F1) takes 7-14 days at 21-26 C — taste from day 7 and bottle when the balance of sweet and tangy matches your preference. Secondary fermentation (F2 — carbonation and flavour) takes another 2-5 days at room temperature in sealed flip-top bottles. Total time from sweet tea to fizzy bottled kombucha: 9-19 days.
What is a SCOBY and where do I get one?
A SCOBY (Symbiotic Culture Of Bacteria and Yeast) is the rubbery off-white pancake that contains the live cultures that ferment kombucha. Three reliable sources: a friend who brews, an online speciality supplier (Kombucha Kamp or Cultures for Health, typically 12-20 dollars), or grow your own from a bottle of unpasteurised raw kombucha (GT’s Synergy) in 4-8 weeks of patience.
Why is my kombucha not fizzy?
Three common causes: insufficient F2 sugar (need 5-15 grams added at bottling), F2 temperature too cool (under 20 C — move to a warmer spot), or flip-top bottles that do not seal completely (check the rubber gasket). Plastic test-bottle alongside the glass batch tells you when pressure has built up — when the plastic bottle is firm, the glass bottles are ready to refrigerate.
Can kombucha bottles explode?
Yes, if F2 runs too long at room temperature. Carbon dioxide builds up rapidly in sealed bottles and pressure can exceed the bottle’s rating after 5-7 days at 24 C. Safety procedure: burp bottles once daily after day 2, use a plastic test bottle to gauge pressure, refrigerate by day 5 at the latest. Use flip-top swing-tops or proper beer bottles with crown caps; not wine bottles or screw-top jars.
What sugar should I use for brewing kombucha?
Plain refined cane sugar at 70 grams per litre is the standard and the most reliable. The SCOBY metabolises it efficiently and finished kombucha has only 15-20 grams of residual sugar per litre. Avoid honey (too antimicrobial), stevia and xylitol (cannot be metabolised by the yeasts), and artificial sweeteners. Raw cane and turbinado sugar work but slow the ferment slightly.
Is home-brewed kombucha safe to drink?
Yes, when brewed correctly. Finished F1 kombucha typically lands well below pH 4.6 — the threshold below which Clostridium botulinum cannot grow, per NCHFP — and the combination of low pH, live SCOBY cultures, and acetic acid creates an environment hostile to most spoilage organisms. Use clean equipment, healthy SCOBY, and 10 percent mature starter from a previous batch. Discard any batch with fuzzy raised mold on the SCOBY (very rare); harmless brown stringy yeast bunches are normal.
Related Guides on FermentFoundry
- Why Is My Kombucha Not Fizzy? 6 Fixes for Flat Second Fermentation
- How to Flavour Kombucha During Second Fermentation: 25 Ideas
- How to Make Hard Kombucha (3-7% ABV) at Home
- Jun Kombucha: The Green Tea and Honey Brew Explained
- Kombucha pH Guide: Safe Levels, Timeline, and Fixes
- How to Keg Kombucha and Force-Carbonate with CO2
- Selling Kombucha Legally: Cottage Food Laws and Licensing
- Home Vinegar Making: The Complete Guide from Mother to Bottle
- Lacto-Fermentation for Vegetables: The Complete Home Guide
- Fermentation Equipment: The Complete Home Brewer Toolkit

About Kenny Nyhus Fadil
A home fermenter documenting brines, bubbles, and the occasional moldy tragedy.