Open Crumb Sourdough: The Technique That Works

Open crumb — the wide, glossy, irregular holes inside an artisan sourdough — is not made by hydration alone. It is the product of strong flour, well-judged fermentation, thorough gluten development, and gentle shaping that preserves the gas you built, in that order of importance. Chase water without the other three and you get a flat, gummy loaf, not an open one.
This is the mistake I see most often: bakers crank hydration to 85 percent expecting big holes and get a dense puddle instead. After years of loaves I treat open crumb as a stack of four techniques that must all be right together. This guide ranks those drivers, shows how to nail each, and explains why the order matters. It builds directly on my hydration percentage guide and the full method in the complete sourdough guide.
Disclosure: FermentFoundry is reader-supported. As an Amazon Associate I earn from qualifying purchases made through links in this article, at no extra cost to you. I only point to gear I actually use or would buy for my own kitchen.
What Open Crumb Actually Is
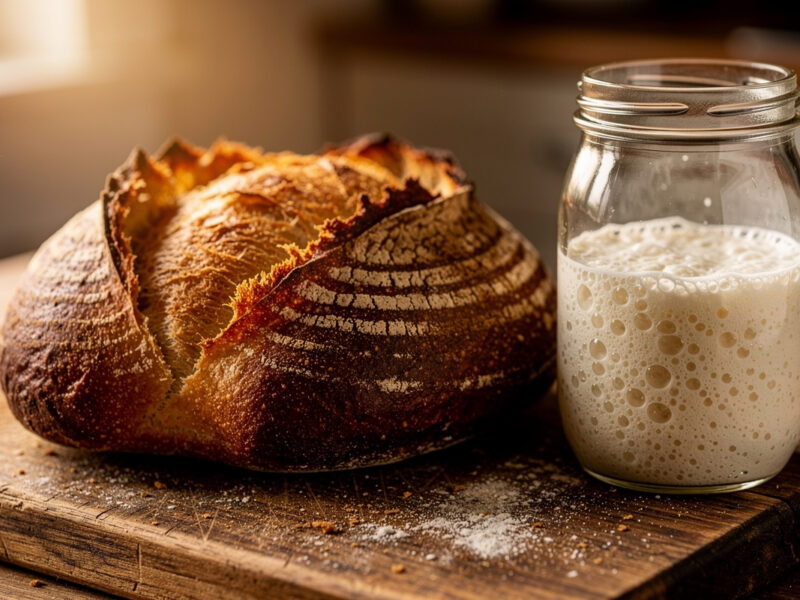
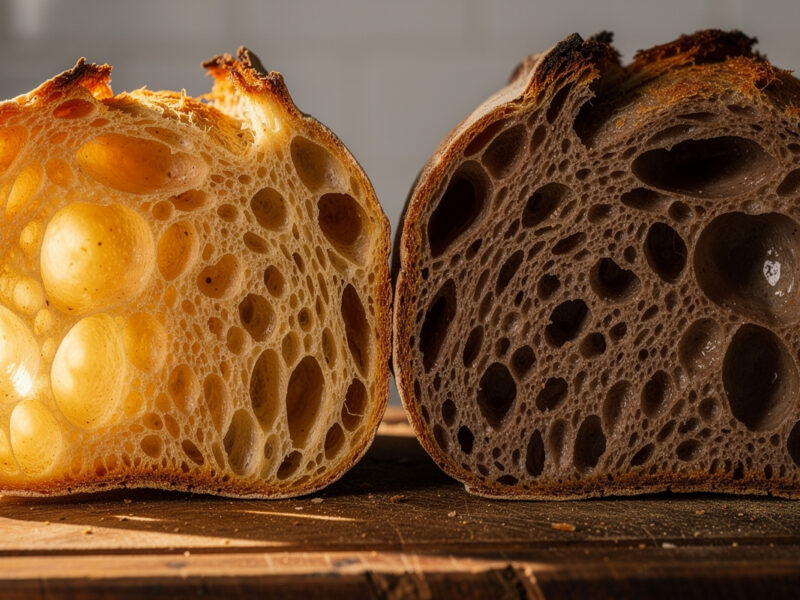
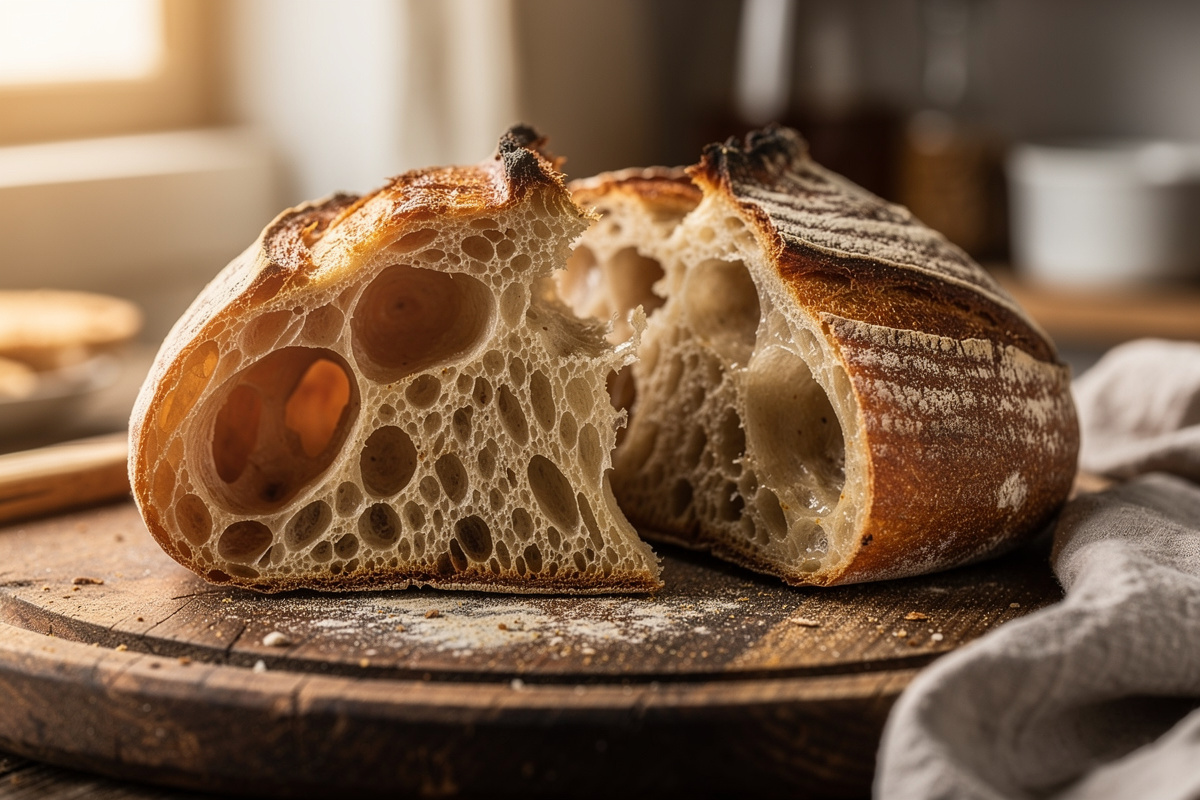
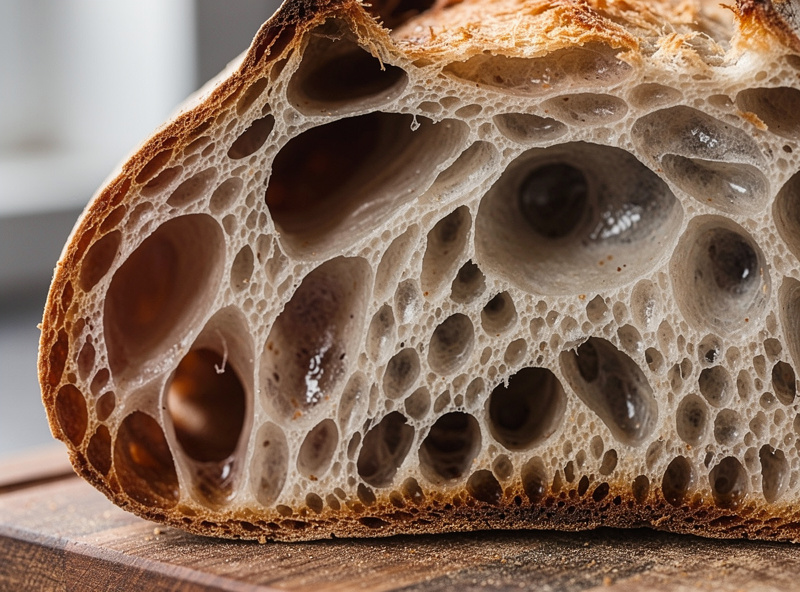
Open crumb is an interior structure of large, irregular, thin-walled holes with a translucent, glossy gluten membrane — the look of a well-made country loaf or ciabatta. It signals strong gluten development and well-managed fermentation, not simply a lot of water, and it is a texture preference rather than a measure of quality. A tight, even crumb is the right answer for sandwiches and toast.
The honest framing first: open crumb is harder, not better. It bakes less reliably, slices messier, and holds spreads worse than a moderate crumb. Pursue it because you like the texture and the challenge, not because a tighter loaf is a failure. Plenty of superb bread — tin loaves, bagels, sandwich boules — is deliberately tight, as I cover in the firm-dough section of the hydration guide.
When open crumb goes wrong it usually goes one of two ways: dense with no holes (under-fermented or under-developed gluten) or holey-but-gummy with a wet streak (over-hydrated, under-baked, or over-proofed). Both are diagnosable, and the dense version overlaps heavily with the causes in why sourdough bread turns out dense. Open crumb is really just the absence of those faults plus deliberate gas preservation.
Driver One: Strong Flour
The foundation of open crumb is high-protein bread flour — 12-14 percent protein — because the gluten network has to be strong enough to trap gas in thin walls without collapsing. Weak all-purpose flour simply cannot hold the structure at high hydration, which is why a 78 percent dough made with bread flour opens up while the same hydration in all-purpose slumps flat.
For serious open-crumb work I reach for a strong high-protein bread flour, sometimes blended with a small percentage of whole wheat for flavour and fermentation activity. The whole grain adds wild-yeast food and taste but slightly weakens the gluten, so I keep it under 20 percent of the total when maximum openness is the goal. Flour strength and your hydration target are linked decisions, the same point I make in the best flour guide: strong flour buys you the headroom to run wetter.
If your flour is weak or unknown, do not push hydration. A bag of plain supermarket flour at 70 percent makes far better bread than the same flour fought to 80 percent. Match your ambition to your flour, and upgrade the flour before you upgrade the water.
Driver Two: Well-Judged Fermentation
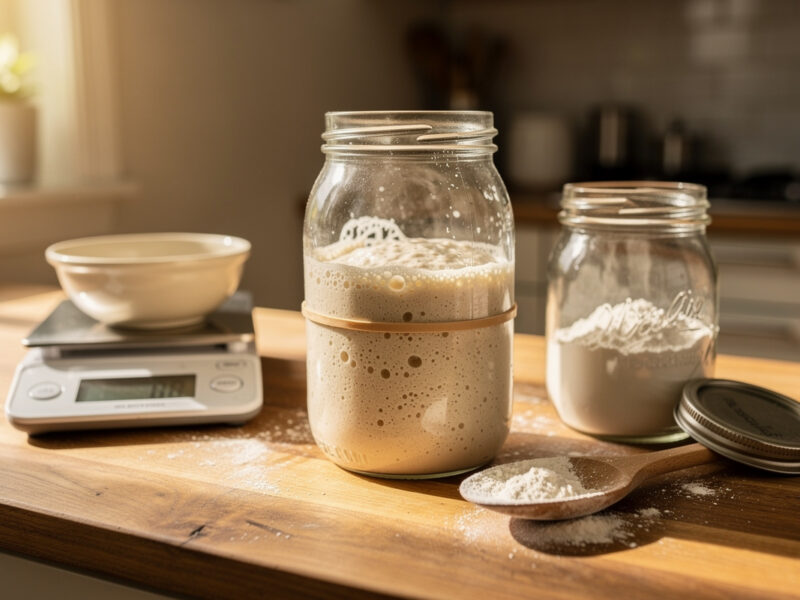
Fermentation is the driver most beginners get wrong, and it is more important than hydration. The dough needs enough bulk fermentation to build gas and extensibility, but not so much that the gluten degrades and the structure collapses — open crumb lives in a narrow, well-judged window of proof.
Under-fermented dough is the number one cause of dense, closed crumb: the gluten is tight, the gas is sparse, and the loaf bakes into a brick regardless of hydration. Over-fermented dough is the cause of the holey-gummy failure: the gluten has broken down, gas escapes, and the loaf flattens. The reliable signals for the bulk-end window — 50-75 percent volume rise, domed and bubbly surface, the float test — are exactly the judgement calls detailed in the main guide, and they matter more for open crumb than any other factor.
Temperature is your lever here. A warm bulk (24-26 C) ferments fast and can over-proof before the gluten is ready; a cooler bulk (22 C) gives a wider, more forgiving window to hit peak. I run open-crumb doughs slightly cool and watch them closely, treating the bulk as the precision step it is — the same controlled-process mindset I bring to the starter feeding schedule, where timing to peak is everything.
Driver Three: Gluten Development and Lamination
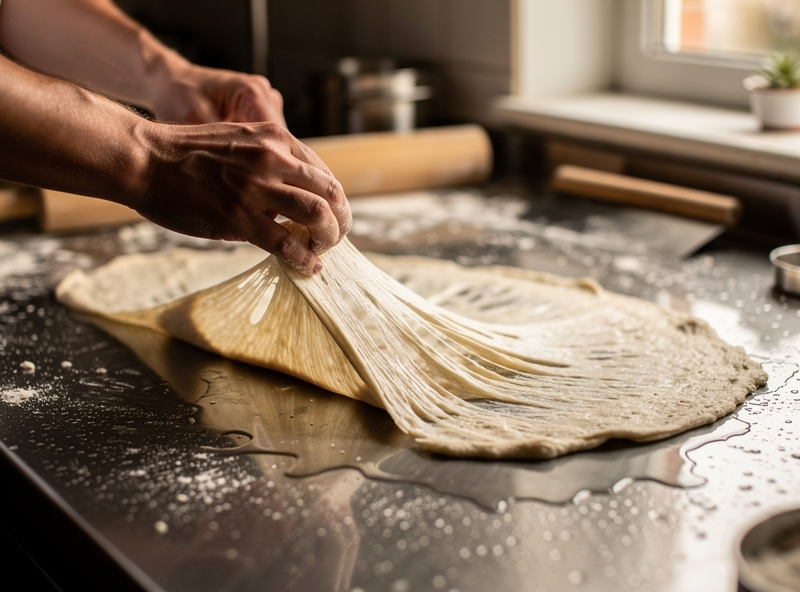
Strong, extensible gluten is what lets gas expand into thin-walled holes instead of escaping or tearing, and you build it with stretch-and-folds and, for maximum openness, a lamination step. Lamination — stretching the dough into a thin sheet on a wet counter early in bulk, then folding it back up — aligns the gluten dramatically and is the single most effective open-crumb technique beyond the basics.
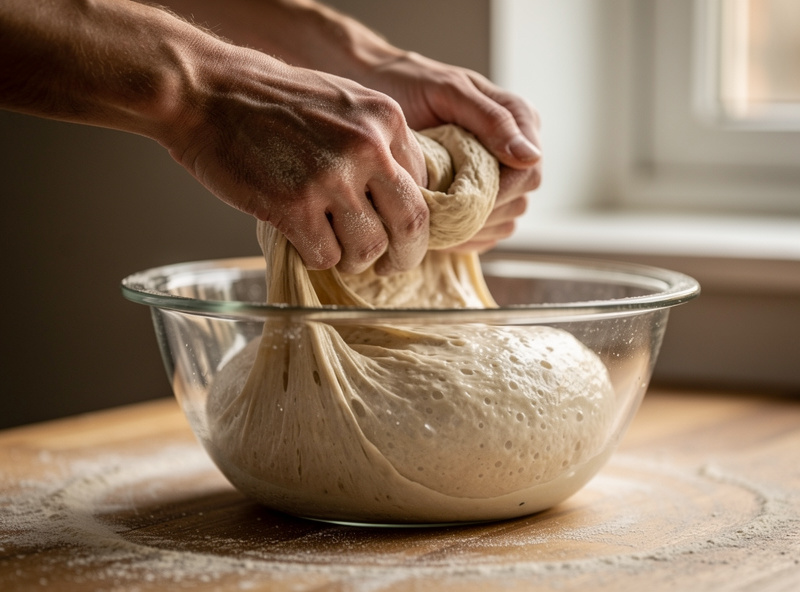
My open-crumb routine: mix and rest (autolyse), add salt and starter, then do one lamination about 30-45 minutes into bulk, followed by 2-3 sets of gentle coil folds at 30-45 minute intervals. The coil fold builds tension without degassing — you lift the dough in the middle and let it tuck under itself, rather than pressing or punching. A stainless bench scraper and wet hands make handling the slack dough possible without tearing it.
For the initial mix of a wet open-crumb dough, a Danish dough whisk combines flour, water, and starter without the smearing and over-working a spoon causes — it incorporates everything in seconds while leaving the gluten to develop later through folds rather than brute mixing.
The principle uniting all of this is gentleness. Every rough handling, every hard degassing punch-down, destroys the gas pockets you are trying to grow. From the first fold to the final shape, treat open-crumb dough as a structure you are coaxing, not a mass you are working. Aggressive kneading belongs to enriched and tight doughs, not to this.
Driver Four: Gentle Shaping and the Bake
Final shaping for open crumb must build surface tension while preserving the internal gas — a light, confident pre-shape and shape with minimal degassing, not a tight squeeze. Then a cold retard in a floured banneton firms the dough for a clean score, and a hot, steamy bake drives the oven spring that stretches those gas pockets into open holes.
Shape on a lightly floured counter, pre-shape into a loose round, rest 20-30 minutes, then final-shape gently and transfer seam-up to a floured banneton for the overnight cold retard. The cold makes the slack dough scoreable and lets flavour develop. Bake hot — a preheated Dutch oven at 245-260 C with the lid on for the steam phase — exactly as in the main guide, because oven spring is where open crumb is finally realised. A confident, deep score lets the loaf bloom open instead of bursting.
The table below ranks the four drivers by how much they actually move the needle, which is the opposite of how most beginners prioritise them.
| Driver | Impact on Open Crumb | How to Get It Right | Common Mistake |
|---|---|---|---|
| Well-judged fermentation | Highest | Hit the bulk window: 50-75% rise, domed, float test | Under-fermenting (dense) or over-fermenting (gummy) |
| Strong flour | High | Use 12-14% protein bread flour, keep whole grain under 20% | Pushing weak flour to high hydration |
| Gluten development / lamination | High | Lamination plus gentle coil folds, no degassing | Rough handling that pops the gas |
| Gentle shaping | Medium-high | Build tension with minimal pressure, preserve gas | Tight squeezing that degasses the dough |
| Hydration | Medium | 75-80% with strong flour, raised gradually | Treating water as the only factor |
| Hot steamy bake | Medium | Preheated Dutch oven, lid on for steam, deep score | Cool oven, no steam, timid scoring |
Read that ranking carefully: hydration sits below fermentation, flour, and gluten development. The bakers who get the most open crumb are not the ones running the wettest dough — they are the ones who ferment precisely, use strong flour, develop gluten well, and handle gently. Water is the finishing touch on top of those, not the foundation.
Putting It Together
The fastest path to open crumb is to fix the drivers in order: nail fermentation first at a moderate 72-75 percent hydration with strong flour, add lamination and coil folds, and only then push hydration upward. Changing one variable per bake, the same controlled-experiment discipline I apply to every ferment, is what turns guesswork into repeatable results.
A realistic timeline: expect your first deliberately open-crumb loaves to take several attempts, and expect the breakthrough to come from better fermentation judgement rather than from any single trick. The dough-reading skill compounds — by your tenth focused loaf you will read the bulk window by feel, and that single skill unlocks open crumb more than any gadget.
Keep the supporting gear simple and good: strong flour, a bench scraper, wet hands, a floured banneton, and a hot Dutch oven. The full kit across all my sourdough and fermentation work is in the fermentation equipment guide. Open crumb is a technique stack, not a shopping list — master the four drivers and the holes follow.
Frequently Asked Questions
What is the secret to open crumb sourdough?
There is no single secret. Open crumb comes from four drivers in order of importance: well-judged fermentation, strong high-protein flour, thorough gluten development with lamination, and gentle shaping that preserves gas. Hydration matters less than all four. Chasing water alone without those gives a flat, gummy loaf rather than an open one.
Does high hydration give open crumb?
It helps but it is not the main driver. Open crumb at 75-80 percent depends far more on fermentation timing, flour strength, and gluten development. Pushing hydration to 85 percent without those produces a dense puddle or a gummy, holey failure. Use strong flour and precise fermentation first, then raise hydration gradually as a finishing touch.
Why is my sourdough crumb tight and dense?
The most common cause is under-fermentation: the bulk ended too early, so the gluten is tight and the gas sparse. Other causes are weak flour, an under-active starter, or rough handling that degassed the dough. Extend bulk to a 50-75 percent rise, use stronger flour, and handle gently to open the crumb.
What is lamination in sourdough?
Lamination is stretching the dough into a thin, translucent sheet on a wet counter early in bulk fermentation, then folding it back up. It aligns and strengthens the gluten network dramatically and is the single most effective open-crumb technique beyond basic stretch-and-folds. Do it once, about 30-45 minutes into bulk, followed by gentle coil folds.
What flour is best for open crumb?
High-protein bread flour at 12-14 percent protein, because the gluten must be strong enough to trap gas in thin walls without collapsing. You can blend in a small amount of whole wheat for flavour, but keep it under 20 percent of the total when maximum openness is the goal, since whole grain slightly weakens the gluten network.
How do I avoid degassing the dough?
Handle gently from the first fold to the final shape. Use coil folds instead of punching, where you lift the dough and let it tuck under itself. Pre-shape and shape with minimal pressure to build surface tension without squeezing out the gas. Every rough handling pops the gas pockets you are trying to grow into open holes.
Related Articles on FermentFoundry
- Home Sourdough Bread: The Complete Starter-to-Loaf Guide
- Sourdough Hydration: 65 vs 75 vs 85 Percent Guide
- Why Is My Sourdough Bread Dense? 10 Causes and Fixes
- Sourdough Banneton Guide: Proofing Basket Basics
- Best Flour for Sourdough Starter: Rye, Wheat, and White

About Kenny Nyhus Fadil
A home fermenter documenting brines, bubbles, and the occasional moldy tragedy.