How to Flavor Kombucha During Second Fermentation: 25 Ideas

Flavor kombucha during second fermentation by adding 1-2 tablespoons of fruit, fruit juice, fresh herbs, ginger, or spices per 16-ounce swing-top bottle, sealing tightly, and fermenting 1-3 days at room temperature until carbonation builds. Stick to ginger-lemon, raspberry, blueberry, mint, hibiscus, and grape juice for the most reliable results. Skip dairy, oils, and artificial sweeteners.
Second-fermentation flavour pairing is one stage of a two-stage brew; the full F1+F2 system, SCOBY hotel, and bottle-pressure safety are in my kombucha brewing guide.
I ruined a full gallon of kombucha — six swing-top bottles — because I added cocoa powder to the F2 thinking it would taste like chocolate soda. It tasted like sour dirt. That $15 mistake taught me that kombucha flavoring has rules, and breaking them produces undrinkable results. Since then I have tested over 40 flavor combinations across 200+ bottles. Below are the 25 that actually work, organized from dead-simple to adventurous.
Disclosure: FermentFoundry is reader-supported. As an Amazon Associate I earn from qualifying purchases made through links in this article, at no extra cost to you. I only point to gear I actually use or would buy for my own kitchen.
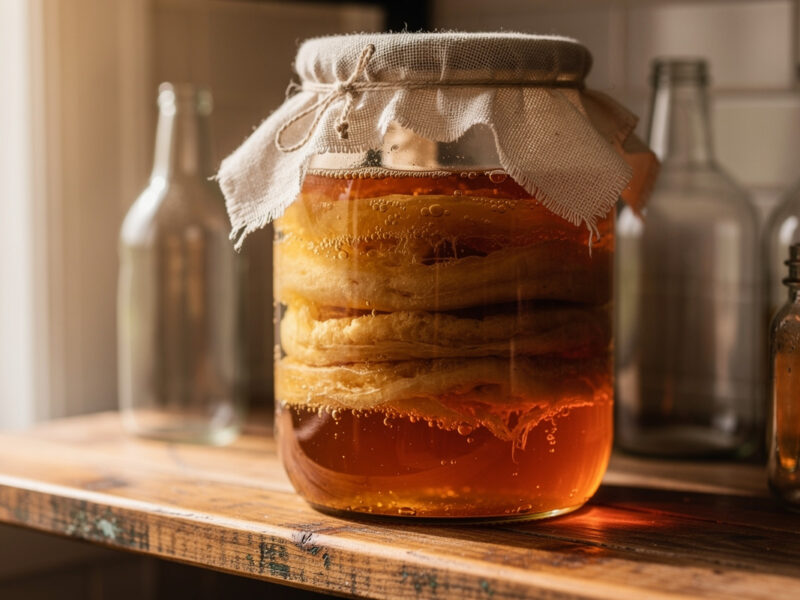
How Second Fermentation Works
Second fermentation works by sealing the kombucha with additional sugar (from fruit, juice, or added sugar) in an airtight container. The remaining live yeast and bacteria consume the new sugar and produce CO2 and ethanol. The CO2 cannot escape the sealed bottle, building carbonation pressure. After 1-3 days at room temperature, the bottles are refrigerated to slow further fermentation and preserve the achieved carbonation level.
The F2 process explained:
- Sugar source from flavoring: Fruit (1-2 tbsp), fruit juice (1-2 tbsp), fresh ginger (1-2 tsp), or added sugar (1/2-1 tsp) per 16-ounce bottle.
- Airtight container required: Swing-top bottles or screw-cap glass bottles. Plastic bottles work but can become permanently shaped from carbonation pressure.
- Room temperature for 1-3 days: Warmer temperatures (75-78°F) carbonate faster; cooler temperatures (65°F) take longer.
- Pressure release (“burping”) daily: Open and immediately reseal each bottle once daily to prevent dangerous over-pressurization.
- Refrigerate when ready: Move to refrigerator at desired carbonation level. Cold storage slows further fermentation.
- Carbonation visible at opening: Properly carbonated kombucha produces a satisfying “pop” and visible foaming on opening.
The pressure-release “burping” step is the most-skipped safety practice. F2 in sealed bottles can build dangerous pressure within 48-72 hours at warm temperatures. Glass bottles can shatter; even safe-rated swing-top bottles can crack. Daily burping is non-negotiable. Read about troubleshooting carbonation in our why is my kombucha not fizzy guide.
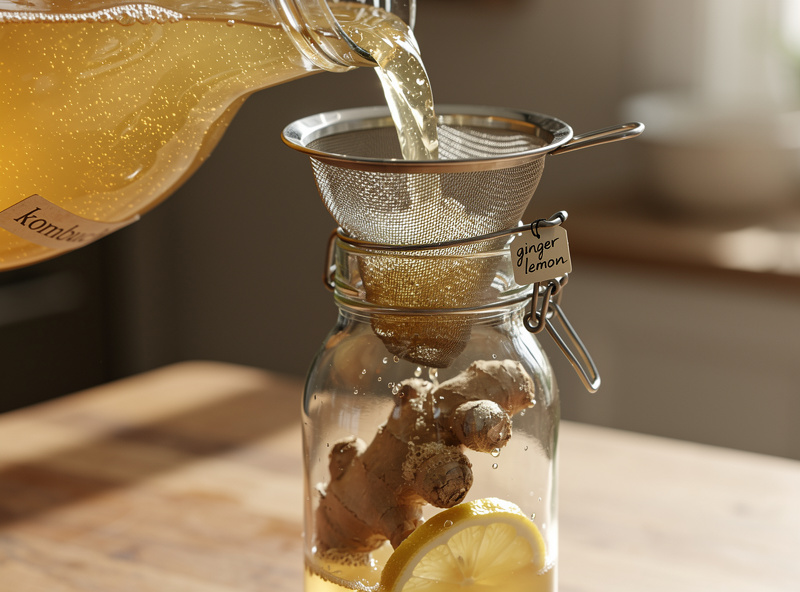
I learned to use a stainless steel funnel and fine-mesh strainer set after my third batch when ginger pulp clogged the bottle neck and I lost half the bottle to a foam geyser. A $12 funnel-and-strainer combo from any kitchen store saves more cleanup time than it costs, and it ensures consistent fruit-to-bottle ratios batch after batch. The USDA recommends refrigerating flavored kombucha within 72 hours of bottling to maintain food safety; I set a phone timer for 48 hours as my default check point and have never had an over-pressurized bottle since.
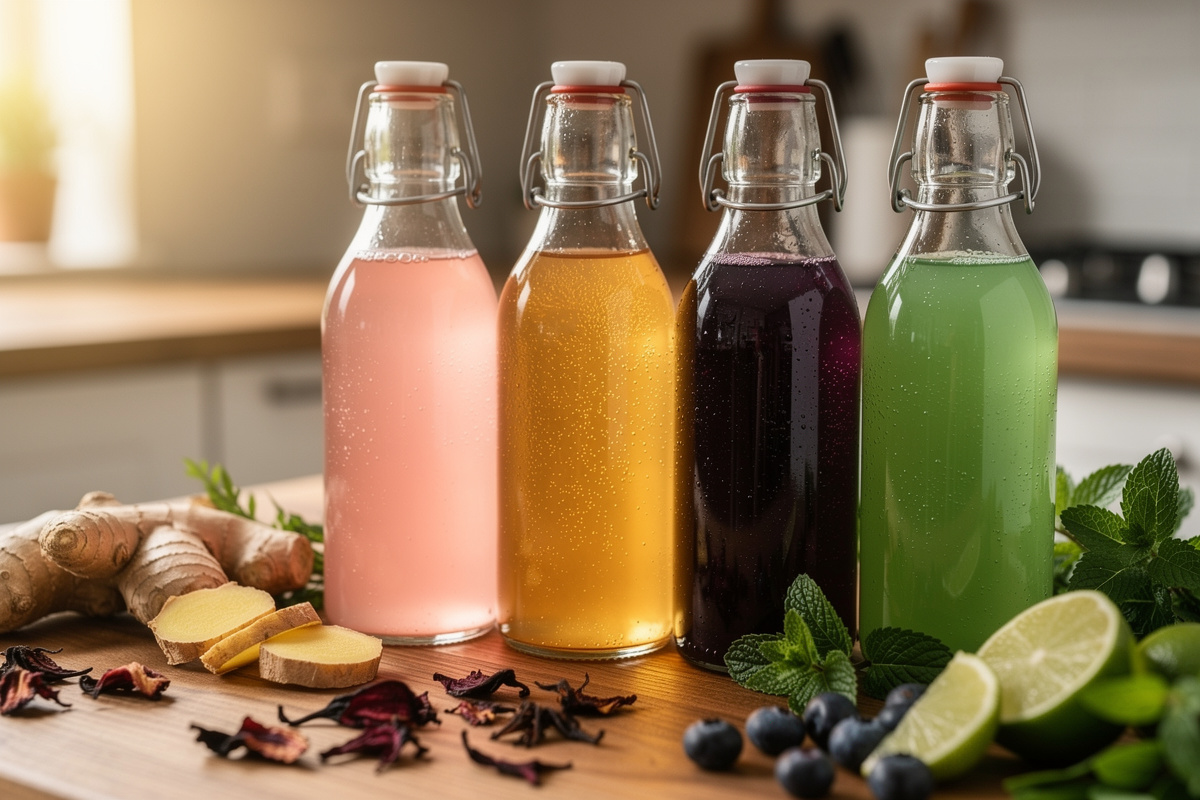
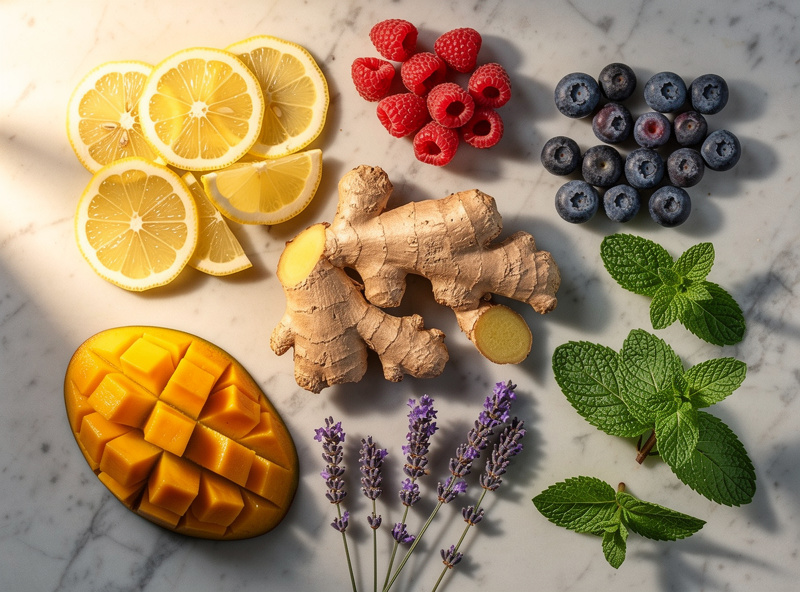
The 25 Best Flavor Ideas
Twenty-five flavor combinations cover almost every successful kombucha profile, organized by ingredient family. Single-ingredient flavors are simplest and most reliable; two-ingredient blends produce most commercial-style flavors; three-plus-ingredient blends require more experimentation but produce truly distinctive results.
Single-ingredient flavors (per 16-oz bottle):
- Fresh ginger (1-2 teaspoons grated): Spicy, classic, the most-popular kombucha flavor. Pairs well with anything.
- Lemon (juice from 1/4 lemon): Bright, citrusy, complements green tea bases.
- Lime (juice from 1/4 lime): Tropical alternative to lemon.
- Hibiscus tea (1 tablespoon dried): Beautiful pink color, tart cranberry-like flavor.
- Mint (5-8 fresh leaves): Cool, refreshing, summer-perfect.
- Lavender (1/2 teaspoon dried buds): Floral, complex; use sparingly to avoid soap-like notes.
- Apple juice (2 tablespoons unfiltered): Sweet-tart, mild flavor.
- Grape juice (2 tablespoons): Sweet and grape-forward.
- Pomegranate juice (2 tablespoons): Tart, deeply colored.
Two-ingredient blends:
- Ginger + lemon: Classic; bright and warming together.
- Ginger + turmeric: Earthy and spicy; anti-inflammatory profile.
- Raspberry + lime: Bright tart classic combination.
- Blueberry + lemon: Sweet-tart with rich color.
- Mango + ginger: Tropical and warming.
- Strawberry + basil: Sophisticated summer flavor.
- Peach + ginger: Sweet stone-fruit warmth.
- Cucumber + mint: Refreshing summer cooler.
- Cherry + vanilla: Dessert-like rich flavor.
- Hibiscus + ginger: Floral with spice kick.
Three-plus-ingredient combinations:
- Lemon + ginger + cayenne: Energizing morning tonic style.
- Apple + cinnamon + cardamom: Warming spiced “cider” kombucha.
- Pineapple + jalapeño + lime: Tropical heat balance.
- Strawberry + basil + black pepper: Sophisticated and complex.
- Blueberry + lavender + lemon: Floral and rich.
- Watermelon + mint + lime: Summer hydration profile.
For first F2 attempts, the single-ingredient ginger-lemon combination is the right starting point. After 3-5 successful batches, branching into two-ingredient and three-ingredient combinations becomes natural. Most home kombucha makers settle on 4-6 favorite combinations over time.
Carbonation Timing and Bottle Pressure
Carbonation builds at different rates based on flavor sugar content, temperature, and base kombucha activity. Most batches reach drinkable carbonation in 2-3 days at 72°F; 1 day at 78°F+; 4-5 days at 65°F. The signs to watch: bottle stiffness when squeezed (plastic) or visible bubbles rising on opening (glass). Refrigerate when desired carbonation is reached. I strain the fruit out at bottling with a small fine-mesh strainer and funnel so the bottles pour clean. And if you are flavouring a dozen bottles a week, kegging and force-carbonating lets you flavour the whole batch at once instead of priming each bottle.

Carbonation indicators:
- Plastic bottle stiffness test: Squeeze a plastic bottle; firm resistance means proper carbonation, soft squish means insufficient.
- Bubble rise on tilt: Tilt the bottle gently; bubbles streaming up indicate carbonation development.
- Hiss on opening: Initial hiss when popping the swing-top means CO2 has built up.
- Foam rise on pour: Properly carbonated kombucha produces a head of foam on pouring.
- Visible bubbles: Through clear glass bottles, you can see bubbles rising during F2.
- Time-based fallback: 2-3 days at 70-72°F is the standard time. Adjust based on temperature variations.
The risk asymmetry is important: under-carbonated kombucha can be re-fermented; over-carbonated kombucha (pressure-bombed) can shatter bottles or produce explosive openings. Start checking after 24 hours and refrigerate at the first signs of good carbonation rather than waiting “just one more day.”
Flavors That Do Not Work in Kombucha
Avoid dairy products, oils, and anything containing artificial sweeteners or chemical preservatives. Dairy curdles in the acidic kombucha; oils float on top and produce off-flavors; artificial sweeteners do not feed F2 fermentation and produce flat results. Sugar-free fruit juices specifically do not work — F2 needs real sugar to drive the fermentation that produces carbonation.
Specific avoid list:
- Dairy products (milk, cream, yogurt): Acidify into curds and whey; produce textures unsuitable for kombucha.
- Cooking oils: Float on top and create unpleasant texture.
- Diet/sugar-free juices: Artificial sweeteners do not feed fermentation. Result is flat unflavored kombucha.
- Honey-only flavoring: Honey contains antimicrobial compounds that can stall fermentation. Acceptable in small amounts (1 tsp) but not as primary sweetener.
- Pasteurized juice with preservatives: Read labels — sodium benzoate kills fermentation cultures.
- Strong-flavored herbs alone (rosemary, sage): Tend to dominate and produce bitter results. Acceptable only in tiny quantities.
- Citrus peel only: Citrus oils from peels can create slight chemical off-flavors. Use the juice instead.
- Cocoa powder: Adds bitterness without flavor benefits in this format.
- Coffee: Possible but produces results most kombucha drinkers find unpleasant. Skip.
The reliable practice is to taste your fresh-fermented base kombucha first, then choose flavors that complement rather than mask. Strong flavors over masking insufficient base kombucha quality usually produce disappointing results. Read about base kombucha quality in our why is my kombucha not fizzy guide.
Second fermentation is where kombucha becomes yours. Commercial brands have to pick one flavor profile and ship it to everyone; you can brew a different flavor every week. Start with single-ingredient flavors for the first 3 batches, then graduate to the two-ingredient blends once you have your carbonation timing dialed in. Keep a flavor journal — just a note on your phone — for each batch. You will know within 6 weeks which 4-5 flavors are your permanent rotation, and those 4-5 will taste better than anything you can buy because they were brewed to your exact preference.
Frequently Asked Questions
How much fruit should I add to flavor kombucha?
1-2 tablespoons of chopped fresh fruit OR 1-2 tablespoons of fruit juice per 16-ounce bottle. More than 2 tablespoons can produce excessive carbonation that risks bottle bursting; less than 1 tablespoon often produces flat or weakly-flavored results.
How long does second fermentation take?
2-3 days at 70-72°F is the standard target. Warmer temperatures (78°F) carbonate in 1 day; cooler temperatures (65°F) need 4-5 days. Check daily by gently squeezing the bottle (plastic) or watching for bubble streams (glass) and refrigerate when desired carbonation is reached.
Should I burp my kombucha bottles during second fermentation?
Yes — open and immediately reseal each bottle once daily to release excess pressure. Burping prevents dangerous over-pressurization that can shatter bottles or produce explosive openings. Even properly-rated swing-top bottles can fail if pressure builds for 3+ days unchecked.
What kind of bottles should I use for kombucha second fermentation?
Swing-top glass bottles (Grolsch-style) are the standard. Twist-cap glass bottles work but require more frequent burping. Plastic soda bottles work and provide a pressure-test by squeeze, but can become permanently shaped from CO2. Avoid mason jars with twist-tops — the seal is unreliable for pressurized contents.
Can I use frozen fruit for kombucha flavoring?
Yes — frozen fruit works fine. Some kombucha makers prefer frozen because the cell walls have already broken down from freezing, releasing flavor compounds faster. Use the same 1-2 tablespoons per bottle ratio as fresh fruit.
Why does my flavored kombucha not get fizzy?
Three causes: insufficient sugar in the flavoring (use 2 tbsp instead of 1), bottles not airtight, or temperature too cold for fermentation. Try moving bottles to a 75°F location for 24 hours after sealing; this almost always produces carbonation if the base kombucha was active.
Related Articles
- Why Is My Kombucha Not Fizzy?
- Kahm Yeast Guide
- Why Did My Sauerkraut Turn Mushy?
- How to Make Apple Cider Vinegar
- Lacto-Fermented Pickles That Stay Crunchy
- Best Tea for Kombucha: Black, Green, Oolong, and White
- How to Keg Kombucha and Force-Carbonate with CO2

About Kenny Nyhus Fadil
A home fermenter documenting brines, bubbles, and the occasional moldy tragedy.