Wild Yeast Starter Guide: Build a Leaven From Flour or Fruit

A wild yeast starter is a living culture of wild yeasts and Lactobacillus bacteria that you build from nothing but flour and water — or, in the case of yeast water, from fruit. Given daily feeding, a flour starter becomes reliably active in about 7 days and reaches full leavening strength in 2–3 weeks, reading pH 3.8–4.2 when ripe.
This is the first thing to make before any wild-yeast bread, and it is the step people overcomplicate the most. You do not need pineapple juice, special water, or a named heirloom culture mailed from abroad. The yeast and bacteria you want are already on the flour. Your job is to give them a comfortable home and feed them on a schedule until the right organisms take over. I keep a maintained flour starter and a separate fruit-based yeast water going year round, and below is exactly how I build each from scratch — the way I run it, by weight and by pH, not by guesswork. This guide is part of the broader wild-yeast baking guide.
Flour Starter vs Yeast Water: Two Different Leavens
There are two ways to capture wild yeast at home, and they make different bread. A flour starter is a thick batter of flour and water that hosts both yeast and acid-producing bacteria, so it leavens and sours. Yeast water is a thin liquid made by fermenting dried or fresh fruit in water; it is almost pure yeast with very little acid, so it leavens cleanly with little or no tang.
Which you build depends on the bread you want. For classic sourdough, rye, and anything where you want flavour and keeping quality, you want a flour starter. For light, sweet, barely-sour loaves — closer to a commercial-yeast bread but naturally leavened — yeast water is the better tool. I keep both because they cover opposite ends of the flavour spectrum, and a serious wild-yeast baker benefits from having the choice. The hub explains where each lands on the sour-to-mild spectrum in more detail.
Building a Flour Starter in 7 Days
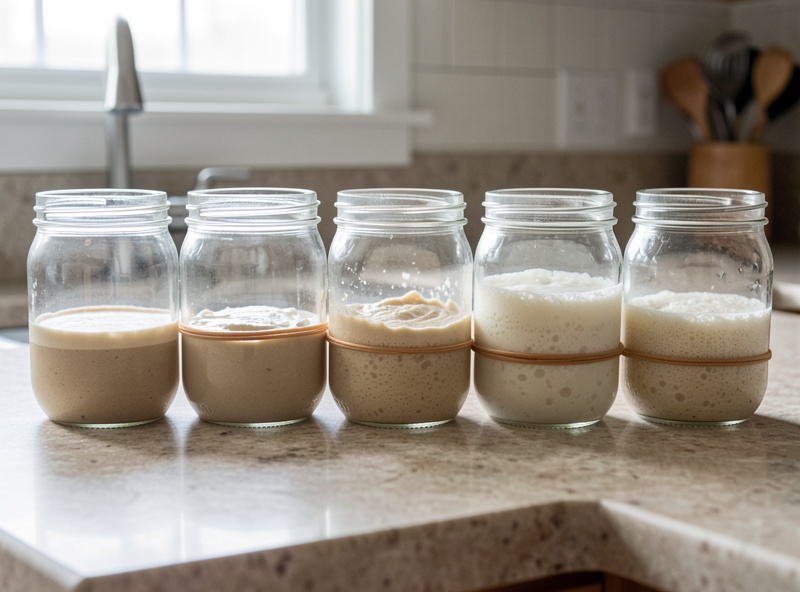
A flour starter goes through a predictable arc. The first couple of days are deceptive — it bubbles vigorously from the wrong bacteria, then goes quiet and smells off around day 3–4 as the population shifts. Push through that lull with consistent feeding and the real yeast and Lactobacillus take over, usually by day 5–7. Patience through the dead zone is the whole game.
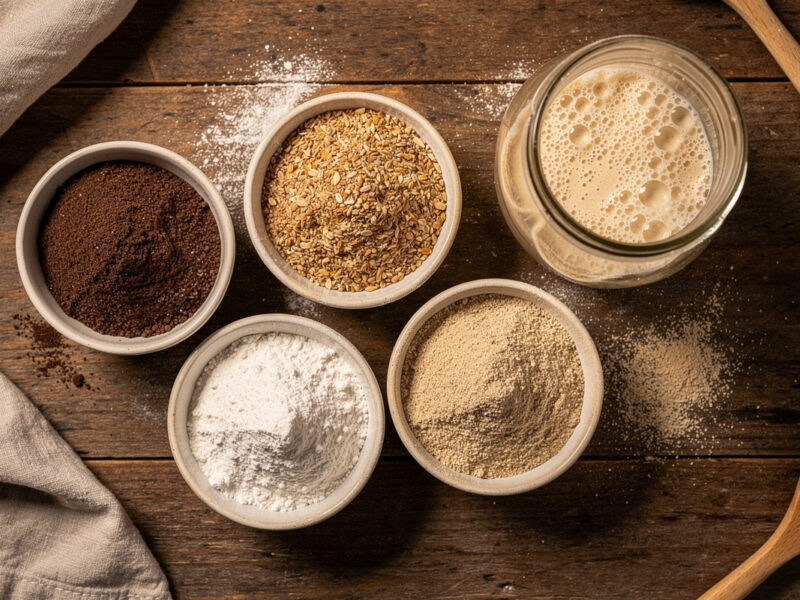
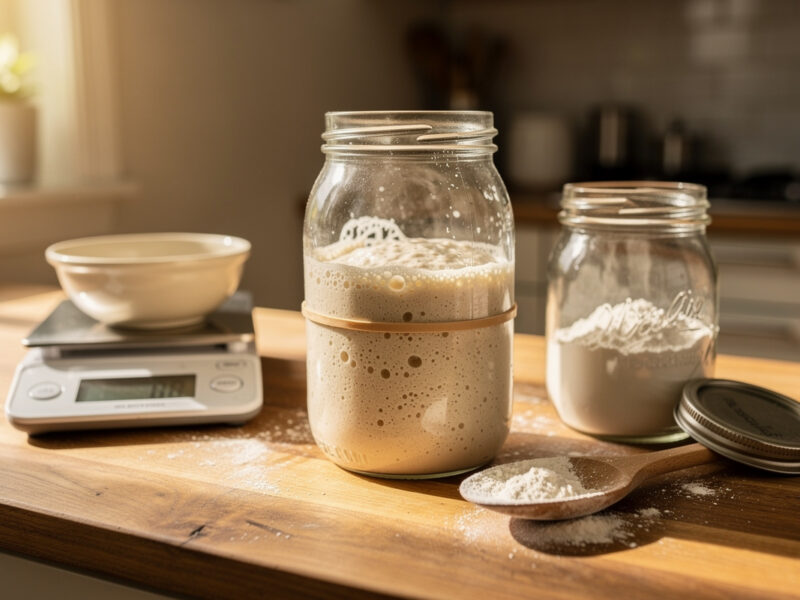
Here is the routine I use. Day 1: mix 50 g whole rye or whole wheat flour with 50 g lukewarm non-chlorinated water in a jar, cover loosely, leave at room temperature. Whole grain is non-negotiable at the start — it carries far more wild yeast and enzyme activity than white flour, which is why the best starter flour is whole rye for the build even if you later feed it white. Days 2–4: once a day, discard all but about 25 g and feed with 50 g flour and 50 g water. Days 5–7: switch to twice-daily feeding at a 1:5:5 ratio (25 g starter, 125 g flour, 125 g water) as it strengthens. By day 7 it should double within 4–6 hours of a feed and smell clean and tangy. King Arthur Baking’s sourdough starter recipe walks the same daily-feed arc if you want a second reference alongside. The discard from this process is not waste — once the starter is mature, it goes into the discard recipes I keep on rotation.
Two details people get wrong. First, water: chlorinated tap water can stall the culture because chlorine is antimicrobial, so I use filtered or left-out water. Second, temperature: a starter builds fastest at 24–28°C. In a cold kitchen it can take twice as long, so I park the jar somewhere warm. If your starter stalls or dies, the starter rescue guide covers revival.

Building a Yeast Water From Fruit
Yeast water is the simpler of the two and worth knowing for the milder bread it makes. You ferment sugar-rich fruit in water until the wild yeasts on its skin wake up, multiply, and carbonate the liquid. Raisins are the classic choice because their skins are yeast-rich and their sugar feeds the culture, but organic apples, figs, and grapes all work.
My method: put a generous handful of raisins (about 50 g) in a clean jar with 250 g non-chlorinated water and a teaspoon of honey or sugar to kick-start it. Cap it loosely, keep it at room temperature, and shake it once a day to introduce oxygen. Within 3–5 days it fizzes when shaken, the raisins float, and it smells winey and yeasty — that is the yeast water ready. You then use the liquid in place of part of a recipe’s water, building it into a levain with flour first to concentrate the yeast. It carries almost no Lactobacillus, so the bread rises without souring, which is exactly the point.
One safety note: yeast water is a low-acid ferment, unlike a flour starter, so I keep it clean, refrigerate it once active, and refresh it with new fruit and sugar every week or two. If it ever smells putrid rather than winey, or grows fuzzy coloured mould, I discard it and start over. A healthy yeast water smells like cider, not rot.
Knowing When a Starter Is Ready
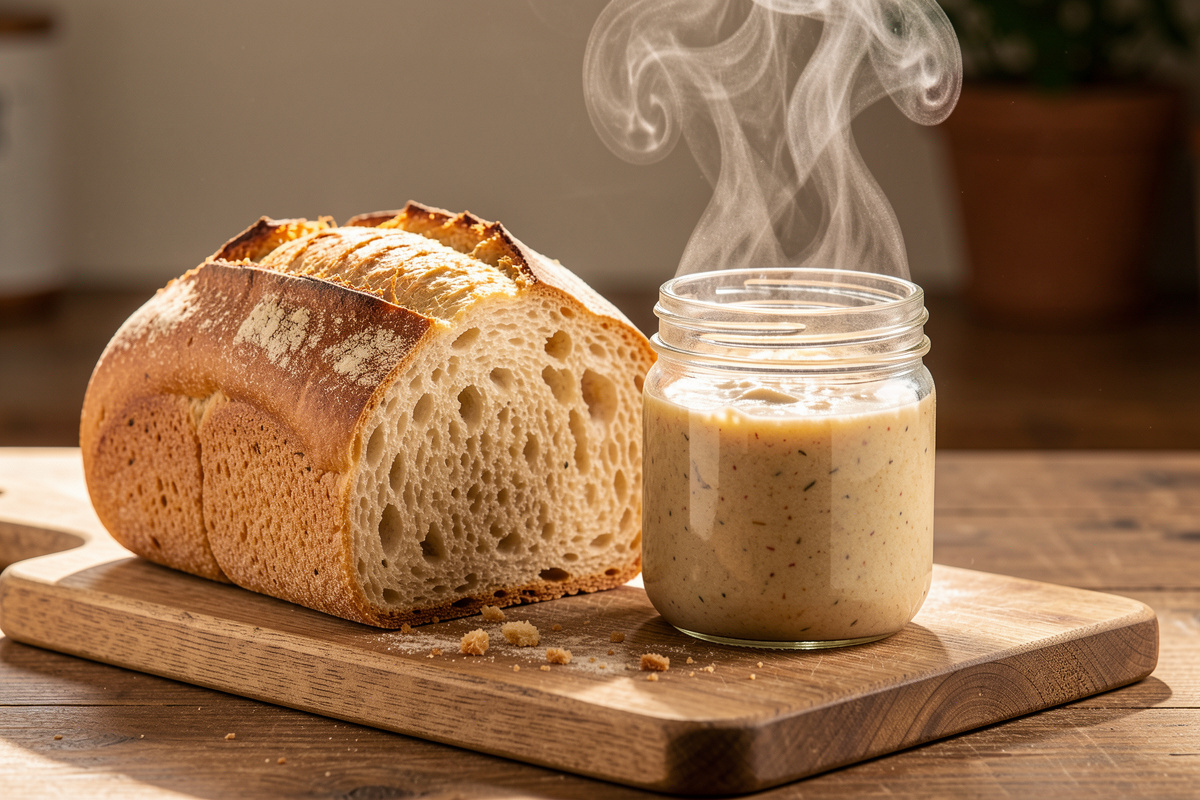
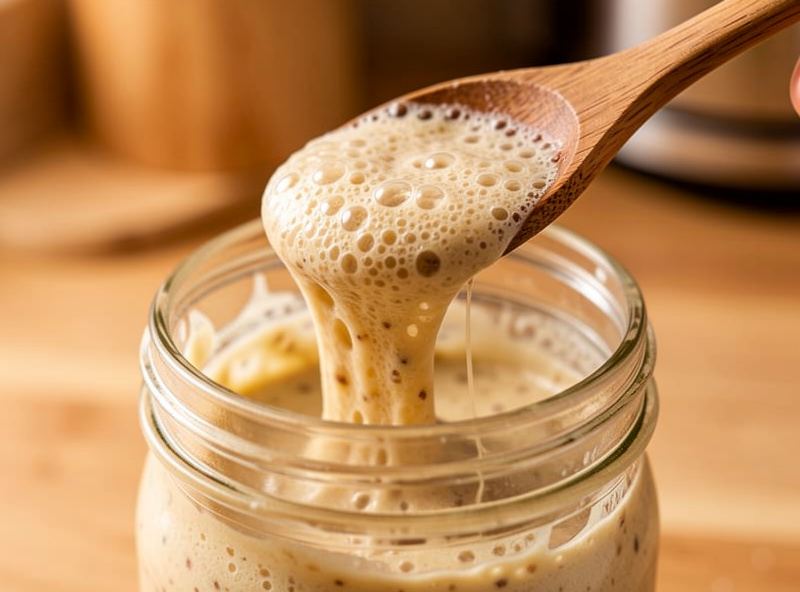
A starter is ready to bake with when it reliably doubles or triples within 4–6 hours of a feed, is full of bubbles top to bottom, and smells pleasantly tangy rather than harsh or boozy. On my meter a ripe starter reads pH 3.8–4.2; that acidity is both the flavour and the safety mechanism, keeping the culture well below the pH 4.6 floor where spoilage organisms could establish.
The float test is the no-equipment version: drop a teaspoon of starter in water, and if it floats it has trapped enough gas to leaven bread. It is not foolproof — a wet starter can sink even when active — but combined with the doubling and the smell it is a fair call. The white film that sometimes appears on a starter you forgot to feed is almost always harmless kahm yeast; stir it in or skim it. Fuzzy, raised, coloured growth is mould, and that batch gets discarded.
Keeping the Starter Alive Long-Term
Once built, a starter is low-maintenance. If you bake often, keep it on the counter and feed it once or twice a day. If you bake occasionally, store it in the fridge and feed it weekly — the cold slows the culture to a crawl so it can coast for a week or more between feeds. I run mine both ways depending on the season, switching to the counter when I am baking weekly and parking it in the fridge when I am not. Maurizio’s sourdough starter guide at The Perfect Loaf covers the same counter-versus-fridge maintenance in depth. The full rhythm — ratios, timing, reviving a fridge starter — is the feeding schedule guide.
A few habits keep a starter healthy for years. Feed by weight, not volume, so the ratios stay consistent. Use a clean jar each refresh to keep wild competitors down. And do not panic about the dark liquid (hooch) that forms on a hungry starter — it just means it is asking to be fed. Pour it off or stir it in and feed. Mine has been going continuously for a long time, and it has survived neglect, travel, and a cold winter kitchen without complaint.
What to Bake First
Once your starter doubles reliably, put it to work. The most forgiving first bake is a basic white loaf — start with the complete home sourdough guide. From there the grain spokes open up: a whole wheat sourdough for nutty everyday bread, or a rye sourdough if you want the dense, sour, long-keeping style. And once you have discard piling up, the sourdough pizza dough is one of the best uses of a healthy culture there is.
Frequently Asked Questions
How long does it take to make a wild yeast starter?
A flour starter becomes visibly active in about 7 days and reaches full leavening strength in 2 to 3 weeks of daily feeding. A fruit yeast water is faster, fizzing and ready to build into a levain in 3 to 5 days. Warm kitchens speed both up; cold ones roughly double the time.
What flour is best for starting a wild yeast culture?
Whole rye is the best flour to build a starter because it carries the most wild yeast and enzyme activity, so the culture establishes fastest. Whole wheat is a close second. You can switch to white flour for maintenance once the starter is mature and reliably doubling.
Why does my new starter smell bad around day three?
That off smell is normal. The early bubbling comes from the wrong bacteria, which then die back as the pH drops and the real yeast and Lactobacillus take over around day four to five. Keep feeding on schedule and the smell turns from sour or cheesy to pleasantly tangy.
Can I make a wild yeast starter without flour?
Yes, with yeast water. Ferment raisins, apples, or figs in non-chlorinated water with a little sugar for 3 to 5 days until it fizzes. The result is almost pure wild yeast with little acid, so it leavens bread with very little sourness, unlike a tangy flour starter.
Should I use tap water for my starter?
Chlorinated tap water can stall a starter because chlorine is antimicrobial. Use filtered water, or leave tap water uncovered overnight so the chlorine dissipates. Once the culture is strong and established it tolerates ordinary tap water far better than in the fragile early days.
Related Guides
- Wild-Yeast Baking Beyond Sourdough: The Complete Guide
- Sourdough Starter Feeding Schedule
- Best Flour for Sourdough Starter
- Sourdough Starter Not Rising? Rescue Guide
- Home Sourdough Bread: Starter to Loaf

About Kenny Nyhus Fadil
A home fermenter documenting brines, bubbles, and the occasional moldy tragedy.