Dry Salting vs Brining Vegetables: When to Use Each Method

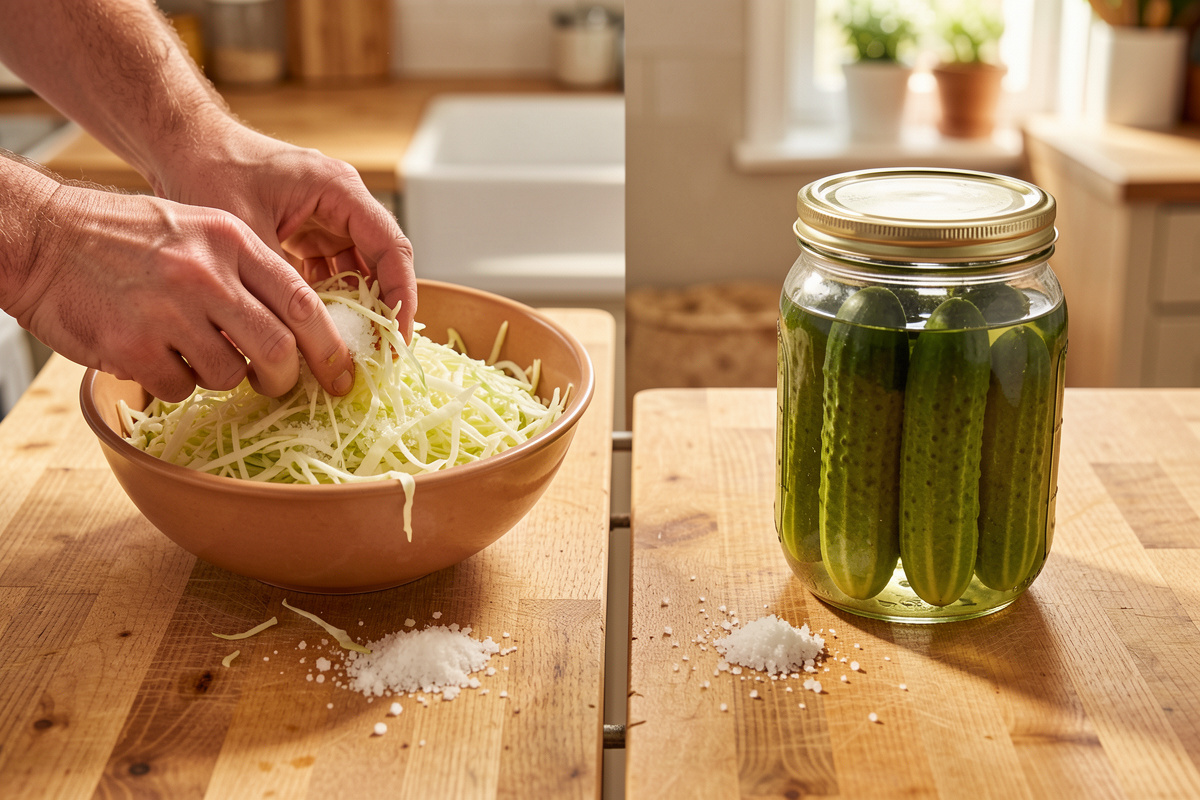
Use dry salting for anything you can shred or slice thin — cabbage, radish, onion — because the salt pulls enough water out of the cells to form its own brine. Use a poured brine for produce that holds its shape, like cucumbers, beans, and carrots, which will not release enough liquid on their own. Both land at a safe salinity; the vegetable’s structure decides which road you take.
This is one of the first forks every vegetable ferment hits, and getting it wrong is why a jar of “fermented cucumbers” sometimes ends up dry and moldy on top while a kraut comes out perfect. After years of running both methods side by side in my kitchen, the choice has become automatic — but the logic behind it is worth understanding, because it is the same osmosis story that drives the whole salt and brine math behind fermentation. The gram calculation is identical either way; only how the salt meets the vegetable changes.
Dry Salting: Let the Vegetable Make Its Own Brine
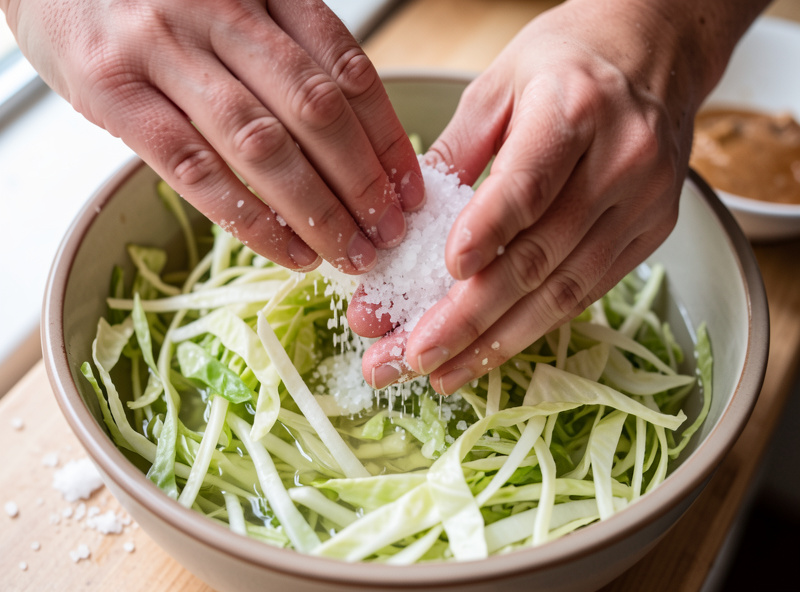
Dry salting means weighing your prepared vegetables, calculating salt at 2–2.5% of that weight, and massaging it in directly. The salt draws water out through the cell walls by osmosis, and within an hour or two you have enough liquid to submerge everything under its own brine. No added water at all. This is how sauerkraut, the kimchi cabbage stage, and shredded-radish kkakdugi all work.
The method only works when the vegetable has enough surface area and water content to give up liquid fast. Shredded cabbage is the ideal case — thin ribbons, high water, soft cell walls. Massaging and a bit of pounding speed it along. If after a couple of hours the brine has not risen to cover, you either under-salted, cut too coarse, or are working with an unusually dry head; a little extra massaging or a small splash of matching brine fixes it. The sauerkraut salt percentage test shows exactly how much brine 2% versus 3% draws out.
Brining: Submerge Produce That Holds Its Shape
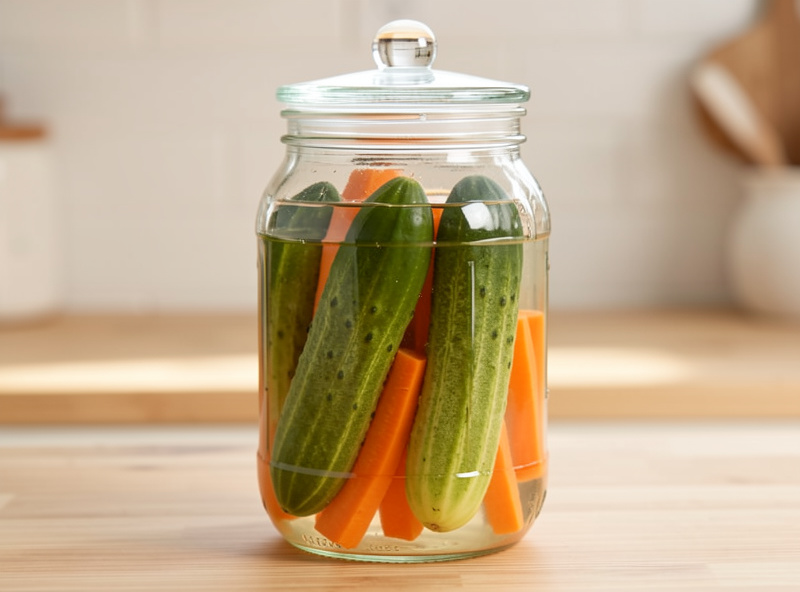
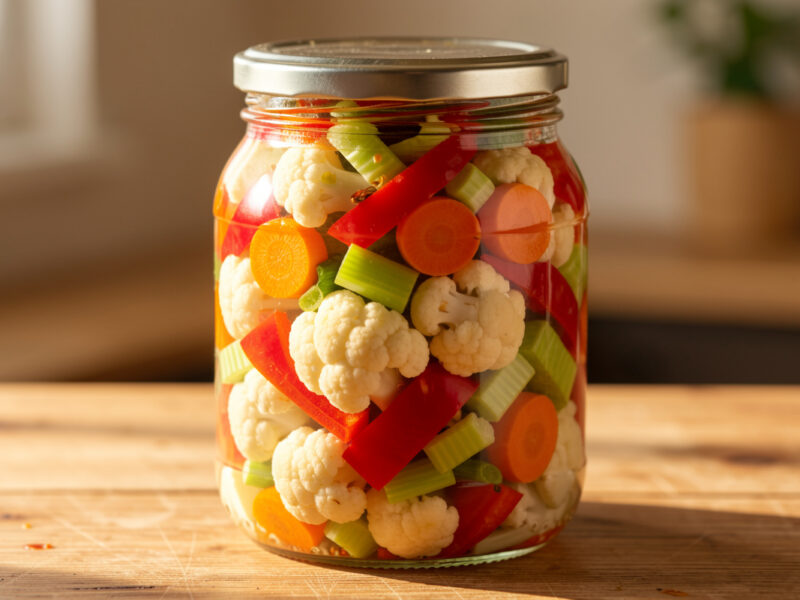
Brining means mixing a salt solution and pouring it over whole or chunked produce. You do this for vegetables that stay rigid and will not weep enough water to self-brine: cucumbers, green beans, carrot sticks, cauliflower florets, whole garlic cloves, sliced peppers. Because the produce is not pre-drawing any water, you need a stronger solution — 3.5–5% in the brine water — to compensate as the vegetables equalize.
The advantage of brining is control and crunch. You set the salinity precisely, the vegetables stay intact, and the higher salt keeps pectin firm. The catch is that whatever is not weighted under the surface will float, dry, and grow film, so a brine ferment needs a fermentation weight more urgently than a dense-packed kraut does. The tannin trick for keeping lacto pickles crunchy matters most in this method.
Which Method for Which Vegetable
The decision rule is simple: if you can shred it thin and it is watery, dry-salt it; if it is firm and you want it to stay whole, brine it. A few vegetables go either way — carrots can be shredded and dry-salted into a slaw-style ferment or left as sticks and brined. The table below is the quick reference I work from.
| Vegetable | Best method | Salt target |
|---|---|---|
| Cabbage (kraut, kimchi) | Dry salt | 2–2.5% of veg weight |
| Radish, shredded | Dry salt | 2–2.5% of veg weight |
| Cucumbers, whole | Brine | 3.5–5% brine water |
| Green beans | Brine | 3.5–5% brine water |
| Carrot sticks | Brine (or dry-salt if shredded) | 3.5% brine water |
| Whole garlic cloves | Brine | 3.5–5% brine water |
| Cauliflower, peppers | Brine | 4% brine water |
The Salinity Ends Up the Same Place
Here is the part that ties it together: both methods aim for roughly the same effective salinity inside the finished ferment, around 2–3% for most vegetables. Dry salting reaches it by concentrating salt in a small amount of self-drawn brine; brining reaches it by surrounding the produce in a slightly stronger solution that dilutes as the vegetables release water. The destination is shared; the route differs because the starting water content differs.
That is also why you can sanity-check either method the same way. If you ever want to confirm where a finished brine actually landed, a salinity refractometer reads it in a drop, and a pH meter confirms the acidity is in the safe zone below 4.6. The National Center for Home Food Preservation draws that 4.6 line for fermented and acidified vegetables no matter which method got you there, which is why I check it the same way on a dry-salted kraut and on a brined pickle. For most batches, though, weighing correctly at the start means you already know the answer. Whichever method a recipe calls for, the underlying lacto-fermentation chemistry is identical: salt buys time, Lactobacillus drops the pH.
Two Mistakes That Sink Each Method
The classic dry-salting failure is cutting too coarse and then panicking when no brine appears. Thick chunks have less surface area, so osmosis is slow and the liquid takes longer to draw — people assume they under-salted, dump in more salt, and end up with a brutally salty kraut. The fix is patience and a firmer massage, not more salt. Give it a few hours, pound it down, and the brine almost always rises. If your kitchen runs cold, the draw slows further; a warmer spot speeds it up.
The classic brining failure is floaters. Whole cucumbers and bean pods are buoyant, and any piece that breaks the surface dries out and grows film within days. I lost more than one early jar of pickles this way before I started treating the weight as mandatory rather than optional. Pack the jar so pieces wedge against each other, top with a glass weight or a brine-filled bag, and check the level over the first 48 hours when fermentation is most active and most likely to push liquid up and out. Garden produce picked the same day brines best — older, slightly dehydrated vegetables float more and crunch less, which is one reason I time cucumber ferments to the harvest.
Frequently Asked Questions
Is dry salting or brining better for fermentation?
Neither is better overall; they suit different vegetables. Dry salting works for shreddable, watery produce like cabbage that makes its own brine. Brining works for firm whole produce like cucumbers that will not release enough water on their own. Match the method to the vegetable.
Can I brine cabbage instead of dry salting it?
You can, and it is how some quick pickles work, but dry salting gives sauerkraut its dense texture and lets the cabbage ferment in its own concentrated juices. For whole cabbage wedges, brining is fine; for shredded kraut, dry salting is the traditional and more reliable route.
Why do brined pickles need more salt than kraut?
Brined produce is submerged in added water without first drawing out its own, so the salt has to season both the water and the vegetable. A 3.5 to 5% brine settles toward 2 to 3% effective salinity as the vegetables equalize, matching where dry-salted kraut already sits.
How long does dry-salted cabbage take to make brine?
Usually one to two hours of resting after massaging, sometimes faster with pounding. If liquid has not risen to cover after a couple of hours, massage more or add a small splash of matching-strength brine. The salt percentage and how finely you cut both affect the speed.
Do I weight down dry-salted ferments too?
Yes. Even self-brining kraut needs the vegetables held below the liquid line with a weight so the top layer stays anaerobic and does not grow kahm yeast or mold. Brined whole-produce ferments need a weight even more, because rigid pieces float readily.
Related Articles
- Salt and Brine Math: The Complete Fermentation Salinity Guide
- How to Calculate a Salt Brine Percentage by Weight With a Scale
- How Much Water and Salt for a Quart Jar: A Brine Cheat Sheet
- Lacto-Fermented Pickles That Stay Crunchy: The Tannin Trick
- Homemade Sauerkraut: The Complete Guide from Cabbage to Crock

About Kenny Nyhus Fadil
A home fermenter documenting brines, bubbles, and the occasional moldy tragedy.
Keep Bubbling
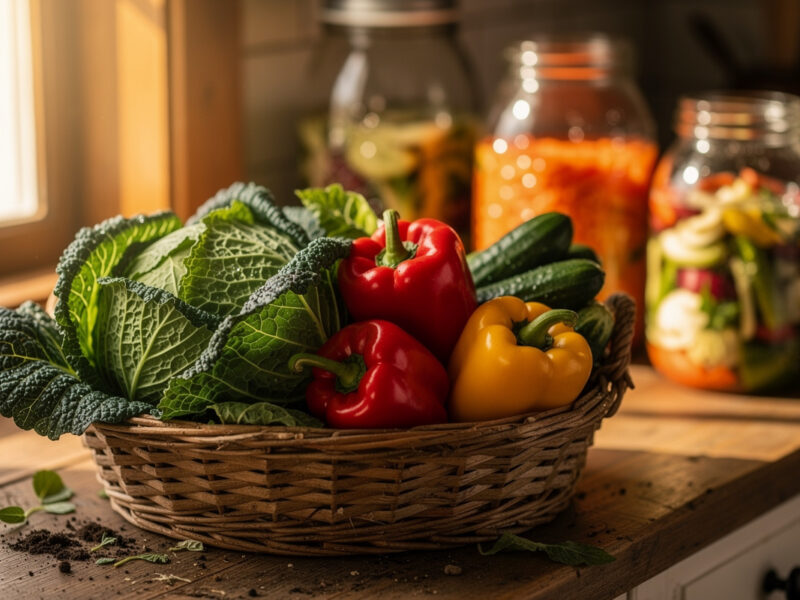
Garden to Jar: Fermenting What You Grow (Cabbage, Peppers, Cucumbers)
Fermented Giardiniera Recipe: Crunchy Italian Mix
