Fermentation Temperature by Season: A Year-Round Control Guide

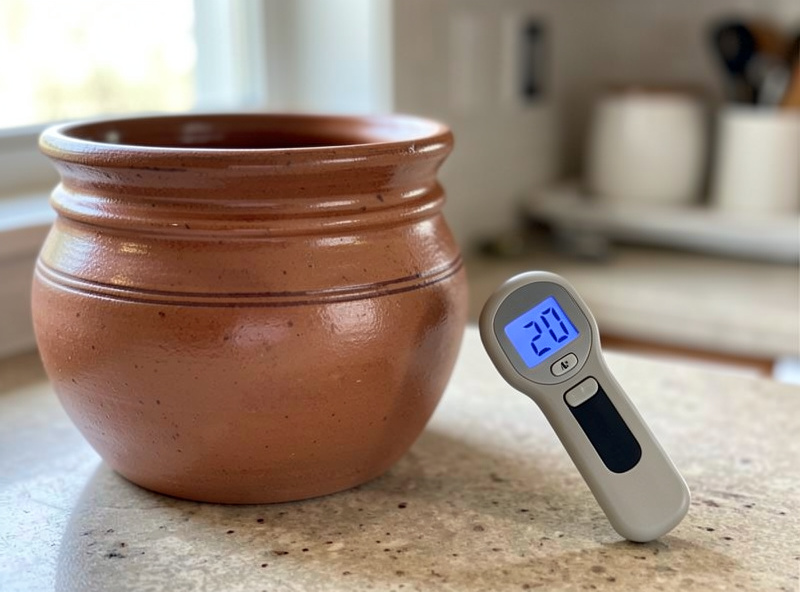
Temperature is the single dial that decides how fast a ferment sours, how firm it stays, and whether it succeeds at all — and it changes with the seasons whether you plan for it or not. In my kitchen, the same 2% sauerkraut that finishes in 10 days at 20°C takes three weeks at 12°C and turns soft in five days at 27°C. Managing that swing, without buying a built chamber, is what this guide is about.
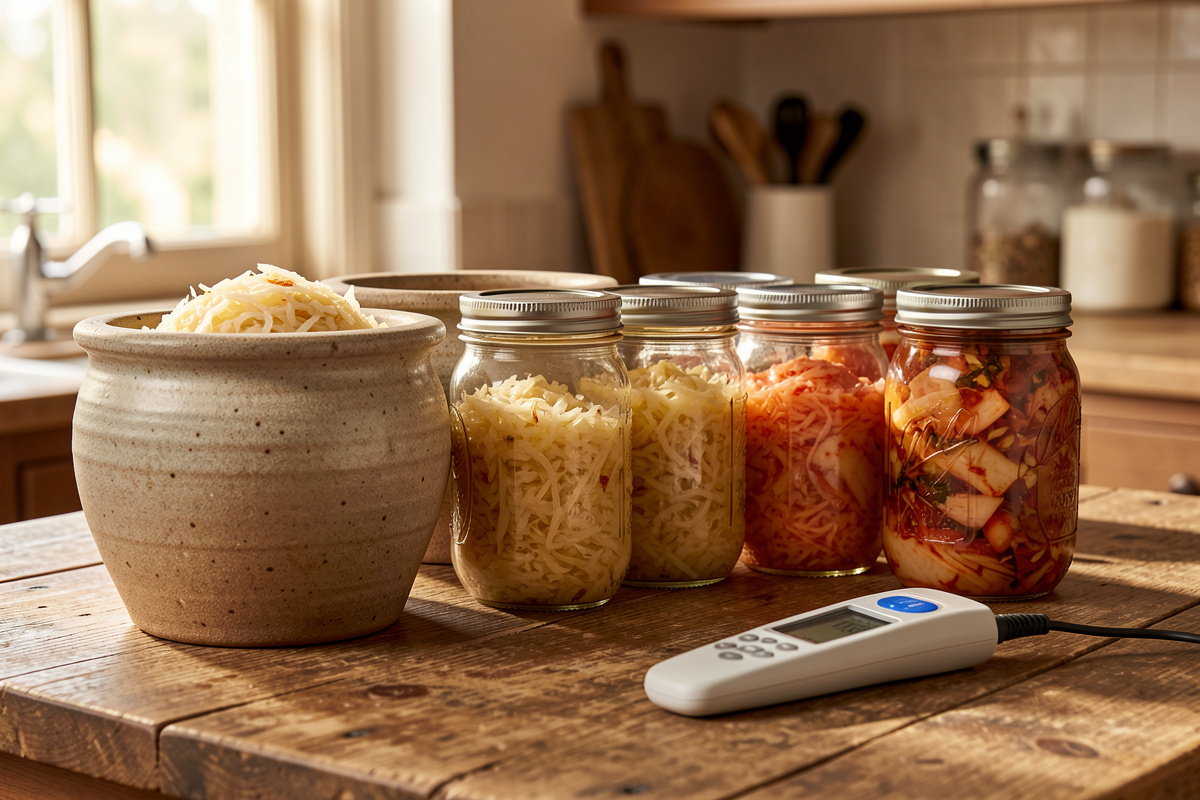
Most fermentation content treats temperature as a footnote — “keep it at room temperature.” But room temperature in a Swedish kitchen is 17°C in February and 26°C in July, and that 9-degree gap rewrites every timeline, salinity margin, and texture outcome I care about. I run a full bench of crocks, jars, and cultures side by side through the year, and the difference between a good batch and a mushy or stalled one is almost always the number on the thermometer, not the recipe. This is the seasonal control system I actually use.
Why Temperature Runs the Whole Show
Fermentation is enzyme chemistry, and enzyme chemistry roughly doubles in speed for every 10°C rise — the Q10 rule. That means a batch at 27°C isn’t “a little faster” than one at 17°C; it’s running close to twice the metabolic rate, which changes texture and flavor, not just the calendar.
Lactobacillus, the workhorse behind sauerkraut, kimchi, and lacto pickles, has a comfort band. Most of the strains that dominate a healthy vegetable ferment work best between roughly 18°C and 22°C (65–72°F). Push below about 15°C and their lag phase stretches for days — the ferment sits there, barely acidifying, while you nervously watch for the first bubbles. Push above about 24°C and the wrong organisms get the upper hand: heat-loving strains that make the ferment mushy and sour-sharp too fast, plus kahm yeast blooming on the surface. The safe range isn’t about the microbes surviving — it’s about the right microbes outcompeting the wrong ones before spoilage organisms get established.
That competition is the whole game. On my pH meter, a ferment held at 20°C drops below pH 4.6 — the safety floor where pathogens can no longer establish — within about two to three days for a properly salted vegetable batch. The same batch fighting a cold kitchen might take five or six days to cross that line, and every extra day in the danger zone is a day something else could take hold. Temperature and salt together decide who wins.
The Safe Temperature Range for Every Ferment I Run
Every culture family has its own comfort band, and knowing them turns “room temperature” from a vague hope into an actual target. Below is the working reference I keep in my head, drawn from years of running these ferments at different points across the Swedish year. The two numbers that matter most are the ideal band (where you get the best texture and flavor) and the hard edges (where the ferment either stalls or turns on you).
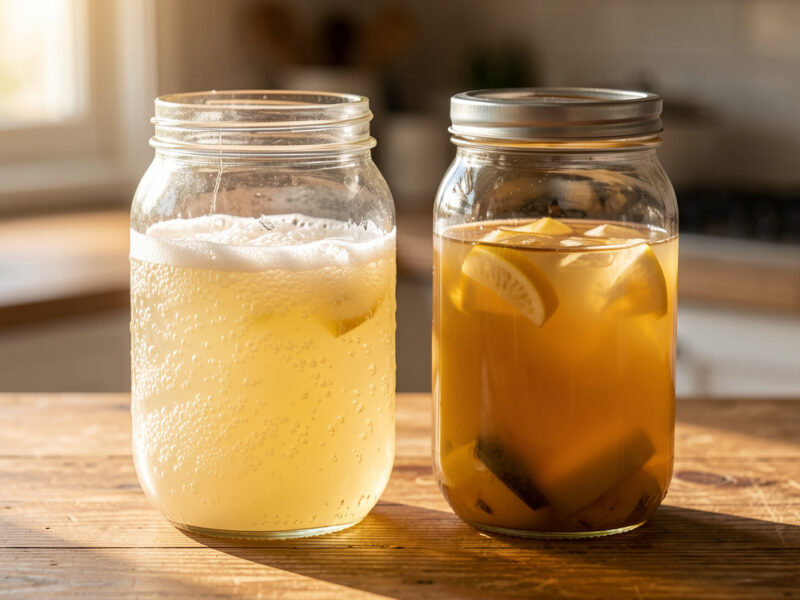
Vegetable lacto ferments — sauerkraut, kimchi, lacto pickles — live in the 18–22°C zone. Kombucha and its Acetobacter-and-yeast partnership wants it warmer, 24–29°C, which is exactly why summer is kombucha season and winter is when my SCOBY slows to a crawl. Koji (Aspergillus oryzae) and tempeh (Rhizopus) are the true heat-lovers, needing 28–32°C incubation that no ordinary kitchen provides — those are the ones that force me onto a heat mat. And a sourdough starter is the flexible one: warm for speed, cold for storage, covered in detail in my starter feeding schedule.
| Ferment | Ideal band | Cold edge (stalls below) | Warm edge (problems above) | Salt / control note |
|---|---|---|---|---|
| Sauerkraut | 18–20°C | 15°C | 24°C (softens) | 2–2.5% by weight |
| Kimchi | 18–22°C | 14°C | 24°C | 2–3%; can slow-ferment in fridge |
| Lacto pickles / mash | 20–22°C | 16°C | 26°C (mushy) | 3.5–5% brine |
| Kombucha (F1) | 24–29°C | 21°C | 32°C | pH floor 4.6; target ≤4.2 |
| Koji (A. oryzae) | 28–32°C | 26°C | 42°C (kills mold) | needs humidity + heat mat |
| Tempeh (Rhizopus) | 29–31°C | 27°C | 37°C (overheats) | heat mat + airflow |
| Sourdough starter | 24–26°C (active) | 4°C = storage, not stall | 30°C (goes acidic fast) | feed ratio adjusts for temp |
The deeper breakdown of the vegetable numbers — why 20°C is the sweet spot and how kimchi behaves differently from kraut — lives in my dedicated guide to the ideal temperature for sauerkraut, kimchi, and lacto pickles. For the koji and tempeh end of the table, the heat-mat setup is its own project, covered in using a seedling heat mat for koji, miso, and tempeh.
Summer: The Runaway Problem
Summer heat is the more dangerous of the two seasonal extremes, because a warm ferment doesn’t stall and warn you — it races ahead and turns soft before you notice. At 27°C, a batch of kraut I’d normally give two weeks is fully sour and starting to go limp in five or six days, because heat speeds up the pectin-degrading enzymes that soften cabbage faster than the acid can set the texture.
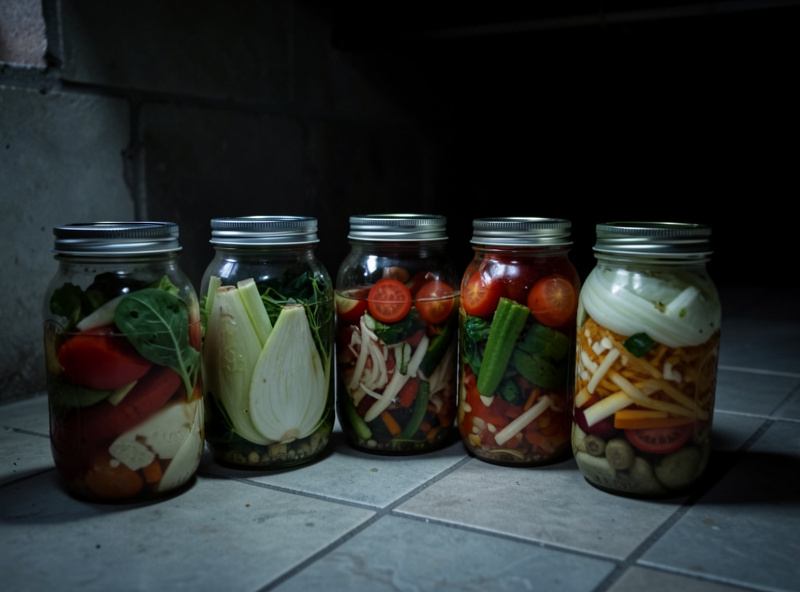
The core summer move is to slow things down deliberately. That means fermenting in the coolest spot in the house (a north-facing pantry, a basement, a tiled floor), nudging salinity toward the top of the range to buy a wider safety margin, and checking daily instead of every few days because the whole timeline compresses. When a batch genuinely runs away, the fastest brake is the fridge — a technique I cover fully in cold-crashing a ferment. The complete summer playbook, including which ferments to simply avoid in a July heatwave, is in fermenting in summer heat: how to slow a runaway batch.
Summer is also the one season koji and kombucha get easier, not harder. My continuous-brew kombucha, which limps along at winter kitchen temperatures, hits its stride in July — F1 finishing in five or six days instead of ten. If you brew kombucha, learn to read the season as a feature for the warm-loving ferments and a hazard for the cool-loving ones.
Winter: The Stall Problem
Winter’s failure mode is the opposite and, honestly, the more frustrating one: nothing appears to happen. A cold kitchen at 13°C drops Lactobacillus into a long lag phase, and the ferment can sit for a week with almost no bubbling before it finally gets going. The batch usually still succeeds — cold ferments are famously clean and slow-developing — but the risk is that a slow drop in pH gives surface yeast and mold more time to establish before the acid locks the jar down.
The winter fix is finding — or making — a reliably warm microclimate without buying a chamber. The spots that actually work in my kitchen are the top of the refrigerator (warm from the compressor), an unlit oven with just the interior light on, a cupboard above a radiator, or the classic proofing trick of a cooler box with a jar of warm water swapped twice a day. I walk through every one of these, with the temperatures I measured at each, in fermenting in a cold kitchen: warm spots that actually work.
Winter is also when the seedling heat mat earns its keep. A mat that costs less than a nice dinner turns a 14°C corner into a stable 27°C zone, which keeps my sourdough lively and makes koji and tempeh possible at all in a Nordic January. If you only buy one piece of temperature gear, a thermostatically controlled heat mat is the one that unlocks the most ferments — you can find seedling heat mats with a thermostat for well under the cost of a dedicated fermentation fridge. As an Amazon Associate I earn from qualifying purchases.
Temperature and Texture: The Link Most Guides Miss
Here is the connection that took me years of side-by-side batches to fully trust: temperature doesn’t just change when a ferment finishes — it changes the texture of the finished food. Warm ferments go soft; cold ferments stay crisp but can stall before they’re properly sour. The mechanism is that pectin-degrading enzymes (some native to the vegetable, some from unwanted microbes) accelerate with heat, so a hot ferment eats its own crunch faster than the acid can preserve it.
That’s why my crispest lacto pickles come from cool fermentations and my mushiest disasters all happened in heatwaves. It also explains why the crunch-preserving tricks — tannins, calcium, cold water — matter most in summer. I unpack the full mechanism, including why a cold ferment stalls rather than softens, in why warm ferments go soft and cold ferments stall, and the practical crunch fixes live in how to keep fermented vegetables crunchy and the tannin trick for crunchy pickles. If your kraut keeps going mushy, temperature is the first thing I’d check — before salt, before vessel — and my sauerkraut mushy fixes guide starts there.
The Two Tools That Turn Rules Into Control
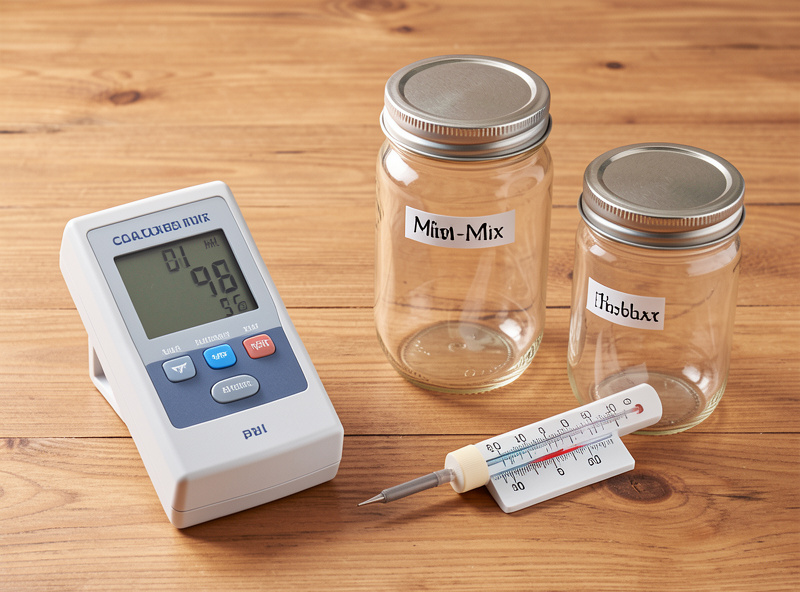
You cannot manage temperature you aren’t measuring. The single cheapest upgrade to any fermentation setup is a thermometer — not to check the ferment, but to check the spot where the ferment sits. I keep a probe thermometer that reads the actual jar-level temperature (which is often two or three degrees off the wall thermostat) and an ambient min/max thermometer that tells me how cold the corner got overnight.
The second tool is a pH meter, and it’s what lets me push temperature to the edges safely. When I’m fermenting cold and slow, a pH reading tells me whether the batch has actually crossed below 4.6 or is just sitting there looking inert. When I’m fermenting warm and fast, it tells me when to cold-crash before it over-sours. I explain what actually matters in a meter in best pH meter for fermentation, and the salinity side — how salt and temperature trade off — in my salt and brine math guide and sauerkraut salt percentage breakdown. A basic digital pH meter is the tool that moved my fermenting from guessing to knowing.
Ambient Management vs. Building a Chamber
There are two philosophies for temperature control, and this hub is deliberately about the first. Ambient management means working with the microclimates your home already has — moving jars to the cool basement in July and the warm cupboard in January, adjusting salt and expectations to the season. It costs nothing and it’s how humans fermented for thousands of years. A built chamber means taking control away from the seasons entirely with a temperature-controlled box or fridge.
Both are valid, and I run both. When you’re ready to stop chasing the seasons, my DIY fermentation chamber build walks through converting a cheap fridge or freezer with an external thermostat, and the smart chamber with sensors guide adds automated monitoring. But you don’t need any of that to ferment well year-round — you need to understand the seasons and manage them, which is cheaper and, frankly, more satisfying.
Building a Year-Round Rhythm
Once you internalize the temperature bands, a natural calendar emerges: ferment the cool-loving vegetables in spring and autumn when the kitchen sits naturally around 18–20°C, lean into kombucha and quick pickles in the summer heat, and reserve winter for the heat-mat ferments (koji, tempeh, miso) plus slow, cold, clean kraut in a warm cupboard. This is how I keep something always going without ever fighting the season.
I’ve turned that into an actual month-by-month plan in a year-round fermentation schedule by kitchen temperature, and if you grow your own cabbage and chilies, it dovetails with the garden-to-ferment calendar. The point isn’t rigid rules — it’s that once you know the number each culture wants, you stop losing batches to a season you could have planned around. The same patience that watches a starter rise watches a crock sour watches a salami lose weight; temperature is just the pace you set it to.
For the underlying recipes each of these ferments builds on, start with my complete guides to homemade sauerkraut, homemade kimchi, lacto-fermentation for vegetables, kombucha brewing, and koji fermentation. The right vessel matters too when you’re managing temperature — a wide crock buffers swings better than a small jar — which I compare in my crock vs. jar vs. vacuum bag guide and the broader fermentation equipment toolkit.
Reading the Ferment, Not Just the Thermometer
The thermometer tells you the room; the ferment tells you what that room is doing to it. I’ve learned to read three signals that translate temperature into a decision. The first is bubble rate: vigorous, continuous bubbling within 24–48 hours means the room is warm and the clock is running fast, so I check earlier and plan to cold-crash sooner. Sluggish bubbling after three or four days means the room is cold and the batch needs patience or a warmer spot.
The second signal is surface activity. Warm ferments throw kahm yeast — that thin, wrinkled white film — far more readily, because the heat that speeds Lactobacillus also favors surface yeasts once the most active phase passes. If I see kahm forming in two days, that’s the room telling me it’s too warm; I skim it, tighten the headspace, and move the jar cooler. Telling that harmless film from actual mold is a skill worth having, and I cover it in depth in my kahm yeast guide. The third signal is smell and taste over time — a warm ferment develops its sour-and-sometimes-sharp profile in days, while a cold one builds a rounder, cleaner acidity over weeks. Neither is wrong; they’re different foods made by the same organisms at different speeds, which is exactly why controlling temperature is really about choosing the flavor and texture you want. My guide to how long to ferment sauerkraut maps those timelines directly onto temperature.
The Temperature Mistakes I See Most
Three errors account for most of the temperature-related failures people write to me about. The first is fermenting on a sunny windowsill “so I can watch it” — direct sun can swing a jar by 10°C between afternoon and midnight, and that daily thermal cycling stresses the culture and invites softening. Ferments want darkness and stability, not a view. The second is trusting the wall thermostat instead of measuring the actual spot; the floor of a north pantry can run four or five degrees below the number on the hallway dial, which is the difference between a stalled ferment and a happy one.
The third and most consequential mistake is not adjusting salt to the season. Salt and temperature are the two dials that share the safety and texture load, and treating salt as a fixed recipe number while the temperature swings 10 degrees across the year is how good fermenters still lose summer batches. When it’s hot, I move toward the top of the salt range to slow things and firm the texture; when it’s cold, the bottom of the range ferments cleanly without over-salting. That interplay is the heart of my salt and brine math guide, and it’s why I never quote a salt percentage without also knowing the temperature it’ll ferment at.
Frequently Asked Questions
What is the ideal temperature for most fermentation?
For vegetable lacto ferments like sauerkraut, kimchi, and pickles, 18 to 22 degrees Celsius (65 to 72 degrees Fahrenheit) is the sweet spot. Kombucha wants warmer, 24 to 29 degrees, and koji or tempeh need 28 to 32 degrees on a heat mat.
Can I ferment vegetables in a cold kitchen?
Yes, but it will be slow. Below about 15 degrees Celsius Lactobacillus enters a long lag phase and can sit for a week before bubbling. Move the jar to a warm spot like on top of the fridge or use a seedling heat mat to hold 20 degrees.
Why does my sauerkraut go mushy in summer?
Heat accelerates the pectin-degrading enzymes that soften cabbage faster than the acid can set the texture. Above about 24 degrees Celsius kraut can go limp in five days. Ferment in the coolest spot, raise salt toward 2.5 percent, and cold-crash once it is sour.
Does temperature affect how salty a ferment needs to be?
Yes. In warm conditions, nudging salinity toward the top of the safe range buys a wider margin against softening and off-organisms. Sauerkraut runs 2 to 2.5 percent by weight; in a heatwave I use the higher end, and in a cool kitchen the lower end is fine.
How do I ferment koji or tempeh without a chamber?
A thermostatically controlled seedling heat mat is the cheapest solution. It holds a tray or box at the 28 to 31 degrees Celsius these molds need, even in a cold winter kitchen, for far less than a dedicated fermentation fridge.
Is it safe to slow a ferment down in the refrigerator?
Yes. Cold-crashing at 2 to 4 degrees Celsius dramatically slows fermentation without stopping food safety, as long as the ferment has already dropped below pH 4.6. It is the standard way to halt a batch at the sourness and crunch you want.
Related Guides
- Fermenting in Summer Heat: How to Slow a Runaway Batch
- Fermenting in a Cold Kitchen: Warm Spots That Actually Work
- Ideal Temperature for Sauerkraut, Kimchi, and Lacto Pickles
- Using a Seedling Heat Mat for Koji, Miso, and Tempeh
- Why Warm Ferments Go Soft and Cold Ferments Stall
- Cold-Crashing a Ferment: When and How to Slow It Down
- A Year-Round Fermentation Schedule by Kitchen Temperature

About Kenny Nyhus Fadil
A home fermenter documenting brines, bubbles, and the occasional moldy tragedy.
Keep Bubbling
Spring, Filtered, or Distilled: Which Water for Water Kefir
How to Sterilize Fermentation Equipment (and When Not To)